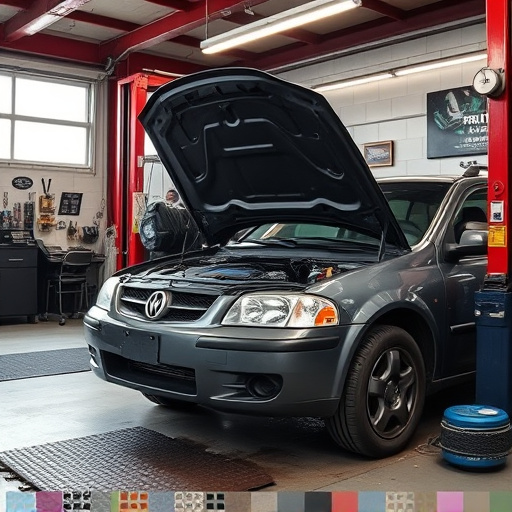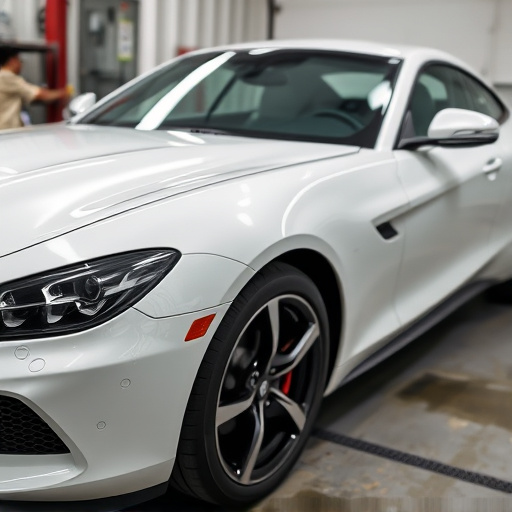
Tesla repeater camera replacement is crucial for maintaining optimal safety and convenience. Environmental factors can degrade performance over time, so regular replacement ensures peak efficiency of advanced safety features. Common issues include camera clouding/distortion and disconnections. Early identification through professional inspections allows for solutions like bumper repairs or paintless dent repairs. The simple process requires minimal body work: disconnect power, remove faulty camera, insert new one, reattach power supplies, test functionality. Consult user manual if issues arise.
Considering a Tesla repeater camera replacement? You’re not alone. Many Tesla owners find their stock cameras falling short. This guide delves into the essentials of Tesla repeater camera replacements, offering clear explanations for why they’re crucial, common issues to watch out for, and a comprehensive step-by-step installation tutorial. By the end, you’ll be equipped with the knowledge to enhance your Tesla’s safety and driving experience.
- Why Replace Tesla Repeater Cameras?
- Identifying Common Issues and Faults
- Step-by-Step Guide to Installation and Setup
Why Replace Tesla Repeater Cameras?

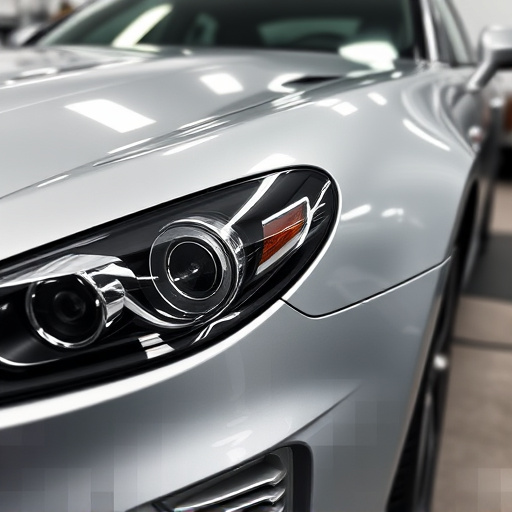
Replacing Tesla repeater cameras is a crucial step for vehicle owners who prioritize safety and convenience. These cameras are an integral part of Tesla’s advanced driver-assistance systems (ADAS), providing drivers with a 360-degree view around their vehicle, especially in tight spaces or low visibility conditions. Over time, these cameras can degrade due to environmental factors like dust, dirt, or extreme temperatures, leading to reduced clarity and performance.
Moreover, regular Tesla repeater camera replacement ensures that your vehicle’s safety features remain optimal. The process involves high-quality, compatible replacements installed by experienced technicians who understand the intricate systems of modern vehicles. Unlike traditional auto repair near me services that focus on mechanical issues, this specific task demands precision and knowledge of advanced electrical systems, making it a specialized job best handled by professionals.
Identifying Common Issues and Faults
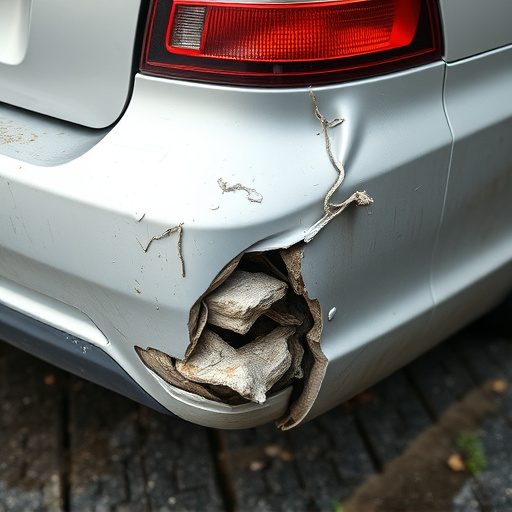
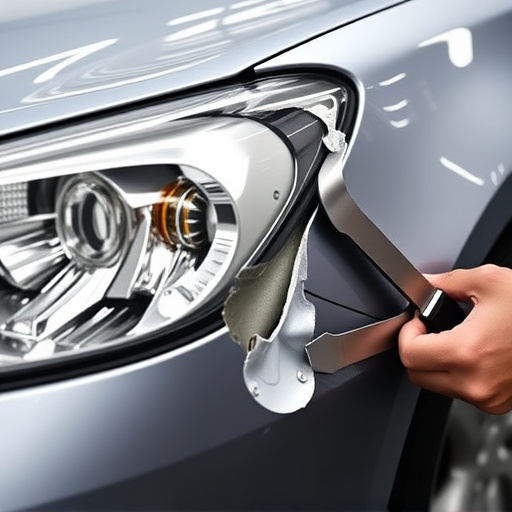
When it comes to Tesla repeater camera replacement, understanding common issues is key. Many vehicles, especially Teslas, are equipped with advanced surveillance systems that can suffer from various faults. One frequent problem is camera clouding or distortion, which may be caused by dust, debris, or even minor bumps and scratches on the lens. Another issue could be a disconnection or malfunctioning of the repeater, leading to incomplete or distorted video feeds. These issues can affect both front and rear cameras, impacting the overall driving experience and safety features.
Identifying these problems early is crucial for effective Tesla repeater camera replacement. If you notice any discrepancies in image quality or behavior, it might be time to inspect the cameras and repeaters. Professional fleet repair services often have the expertise and tools to diagnose such issues, ensuring a smooth and efficient resolution. Even minor repairs, like a bumper repair or paintless dent repair, can make a significant difference in maintaining optimal camera functionality.
Step-by-Step Guide to Installation and Setup
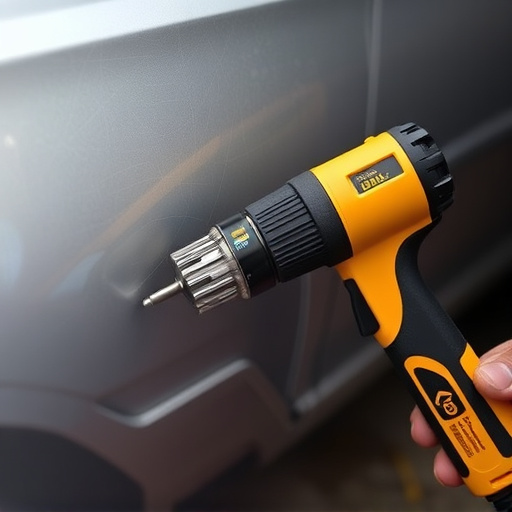
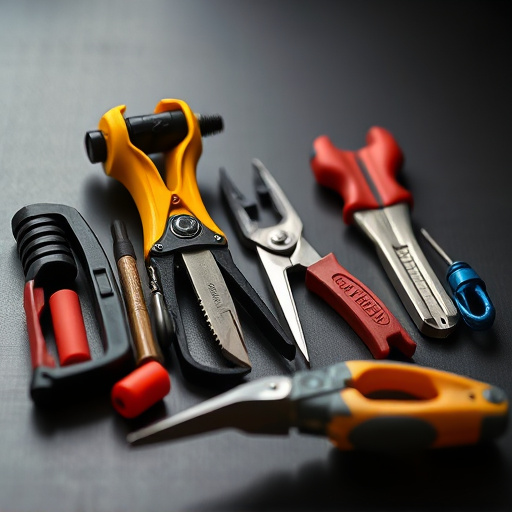
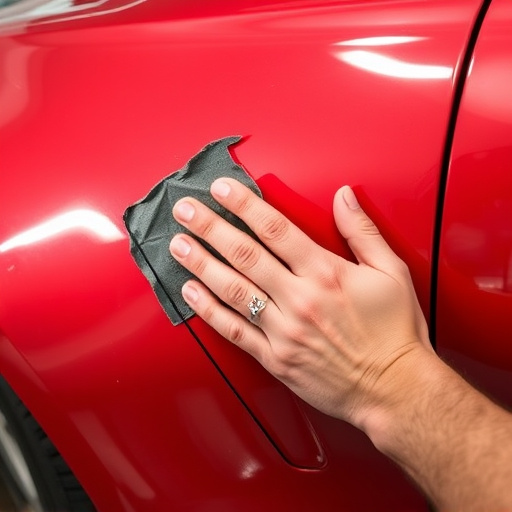
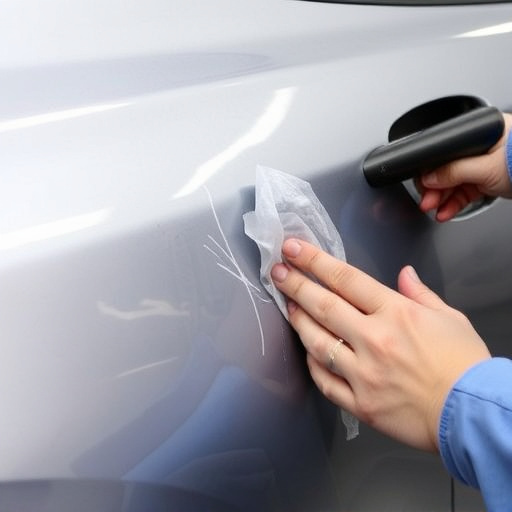
Replacing a Tesla repeater camera is a straightforward process that requires minimal automotive body work. Here’s a step-by-step guide for installation and setup, ensuring your new camera functions seamlessly with your Tesla model. Begin by identifying the exact location of the repeater camera you intend to replace. This typically involves accessing the vehicle’s interior or exterior mirrors, which are common sites for these cameras. Once located, disconnect the power supply to the old camera to avoid any electrical shorts during the replacement process.
Next, carefully remove the faulty camera by unscrewing or unclipping it from its mounting bracket. Take note of the orientation and positioning for accurate reassembly later. With the old camera out of the way, insert the new repeater camera into the designated space, ensuring it aligns with the pre-existing hardware. Securely fasten the new camera in place using the appropriate screws or clips provided with your replacement kit. After reattaching any power supplies, test the camera’s functionality from both inside and outside the vehicle to verify its proper operation. If you encounter any issues during installation or setup, consult your car’s user manual or seek guidance from a trusted auto collision center for further assistance.
Tesla repeater camera replacement is a straightforward process that can significantly enhance your vehicle’s safety and security. By understanding common issues, such as pixelation or intermittent signals, and following a simple step-by-step guide, you can effectively install and set up a new camera. This DIY approach not only saves costs but also ensures your Tesla remains equipped with cutting-edge surveillance technology, providing peace of mind while on the road. For those looking to optimize their Tesla’s security features, Tesla repeater camera replacement is a smart and accessible solution.