


Tesla vegan leather repair involves addressing damage like tears, cracks, or discoloration in high-use areas like center consoles. Key steps include identifying damage, securing repair kits with tools, cleaning and preparing surfaces, and using dyes, adhesives, and patching for a seamless finish. DIY repairs require careful preparation and matching original colors, while professional services ensure expert toolkit and technique for optimal aesthetic appeal and longevity of Tesla's vegan leather trim.
“Experience a like-new Tesla with our comprehensive guide to repairing center console damage using vegan leather. Many Tesla owners face the dilemma of cosmetic imperfections, but fear not! This article equips you with the knowledge and tools for a successful DIY repair. From understanding the unique challenges of Tesla vegan leather to gathering the necessary materials and following a detailed step-by-step process, we’ll show you how to restore your console’s elegance. Elevate your vehicle’s interior and save costs with this efficient solution.”
- Understanding Tesla Vegan Leather Damage
- Tools and Materials for Repair
- Step-by-Step Guide to Center Console Restoration
Understanding Tesla Vegan Leather Damage
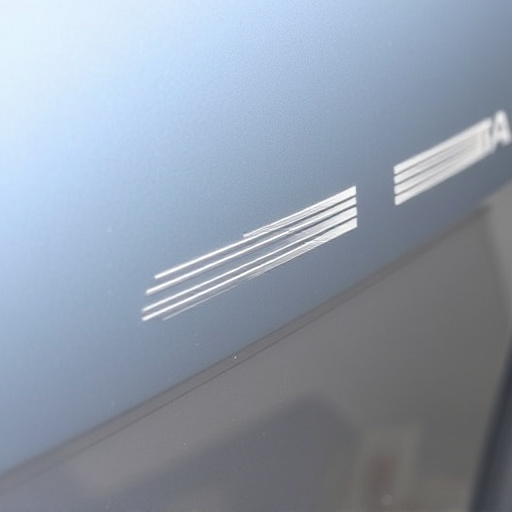
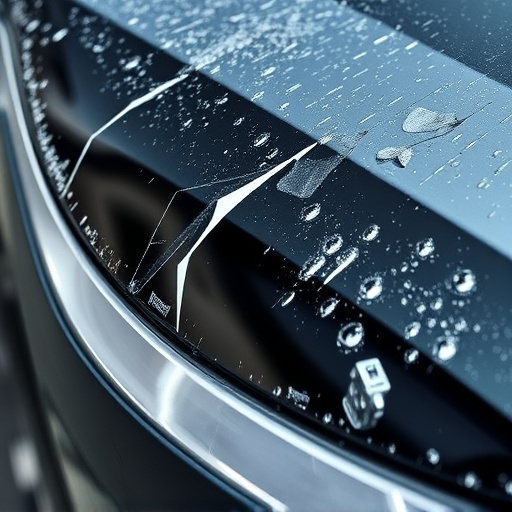
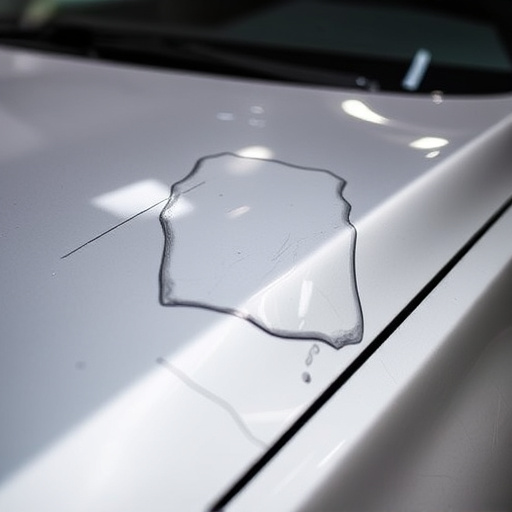
Tesla vegan leather, known for its durability and eco-friendly nature, is a popular choice for interior trim. However, it’s not immune to damage. Center console areas, often subject to everyday use and accidental spills, can sustain tears, cracks, or discoloration over time. Proper understanding of Tesla vegan leather repair is essential when addressing such issues.
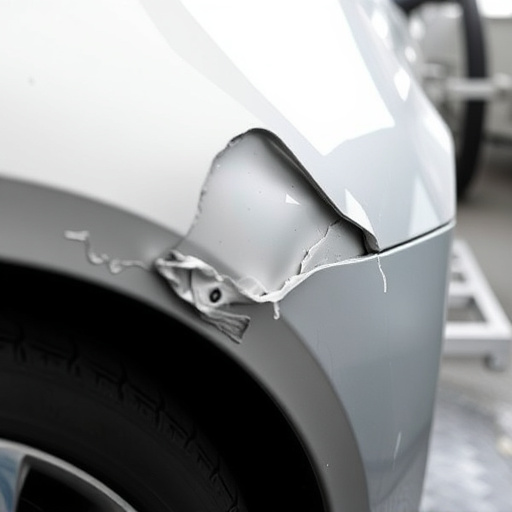
Identifying the specific type of damage is crucial before attempting any fix. Tears may require sewing or gluing, while heavy scuffs or discolored areas might need dyeing or replacing entirely. Auto collision centers specializing in vehicle dent repair and bodywork often have the tools and expertise to handle these repairs, ensuring your Tesla’s vegan leather retains its aesthetic appeal and longevity.
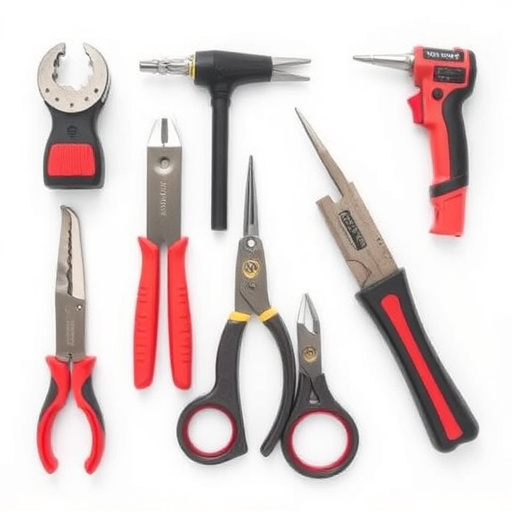
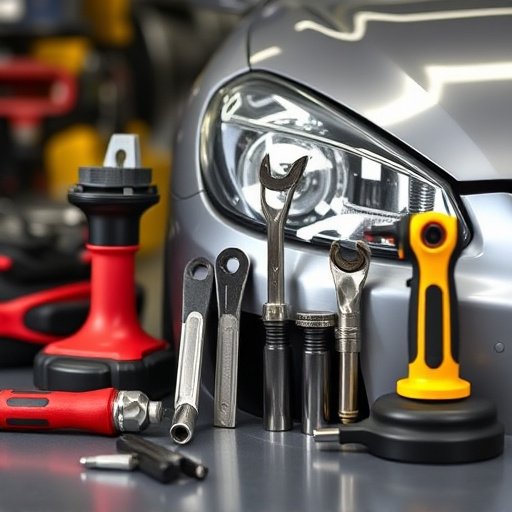
Tools and Materials for Repair

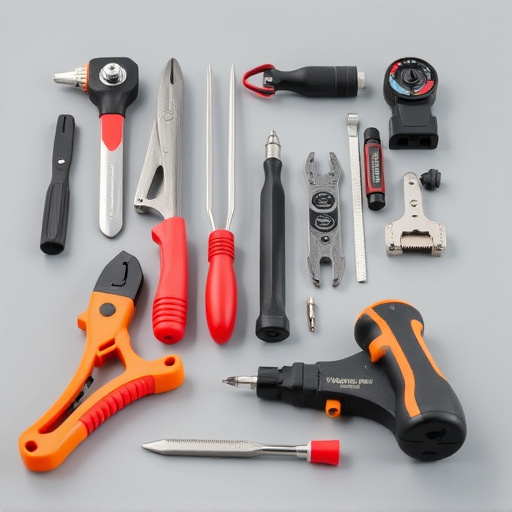
When attempting a Tesla vegan leather repair for center console damage, the right tools and materials are essential. For this specific repair job, you’ll need a combination of specialized equipment designed for delicate leather work and standard automotive tools. Start with high-quality leather repair kits that include dyes and adhesives specifically formulated for vegan leather. These kits often come with applicators, brushes, and blades to create precise cuts and even blends. Additionally, gather protective gear such as gloves and safety glasses to safeguard against chemicals and debris.
Complementing these essential items are various tools that facilitate the repair process. A fine-toothed comb or specialty brush helps in smoothing out the repaired area, while a small putty knife or scraper enables precise shaping of the leather. For cleaning and degreasing, consider using microfiber cloths and mild, non-toxic cleaners to ensure no residual chemicals interfere with the repair. Remember, preparing the surface accurately is crucial for achieving a seamless finish—much like in tire services or automotive collision repair—so take your time and ensure everything is clean and ready before proceeding.
Step-by-Step Guide to Center Console Restoration
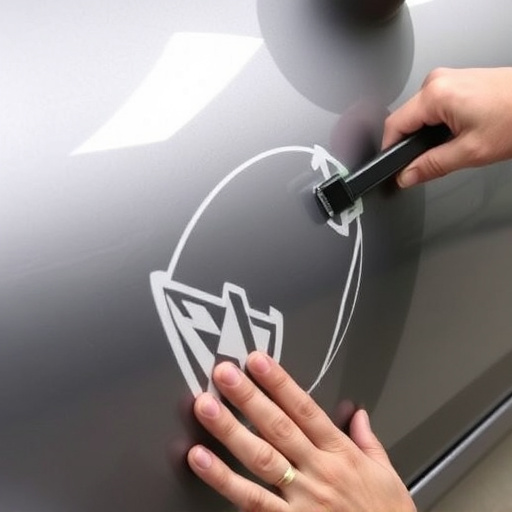
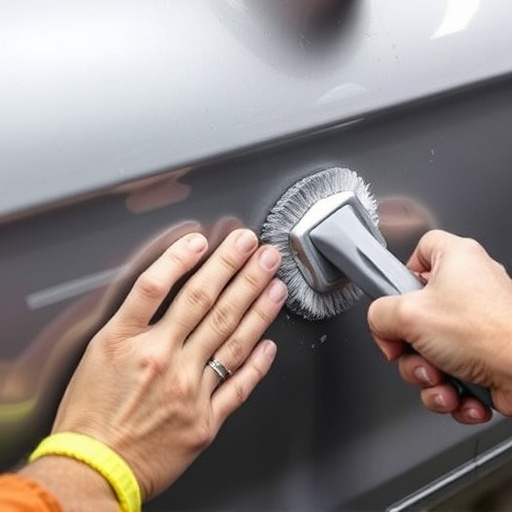
Restoring a Tesla’s center console to its like-new condition involves careful, systematic steps, especially when using vegan leather materials. Here’s a step-by-step guide for tackling this repair project yourself or with professional Tesla vegan leather repair services. Start by thoroughly cleaning the damaged area to remove any dirt or debris that could interfere with adhesion. Next, prepare your tools and supplies: a mild detergent, microfiber cloths, isopropyl alcohol, sandpaper (fine-grit), and a vegan leather repair kit containing color-matched dye, glue, and patching material.
With the console surface prepped, lightly sand any rough spots to ensure even application of the repair compound. Apply a thin layer of the glue to the damaged area using a small brush or applicator, pressing firmly into the voids. Insert the patch, ensuring complete coverage. Allow it to cure according to the kit’s instructions, then carefully trim excess material with a sharp blade. Finally, apply a small amount of dye to match the console’s original color and buff with a microfiber cloth for a seamless finish that integrates beautifully within your Tesla’s car body repair or bodywork services.
Tesla vegan leather repairs, particularly for center console damage, are both feasible and cost-effective. By understanding the nature of vegan leather deterioration and utilizing the right tools and materials, owners can successfully restore their vehicles’ interior. The step-by-step guide provided offers a clear path to achieving a factory-like finish, enhancing the vehicle’s aesthetics and longevity. For those looking to take on DIY repairs, this process proves that Tesla vegan leather care is accessible, ensuring your electric vehicle maintains its sleek and sustainable design.