
Quarter panel dent repair is crucial for classic car enthusiasts to preserve vehicle value. Assess damage, gather tools like pliers, sandpaper and paint supplies, and choose DIY or professional repair based on dent size. Clean, prepare and fill the area, then sand and repaint for a seamless finish, ensuring effective quarter panel restoration.
“Discover how to expertly tackle quarter panel dent repair with this comprehensive guide. Hail damage can leave unsightly marks on your vehicle, but fixing them yourself is easier than you think. This article breaks down the process into manageable steps, from understanding the extent of the damage to gathering the right tools and materials. By following these simple instructions, you’ll be able to effectively remove dents from your quarter panel, restoring your car’s sleek appearance.”
- Understanding Quarter Panel Dent Damage
- Gathering Tools and Materials for Repair
- Step-by-Step Guide to Effective Dent Removal
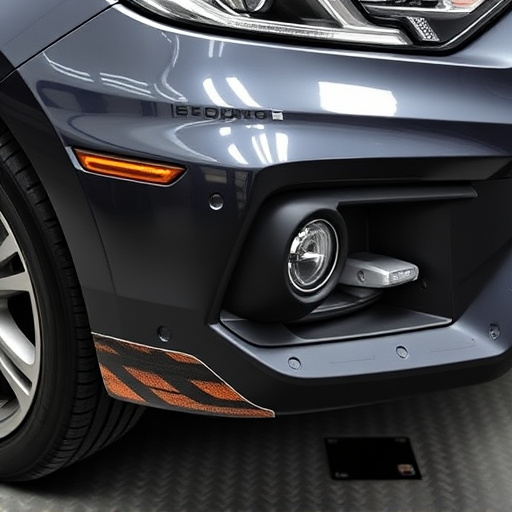
Understanding Quarter Panel Dent Damage
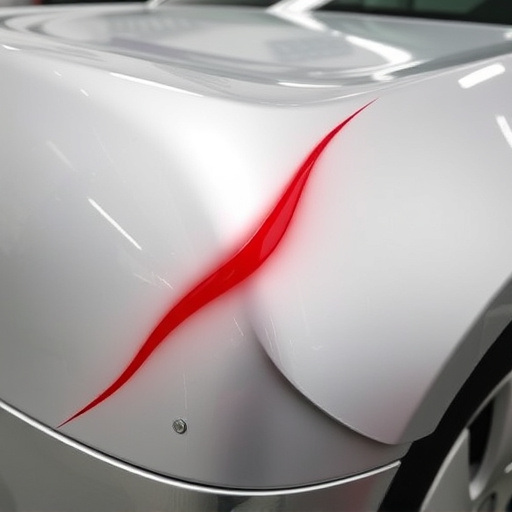
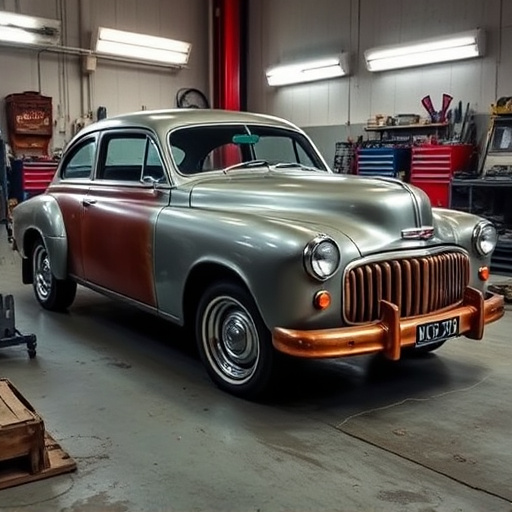
Hail damage can leave unsightly dents on your vehicle’s quarter panels, affecting its overall aesthetics and potential resale value. Understanding quarter panel dent repair is crucial for addressing this common issue efficiently. These panels, located at the rear corners of a car, are particularly vulnerable to hail and other impacts due to their exposed position.
Quarter panel dent damage often presents as depressions or indentations in the metal, which can vary in size and severity. Proper repair involves matching the panel’s original contour precisely for a seamless finish. The process typically includes assessing the extent of the damage, choosing the right tools for dent removal, and ensuring the vehicle bodywork is restored to its pre-incident condition. For classic car restoration enthusiasts, meticulous attention to detail is key, as it can significantly impact the vehicle’s overall value and appearance.
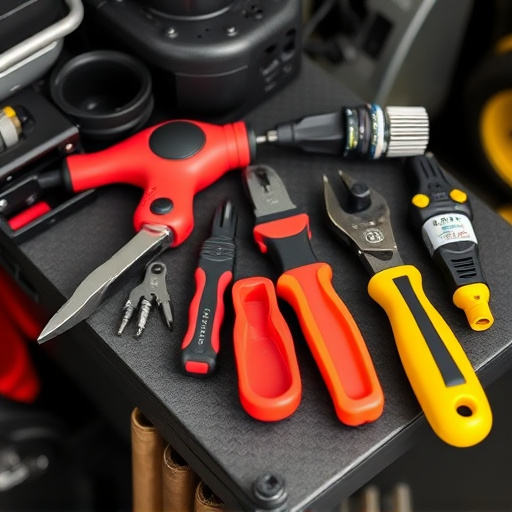
Gathering Tools and Materials for Repair
Before tackling any quarter panel dent repair, it’s crucial to gather the right tools and materials. This includes a set of pliers, putty knives, sandpaper in various grits (from coarse to fine), a primer, car paint services supplies specific to your vehicle’s make and model, and possibly a heat gun for easing out deeply embedded dents. Don’t forget safety gear: gloves, goggles, and a mask to protect against paint fumes and debris.
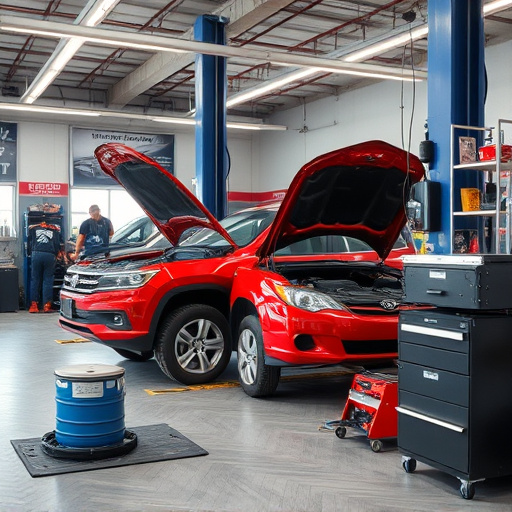
Understanding the extent of the damage is key. If the dent is shallow, you may be able to handle it yourself with the right quarter panel dent repair techniques. However, for deeper or more complex damages, consider seeking professional vehicle repair services. Remember that proper preparation—cleaning, painting, and finishing—is vital to ensuring a seamless, long-lasting fix that matches your car’s original paint job, whether you’re doing it yourself or using tire services.
Step-by-Step Guide to Effective Dent Removal
Hail damage can leave unsightly dents on your quarter panel, but there’s no need to panic. With a step-by-step approach, you can effectively repair these dents and restore your vehicle’s aesthetic appeal. Here’s how:
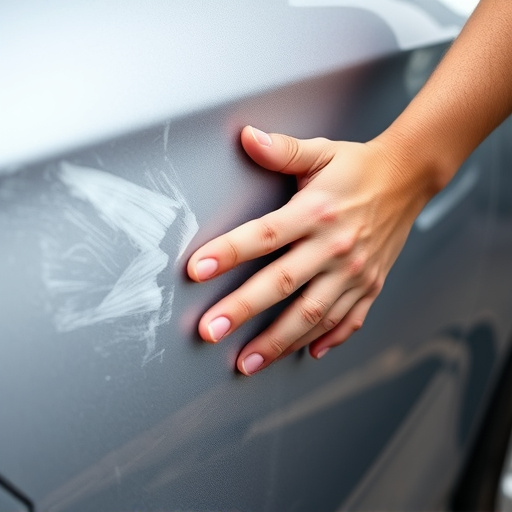
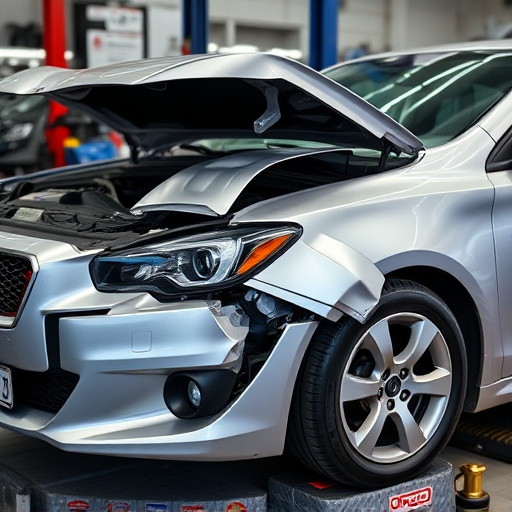
1. Assess the Damage: Begin by examining the dent carefully. If it’s small and shallow, you might be able to use a paintless dent repair technique. For larger or deeper dents, a more extensive collision damage repair may be necessary, which often involves body shop professionals at a trusted collision center.
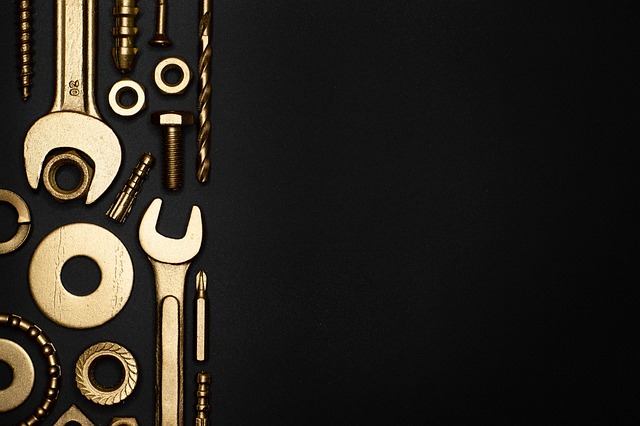
2. Gather Your Tools: Depending on the size and type of dent, gather the appropriate tools. This could include a dent puller, a putty knife, and a can of automotive paint or filler if needed. For more complex cases, professional-grade equipment might be required.
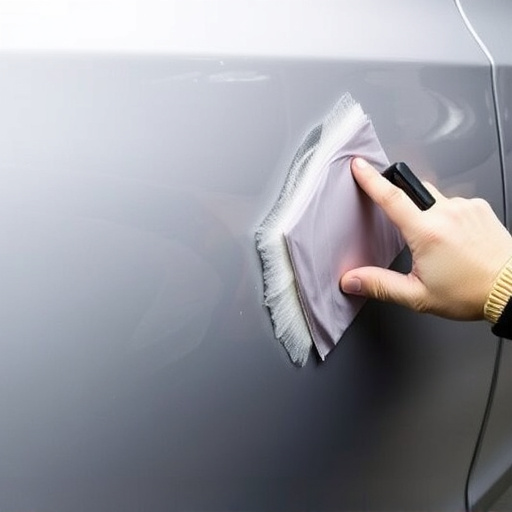
3. Clean and Prepare: Ensure the area is clean and free from debris. Remove any dirt or grime to create a smooth surface for repair. This step is crucial as it ensures that your fix adheres properly.
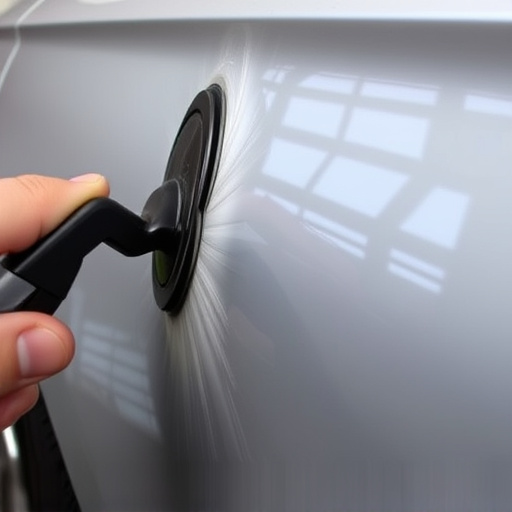
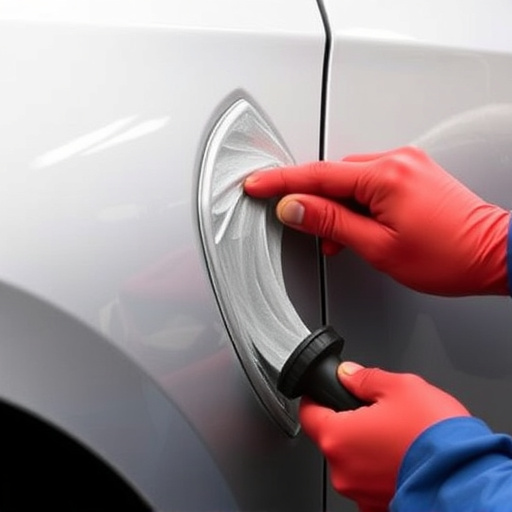
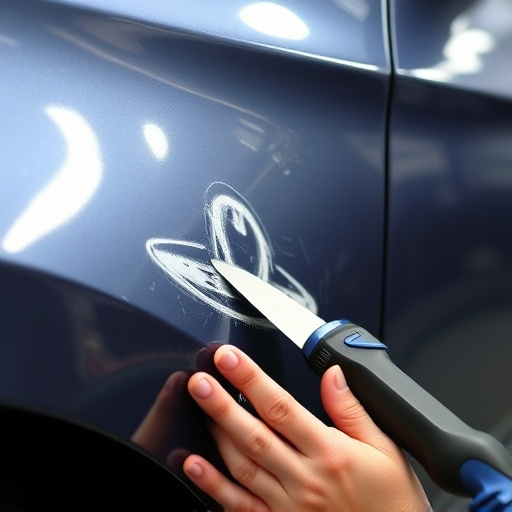
4. Remove the Dent: Using your chosen tool, carefully pry out the dented metal. For paintless methods, this might involve sliding a tool beneath the edge of the dent and gently lifting. Be patient; you want to avoid causing further damage.
5. Fill and Sand (if necessary): If there’s a depression left behind, fill it with automotive filler or putty. Smooth the surface with a putty knife, ensuring no gaps or ridges remain. Once dry, sand the area gently to achieve a flat finish.
6. Paint (optional): If your quarter panel has been painted before and the dent was deep, you may need to repaint the area to match the surrounding color perfectly. This step ensures that the repair is barely noticeable.
Repairing a quarter panel dent is a feasible DIY project that can save you time and money. By understanding the damage, gathering the right tools, and following a step-by-step guide, you can effectively remove dents and restore your vehicle’s aesthetic appeal. With the right approach, quarter panel dent repair doesn’t have to be daunting—it’s a simple process that can transform your car’s appearance.