


The Mercedes fog light sensor is vital for safe driving in low visibility, but calibration errors or faults can reduce light output. Regular maintenance and replacing with genuine OEM parts or trusted aftermarket brands ensure optimal performance. This guide provides a step-by-step process for replacing fog lights, emphasizing safety, with focus on Mercedes fog light replacement, including precautions, disconnection, removal, installation, reconnections, and testing.
Looking to upgrade your Mercedes’ fog lights? This comprehensive guide is your perfect companion. We’ll walk you through the process of replacing your Mercedes fog lights after sensor calibration, ensuring optimal visibility and safety on the road. From understanding the intricate sensor calibration system to selecting the ideal replacement lights, this article covers it all. Get ready to enhance your driving experience with clear, confident visibility in foggy conditions.
- Understanding Mercedes Fog Light Sensor Calibration
- Choosing the Right Replacement Fog Lights
- Step-by-Step Guide to Fog Light Installation
Understanding Mercedes Fog Light Sensor Calibration
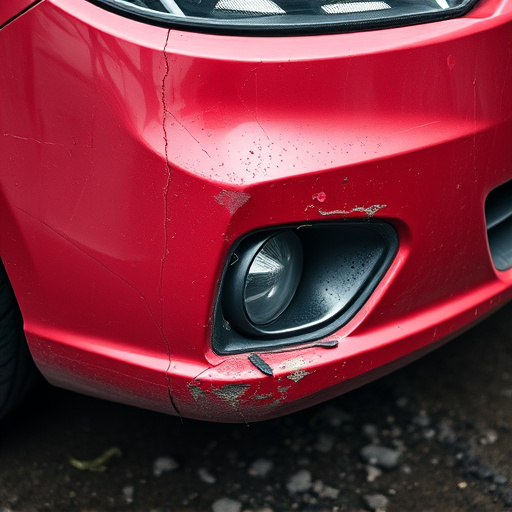
The Mercedes fog light sensor plays a vital role in ensuring safe driving conditions during low-visibility situations. Calibration of this sensor is crucial to its proper functioning, as it adjusts the intensity and angle of the fog lights based on ambient lighting conditions and vehicle speed. When the sensor is calibrated incorrectly or becomes faulty, it can lead to suboptimal light output, impacting visibility and safety. This often necessitates a Mercedes fog light replacement.
Many auto collision centers offer specialized services for Mercedes fog light calibration and replacement, ensuring that your vehicle’s lighting system operates at peak performance. Automotive repair experts use advanced diagnostic tools to identify issues and accurately calibrate the sensors, enhancing road safety. Regular maintenance and timely replacements of fog lights and their sensors are essential components of vehicle repair services, contributing to a smoother and safer driving experience.
Choosing the Right Replacement Fog Lights
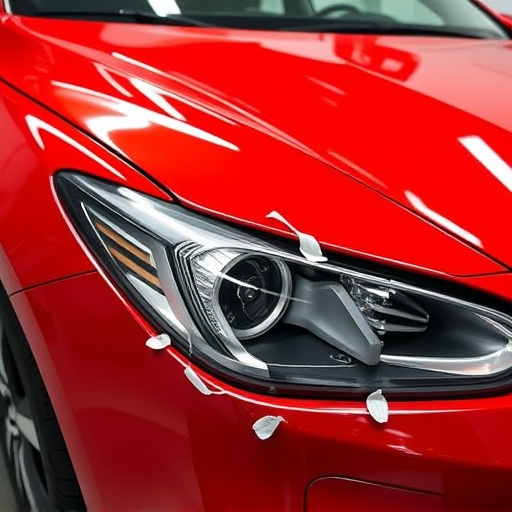
When it comes to replacing Mercedes fog lights, choosing the right pair is paramount for both performance and safety. Not all fog light replacements are created equal, so it’s essential to select a set that not only matches your vehicle’s make and model but also meets the stringent standards of quality and reliability. Opting for genuine OEM (Original Equipment Manufacturer) parts or trusted aftermarket brands ensures you get a product designed to function seamlessly with your Mercedes’ lighting system.
Consider factors like brightness, color temperature, and water resistance when shopping for new fog lights. A reputable auto collision center or vehicle restoration specialist can guide you through the options, ensuring you make an informed decision. Remember, proper calibration is just as crucial as choosing the right replacement; many car repair services offer this service to guarantee optimal performance once installed.
Step-by-Step Guide to Fog Light Installation
Replacing your Mercedes fog lights is a straightforward process that can significantly enhance road safety during low-visibility conditions. Here’s a step-by-step guide to help you through the installation process, ensuring a seamless and effective upgrade.
1. Safety First: Before beginning any repair or replacement work, ensure your vehicle is securely parked on a level surface with the engine off. Put on protective gear, including gloves and safety glasses, to safeguard yourself from any sharp edges or debris.
2. Identify the Fog Lights: Locate the fog lights in your Mercedes. They’re typically positioned at the front of the vehicle, below the headlights. Different Mercedes models may have slight variations in their design, so refer to your owner’s manual for specific details.
3. Disconnect Power: Isolate the electrical connection to the fog lights by locating and unplugging the relevant fuse or relay. This prevents any short circuits during the replacement process, ensuring your safety and that of others on the road.
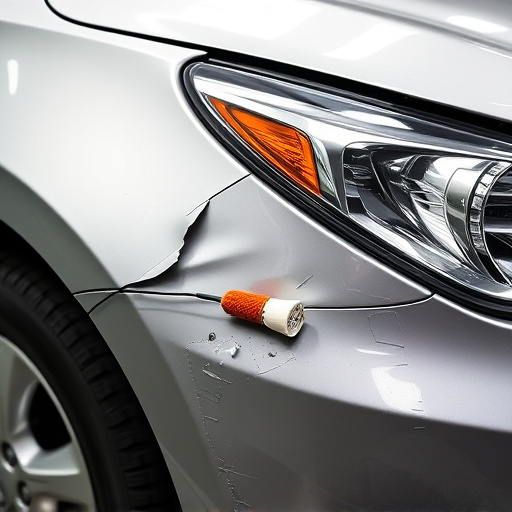
4. Remove the Old Lights: Carefully take out the old fog lights from their housing. Depending on your Mercedes model, you might need to release retaining clips or screws. Keep these components organized for future reference or potential re-use, especially if they’re in good condition but need replacement due to a car collision repair or other minor damage.
5. Install New Lights: Fit the new fog lights into the housing, ensuring they align perfectly with the vehicle’s design. Secure them in place using the appropriate fasteners, such as clips or screws. Double-check that the new lights are properly seated and locked into position.
6. Reconnect Electrical Connection: Plug in the fuse or relay you previously disconnected to restore power to the fog lights. Test the new lights by turning on your Mercedes’ ignition to ensure they function optimally. If there are any issues, double-check wiring connections and fuses for a seamless Mercedes fog light replacement experience that enhances your vehicle’s safety features without needing extensive vehicle paint repair.
When it comes to a safe and effective Mercedes fog light replacement, understanding sensor calibration is key. By choosing high-quality, compatible lights and following a detailed installation guide, you can ensure your vehicle’s visibility during low-visibility conditions. This step-by-step process empowers car owners to take control of their safety without needing an expert mechanic. For a seamless upgrade, follow the recommended steps and enjoy enhanced driving confidence with properly calibrated Mercedes fog lights.