


Matte finish repair is an automotive art, enhancing non-glossy car surfaces. Using specialized tools and materials, experts achieve a flawless, streak-free coat akin to factory standards. Reputable shops offer touch-up and restoration services, prioritizing visual appeal and minimal upkeep. Safety gear is vital for protecting against chemical fumes. Techniques include assessing damage, sanding, filling, cleaning, buffing with polishing compound for seamless blends.
“Explore the transformative power of matte finish repair solutions, a game-changer for revitalizing damaged surfaces. This comprehensive guide delves into the art of restoration, offering valuable insights for DIY enthusiasts and professionals alike. From understanding diverse repair techniques to selecting optimal tools and materials, we demystify the process. Learn from our step-by-step approach, ensuring successful repairs that enhance aesthetics and longevity. Discover the secrets to achieving a flawless matte finish, revitalizing your spaces effectively.”
- Understanding Matte Finish Repair Techniques
- Choosing the Right Tools and Materials
- Step-by-Step Guide to Effective Repairs
Understanding Matte Finish Repair Techniques

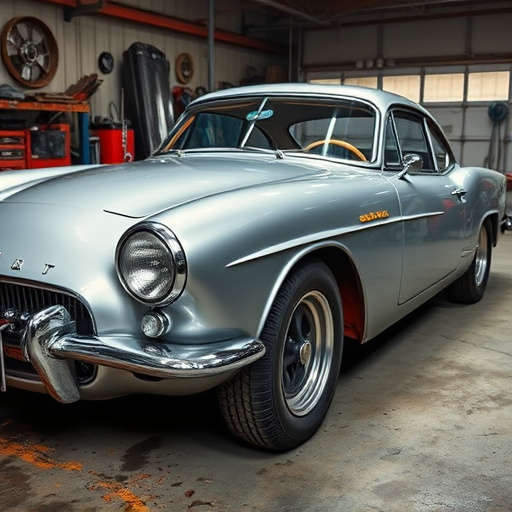
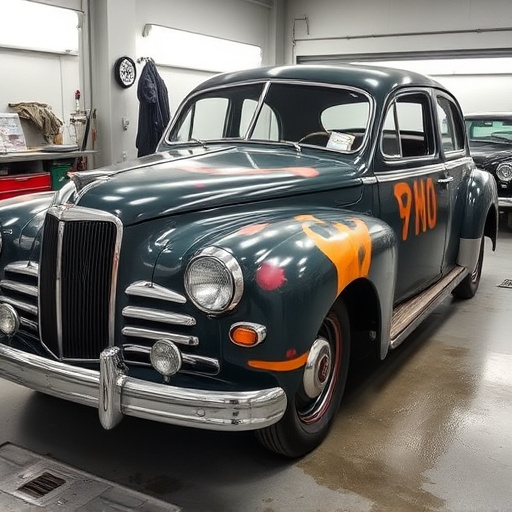
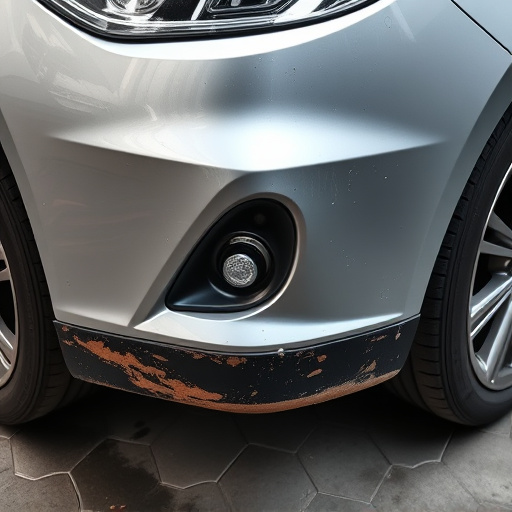
The world of matte finish repair is a specialized art within the automotive industry. It involves a meticulous process of restoring and enhancing the non-glossy surface of vehicles, giving them a unique aesthetic appeal. This technique has gained popularity among car enthusiasts and owners who seek to preserve or enhance their vehicle’s original look. The primary goal is to achieve a flawless, even finish that mimics the factory matte coat, ensuring no visible defects or streaks.
This process demands a deep understanding of various repair techniques, including sanding, priming, and application of specialized paints. Skilled technicians in reputable car repair shops employ these methods to address scratches, chips, or imperfections on automotive bodies, whether it’s for a simple touch-up job or extensive restoration work. By utilizing high-quality materials and precise application, the final result is a durable, low-sheen surface that not only looks appealing but also requires less maintenance over time.
Choosing the Right Tools and Materials
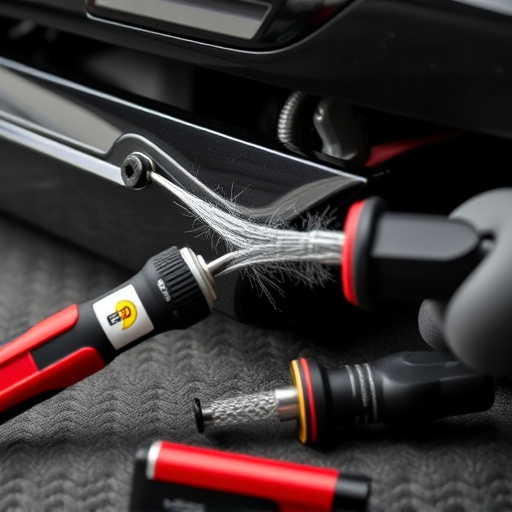
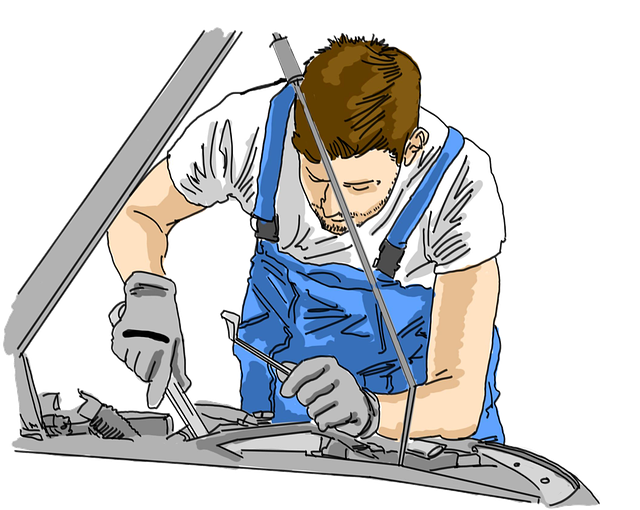
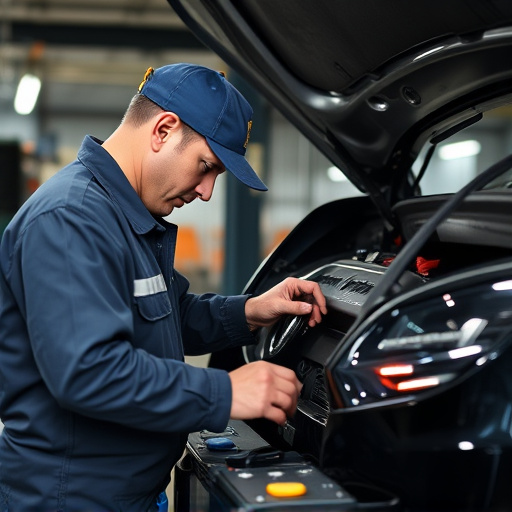
When tackling a matte finish repair, selecting the appropriate tools and materials is paramount to achieving a professional outcome. It’s essential to choose products designed specifically for matte finishes, as they will blend seamlessly with the existing surface. This includes high-quality filler compounds, matched primers, and topcoats that guarantee an accurate color match. For instance, in classic car restoration projects, where precision is key, using specialized tools like fine-grit sandpaper and detailed brushes can make all the difference. These tools enable meticulous work around curves, corners, and intricate areas, ensuring a flawless repair on vintage vehicles like Mercedes-Benz models involved in collision repair.
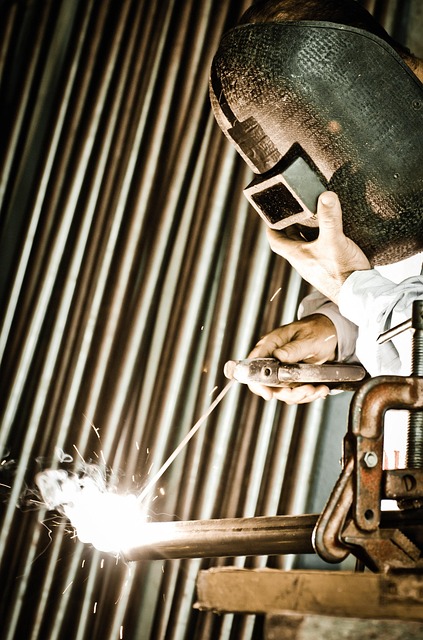
Additionally, consider investing in a good set of masks, eye protection, and ventilation to safeguard against chemical fumes during the repair process. The right safety gear is not just recommended; it’s crucial for effective matte finish repairs, especially when dealing with potentially hazardous materials.
Step-by-Step Guide to Effective Repairs

Repairing a matte finish requires careful attention to detail, but with the right approach, it can be a straightforward process. Here’s a step-by-step guide for effective repairs that will restore your matte surface to its former condition.
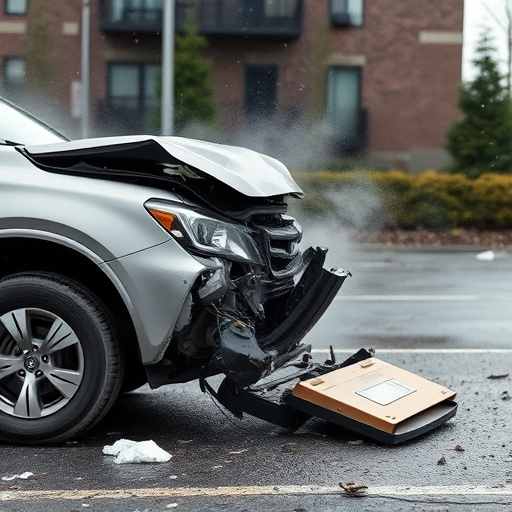
First, assess the damage and gather the necessary tools: sandpaper (grit 400 or higher), a suitable filler for the specific material, a putty knife, a polishing compound, and a microfiber cloth. Next, carefully sand the area around the damage to create a smooth base. Ensure you don’t over-sand, as this could affect the surrounding finish. After sanding, clean the surface thoroughly to remove any dust or debris. Apply the filler using the putty knife, working in thin layers until the dent is filled and level with the adjacent surface. Allow it to dry completely before proceeding. Once dry, lightly sand again for a smooth finish, then apply the polishing compound using the microfiber cloth. Buff until the repair area matches the surrounding matte finish, creating a seamless blend.
As we’ve explored the world of matte finish repair solutions, it’s clear that understanding the techniques, selecting the right tools, and following a structured guide are key to achieving expert results. By mastering these steps, you’ll be well-equipped to handle various repair needs, ensuring your surfaces maintain a smooth and aesthetically pleasing matte finish for years to come. Stay tuned for further insights into advanced matte finish repair techniques to continue enhancing your skills.