


Tesla chrome delete repairs address weather damage, debris, and wear on vehicle trims. Key steps include frame straightening, using correct tools & materials, and meticulous restoration techniques. DIY is possible with proper preparation, primer, chrome paint, and clear coat for protection. For deeper damage, professional body work recommended.
Looking to restore your Tesla’s sleek aesthetic? This guide dives into the process of fixing damaged handle and mirror trims resulting from a Tesla Chrome Delete. Understanding the common causes of this issue is key, especially in navigating the intricate design of Tesla vehicles. Armed with the right tools and materials, you can expertly revive your car’s chrome accents. From identifying damage to applying restoration techniques, this step-by-step guide ensures your Tesla shines like new again.
- Understanding Tesla Chrome Delete Damage
- Tools and Materials for Repair
- Step-by-Step Guide to Chrome Restore
Understanding Tesla Chrome Delete Damage
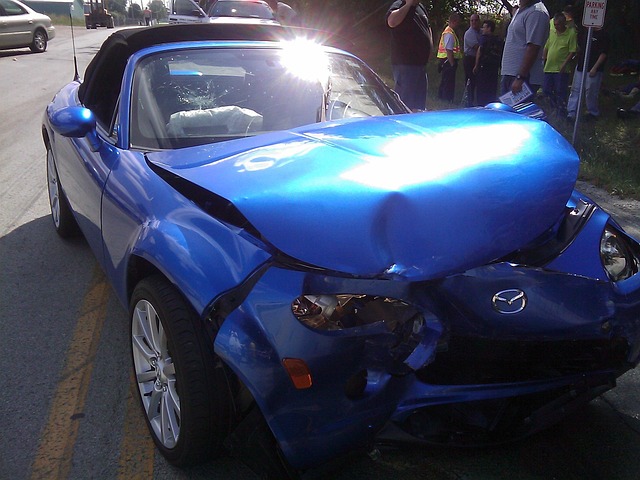
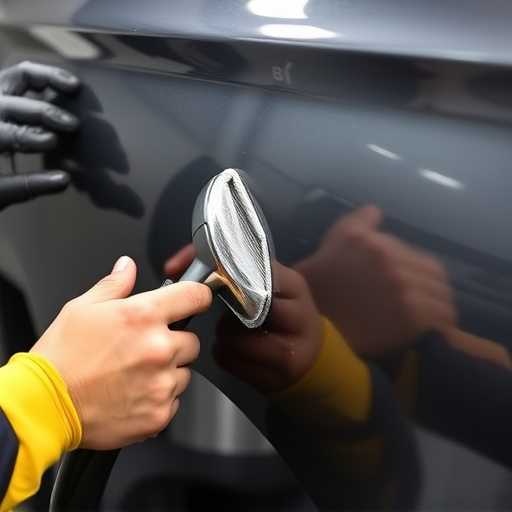
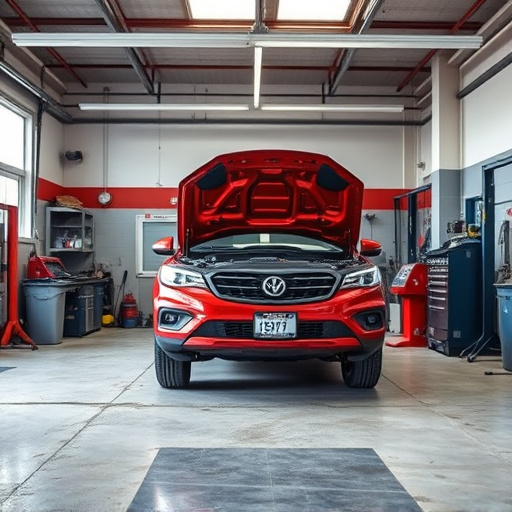
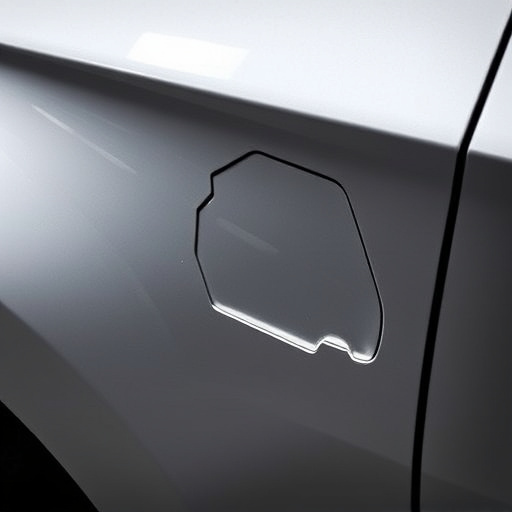
Tesla Chrome Delete damage is a common issue for vehicle owners, especially those who drive their cars through harsh weather conditions or are involved in minor car collisions. The delicate chrome trim on Tesla models can easily chip, crack, or fade over time due to exposure to UV rays, road debris, and everyday wear and tear. This aesthetic damage not only impacts the car’s appearance but also its overall value.
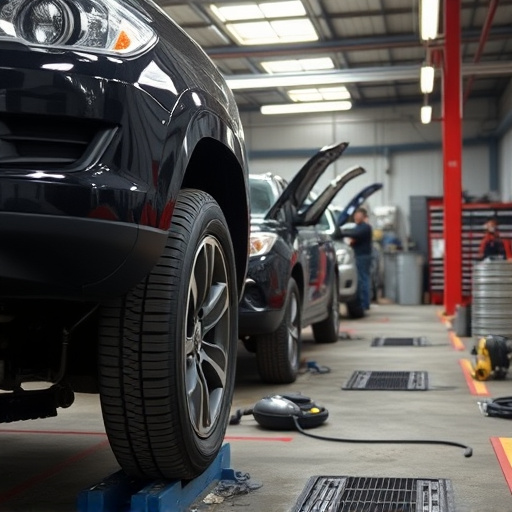
Properly addressing Chrome Delete repairs is crucial for both the restoration of your vehicle’s original beauty and maintaining its resale value. The process involves meticulous frame straightening to ensure any structural damage is corrected, followed by skilled automotive restoration techniques to bring the chrome trim back to its gleaming state. It requires a delicate hand and a keen eye for detail to match the original finish perfectly, ensuring no unsightly gaps or uneven surfaces remain.
Tools and Materials for Repair
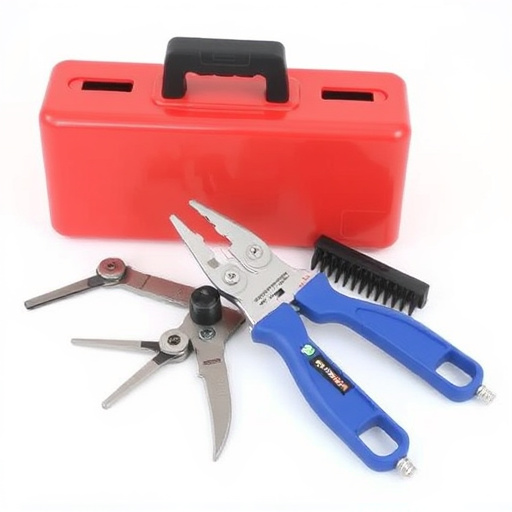
When tackling a Tesla chrome delete repair, especially for handle and mirror trims, the right tools and materials are essential. For this specific task, you’ll need a variety of items to ensure a successful and lasting fix. Start with basic hand tools like wire cutters, pliers, and screwdrivers in various sizes, suitable for the intricate parts of car bodywork. These will be your go-to tools for disassembling and reassembling trim pieces.
Additionally, stock up on high-quality replacement chrome components, which can often be sourced from specialized automotive stores or online retailers. For a more durable solution, consider using UV-resistant clear coat paint designed for car bodywork repairs, especially around bumper repair and Mercedes Benz repair areas. This ensures that the repaired trim pieces not only look like new but also withstand the elements over time.
Step-by-Step Guide to Chrome Restore
Restoring Tesla’s chrome delete damage, especially on handle and mirror trims, involves a meticulous process that can be achieved at home with the right tools and materials. Here’s a step-by-step guide for a successful Tesla chrome delete repair:
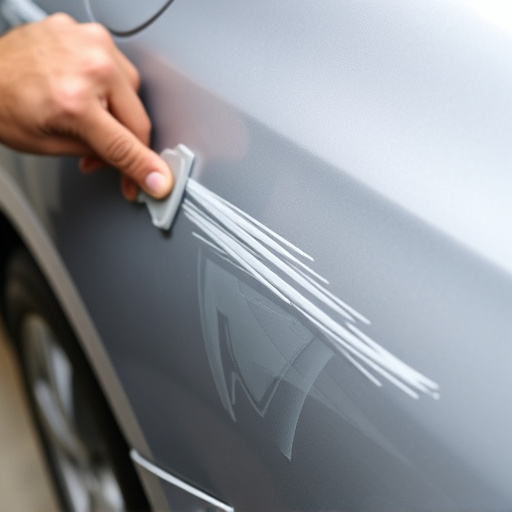
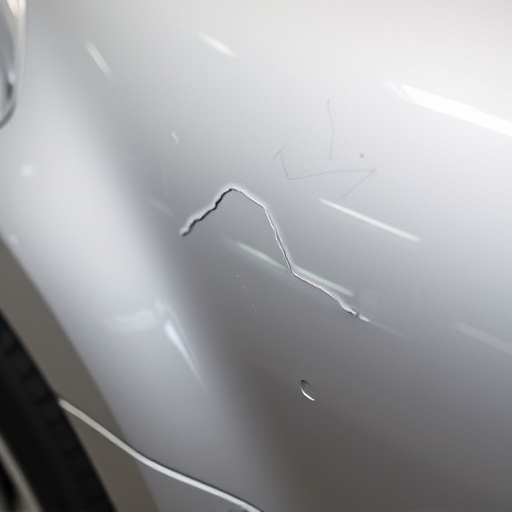
1. Assess the Damage: Begin by inspecting the affected areas thoroughly. Identify any cracks, chips, or peeling chrome. For minor dents or scratches, you might skip to the next steps; however, deeper damage may require professional body work or replacement parts before restoration.
2. Prepare the Surface: Clean the surface gently using a soft cloth and a mild detergent solution. Remove any loose debris, dirt, or grease. Drying the trim is crucial to prevent water seepage into the chrome, which can compromise the repair.
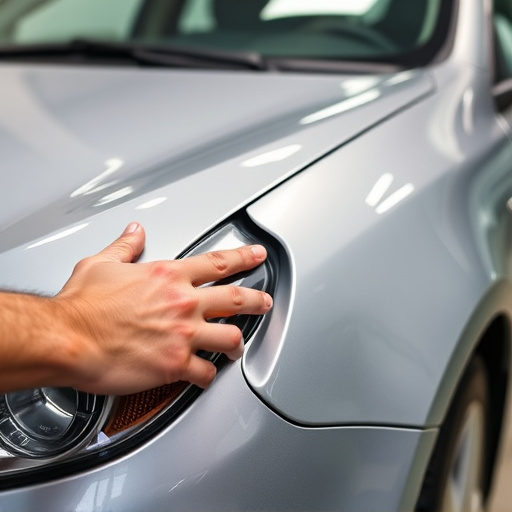
3. Apply Primer: Use an automotive primer specifically designed for chrome restoration. Apply it evenly with a fine-tooth brush, following the manufacturer’s instructions. Priming ensures better adhesion of the subsequent coatings and enhances the overall finish.
4. Paint with Care: Choose a high-quality chrome or metal paint that matches your Tesla’s original color. Apply thin, even coats, allowing each layer to dry as per the paint’s specifications. Use a small brush for precise details on intricate trim pieces.
5. Add Clear Coat (Optional but Recommended): For enhanced protection and a more durable finish, apply a clear coat over the painted surface. This step adds extra shine and resistance to fingerprints and minor scratches. Allow it to dry completely before handling.
Tesla chrome delete damage on handle and mirror trims can significantly detract from a vehicle’s aesthetic appeal. However, with the right tools and a meticulous approach, owners can easily restore their cars’ original luster. By following this step-by-step guide for Tesla chrome delete repair, you’ll learn how to effectively reverse the damage, ensuring your car looks as vibrant and sleek as new.