


Proper Tesla windshield calibration is vital for safety and visibility. Adjustments to vehicle pillars or roof frames can disrupt calibration, requiring re-calibration by experts. Post-calibration testing ensures accuracy using laser tools and real-world simulations. Maintaining optimal calibration enhances driving pleasure and road safety.
After making adjustments to your Tesla’s pillar or roof frame, proper recalibration of the windshield is crucial for optimal safety and driving experience. This guide delves into the process of Tesla windshield calibration, highlighting the specific needs and essential steps involved. From understanding the calibration requirements to a detailed step-by-step adjustment procedure and post-calibration testing tips, this article ensures you maintain your Tesla’s advanced driver assistance systems (ADAS) functionality for smoother, safer driving.
- Understanding Tesla Windshield Calibration Needs
- Adjusting Pillar or Roof Frame: A Step-by-Step Guide
- Ensuring Accurate Post-Calibration Testing
Understanding Tesla Windshield Calibration Needs

Tesla vehicles are renowned for their advanced technology, but like any complex system, proper maintenance is crucial. One often overlooked aspect is Tesla windshield calibration, which plays a vital role in ensuring optimal driver visibility and safety. After adjustments to the vehicle’s pillars or roof frame—whether during installation, repairs, or custom modifications—the calibrated positioning of the windshield becomes critical.
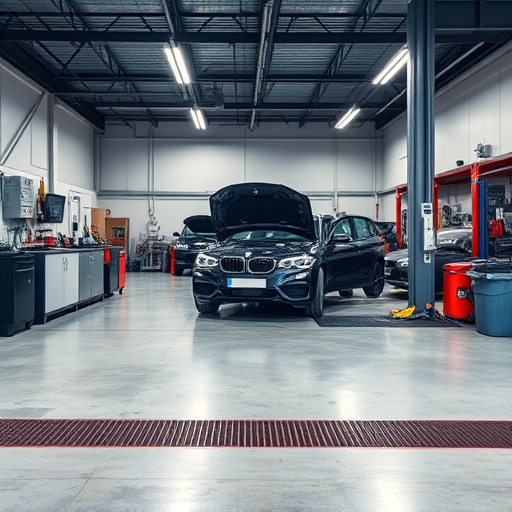
When dealing with collision damage repair or routine auto body shop services involving pillar or roof frame alterations, it’s essential to understand that these changes can impact the Tesla windshield calibration. Auto repair experts must be vigilant in re-calibrating windshields to avoid distorted views, blind spots, or even potential safety hazards. This process ensures that the driver’s line of sight remains clear and accurate, enhancing both driving pleasure and road safety.
Adjusting Pillar or Roof Frame: A Step-by-Step Guide
Adjusting the pillar or roof frame is a crucial step in ensuring precise Tesla windshield calibration. Here’s a step-by-step guide to help you navigate this process:
1. Safety First: Before beginning, ensure your vehicle is parked on a level surface and engage the parking brake. Put on safety gear, including gloves, to protect yourself from any sharp edges or debris.
2. Identify the Adjustments Needed: Determine which pillars or roof frames require adjustments by visually inspecting for any misalignments or gaps. Refer to your vehicle’s manual or consult a professional auto repair center, like those offering Mercedes Benz repair services, for guidance if needed.
3. Loosen and Adjust: Using the appropriate tools (often included with your vehicle), loosen the bolts securing the pillars or roof frame. Carefully adjust the components to meet the desired specifications, ensuring a secure fit without damaging surrounding parts.
4. Retighten Bolts: Once adjusted, retighten the bolts in a crisscross pattern using a torque wrench, adhering to the manufacturer’s recommended torque values for proper auto maintenance.
5. Verify Calibration: After adjustments, perform a Tesla windshield calibration check. This can be done through your vehicle’s infotainment system or with the help of an auto collision center specializing in advanced repairs and calibrations.
Ensuring Accurate Post-Calibration Testing
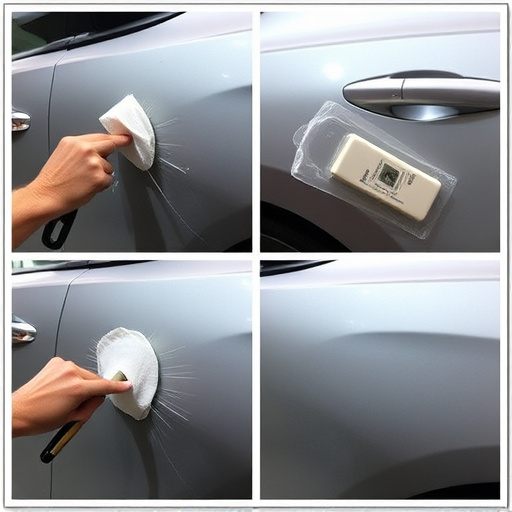
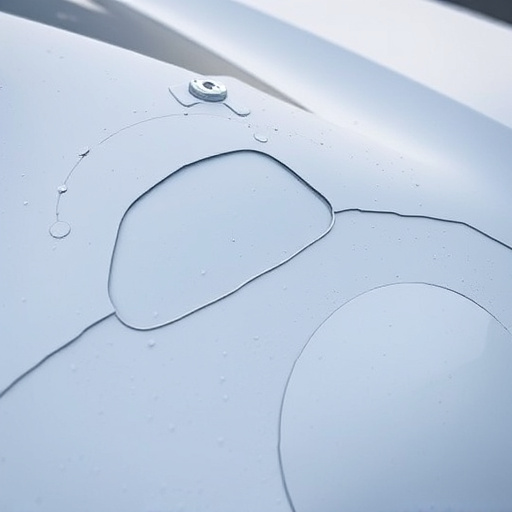
After calibrating your Tesla’s windshield, it’s paramount to conduct post-calibration testing to ensure accuracy and precision. This involves thoroughly inspecting the glass for any signs of distortion or misalignment. High-quality, specialized equipment, such as laser measuring tools, can help detect even the slightest deviations, which are crucial to address before considering the calibration complete.
Proper post-testing includes simulating various driving conditions, like cornering and speed changes, to verify that the windshield’s alignment remains stable. This step is vital in automotive collision repair or auto body repair scenarios where adjustments to the pillar or roof frame might have occurred. By confirming the Tesla windshield calibration’s integrity, owners can be confident in their vehicle’s safety and clarity of vision during driving.
After adjusting your Tesla’s pillar or roof frame, proper windshield calibration is crucial for optimal safety and driving experience. Following our step-by-step guide ensures precise adjustments, enhancing both vehicle stability and the clarity of your field of vision. Remember, a well-calibrated windshield is key to navigating Tesla’s advanced driver-assistance systems (ADAS) effectively, ensuring you can safely embrace the future of driving.