
Partial panel replacement repairs specific car damage like scratches and dents by replacing only affected areas (fenders, doors, hoods) instead of whole body. Mechanics assess feasibility and safety, ensuring structural integrity. Gather essential tools, matching replacement panels, primers, sealants, paints from auto collision centers. Guide provides step-by-step process: assess damage, prepare workspace, remove damaged panel, inspect frame, cut new panel, install securely for high-quality repair.
Looking to refresh your vehicle’s look with a partial panel replacement? This comprehensive guide breaks down the process step-by-step, from identifying damaged areas to final installation. We’ll walk you through gathering the necessary tools and materials, ensuring a smooth and efficient repair. Whether you’re a seasoned DIY enthusiast or a novice, this detailed approach will empower you to tackle partial panel replacements with confidence.
- Understanding Partial Panel Replacement Needs
- Gather Tools and Materials Necessary
- Step-by-Step Guide to Efficient Replacing Process
Understanding Partial Panel Replacement Needs
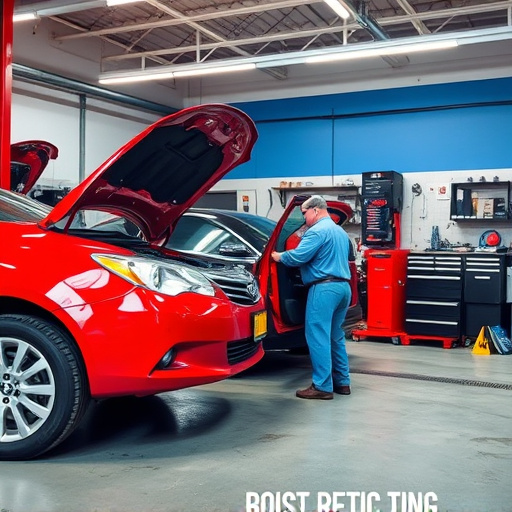
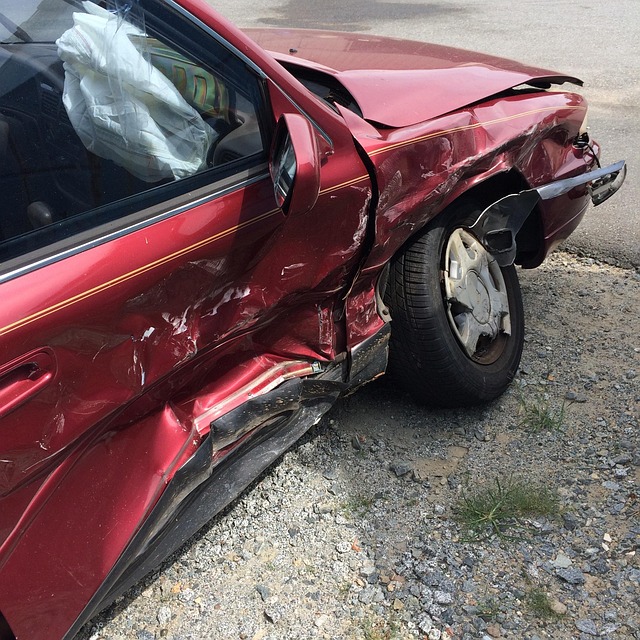
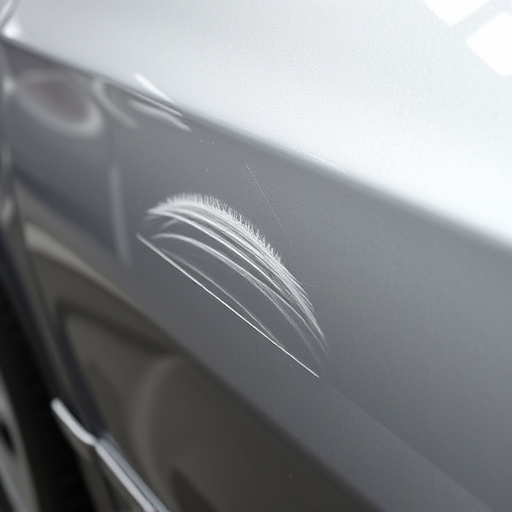
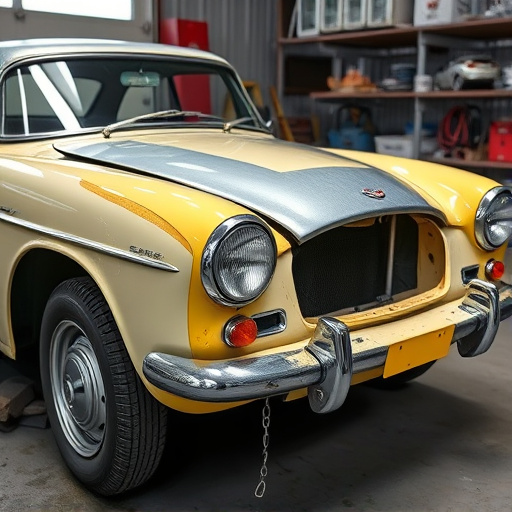
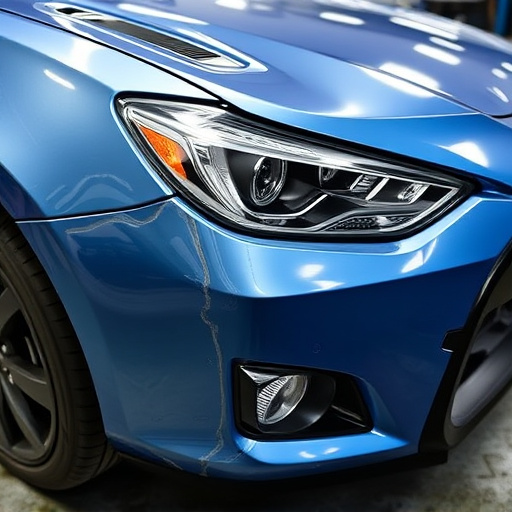
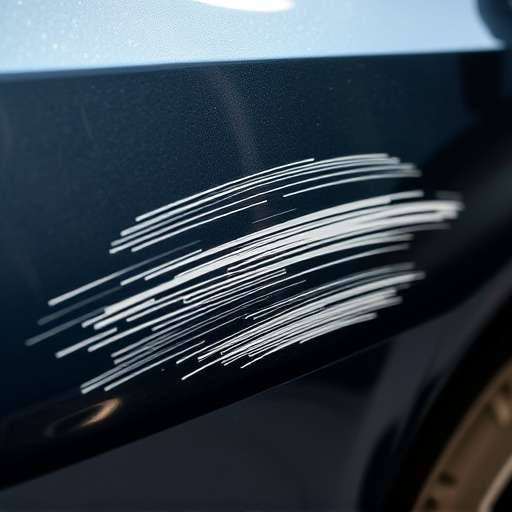
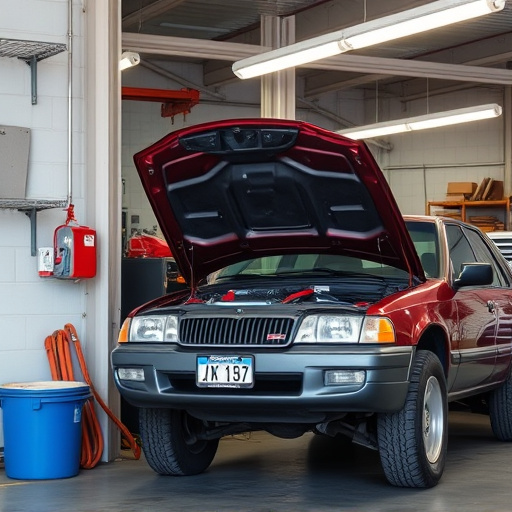
When considering a partial panel replacement for your vehicle, understanding the need and process is crucial. This type of repair is often required after minor collisions or damage, such as car scratches or bumper repairs. Not all vehicles require a full body overhaul; a partial panel replacement focuses on specific areas affected by dents, dings, or small crashes, allowing for a more cost-effective solution without compromising the overall structural integrity.
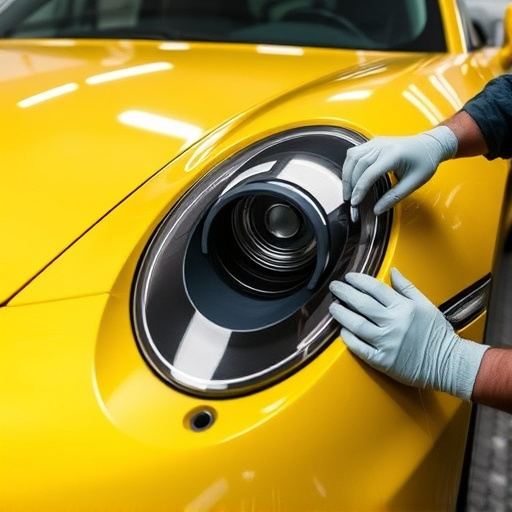
Identifying the damaged panels is the first step. This could include fenders, doors, or even the hood. After assessment, professional mechanics will decide if partial panel replacement is feasible and safe. Unlike vehicle collision repair, which often involves complex and extensive fixes, this method aims to restore only the affected sections, making it an ideal choice for minor repairs and preserving the vehicle’s original condition.
Gather Tools and Materials Necessary
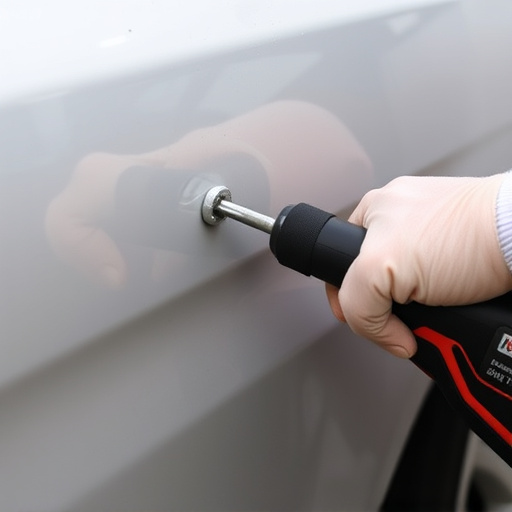
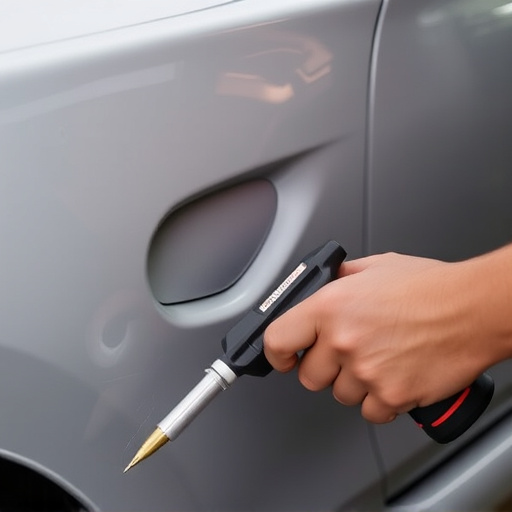
Before beginning any partial panel replacement, it’s crucial to gather all the necessary tools and materials. This process requires specific equipment designed for precise cutting and shaping, such as a metal shear or roller, an angle grinder with various disc options, and a set of high-quality welding gear including gloves, goggles, and a mask. Additionally, you’ll need replacement panels that match your vehicle’s make and model, ensuring a perfect fit. Many auto collision centers stock these parts, making them easily accessible for those undertaking collision repair.
For a successful partial panel replacement, having the right materials is just as important as knowing the process. This includes primers, sealants, and paints specifically formulated for automotive use. These products not only ensure a strong bond between the new panel and existing car body but also provide protection against future damage. An automotive body shop can offer expert advice on selecting the best products for your specific vehicle and repair needs.
Step-by-Step Guide to Efficient Replacing Process
Replacing a partial panel on your vehicle is a process that requires precision and care to ensure quality and longevity in car body repair. Here’s a step-by-step guide for an efficient partial panel replacement, focusing on both skillfulness and safety. Begin by assessing the damage, gathering necessary tools, and preparing your workspace. Ensure proper ventilation and don protective gear, as working with metal and chemicals can be hazardous. Next, carefully remove the damaged panel, taking note of its positioning and any surrounding components that need attention during the partial panel replacement process.
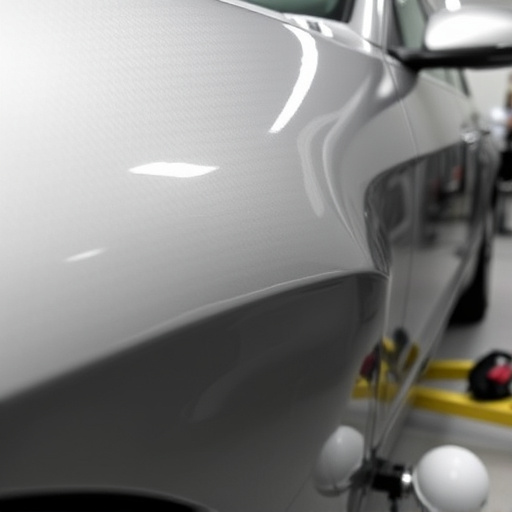
Once the old panel is removed, inspect the frame and adjacent panels for any signs of damage or misalignment. This step is crucial in ensuring a seamless fit and preventing future issues with paintless dent repair. After cleaning and preparing the area, measure and cut the new panel to match the vehicle’s specifications. Use precision tools like a metal cutter or shears designed for car body repair. Before installation, double-check the new panel’s alignment and fit, ensuring it adheres to your high standards. Finally, securely fasten the new partial panel using appropriate techniques and hardware recommended by vehicle manufacturers, completing your efficient partial panel replacement process.
Partial panel replacement is a cost-effective solution for damaged or outdated vehicle interiors. By understanding your needs, gathering the right tools and materials, and following a step-by-step guide, you can efficiently replace faulty panels, enhancing both the aesthetics and functionality of your car’s interior. This DIY process not only saves money but also empowers you to take control of your vehicle’s maintenance.