

Assess rear bumper damage through visual inspection and measurements for accurate repair estimates. Choose high-quality parts, tools, adhesives, and filler compounds for superior results. Secure car, inspect and clean bumper, cut out damaged areas, fill gaps, sand, prime, and paint to match original finish for flawless restoration.
Are you tired of a damaged rear bumper impacting your vehicle’s aesthetics? This comprehensive guide, curated by experts, is your go-to resource for seamless rear bumper repair. We’ll walk you through assessing damage, selecting robust repair materials and tools, and offering a detailed step-by-step restoration process. By following these best practices, you’ll restore your bumper to its original condition, enhancing both functionality and appeal. Master the art of rear bumper repair today!
- Assessing Damage: What Experts Look For
- Choosing the Right Repair Materials and Tools
- Step-by-Step Guide to Effective Rear Bumper Restoration
Assessing Damage: What Experts Look For
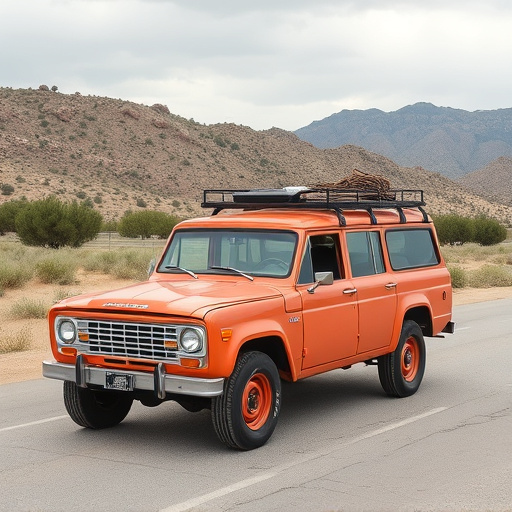
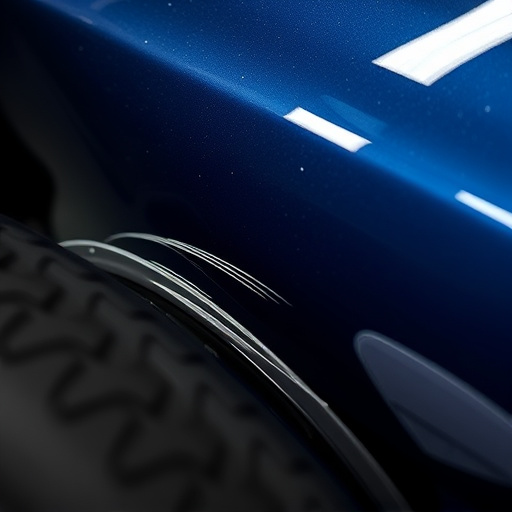
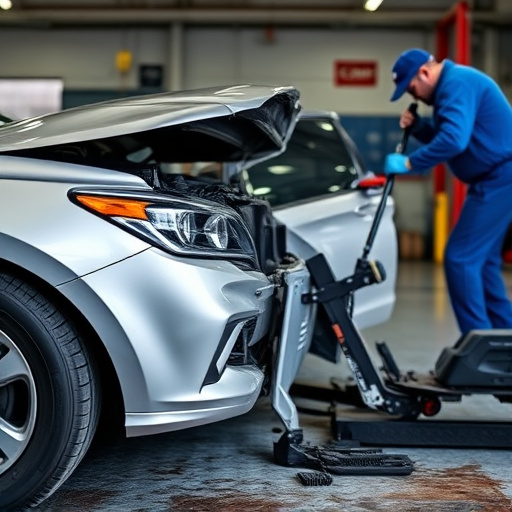
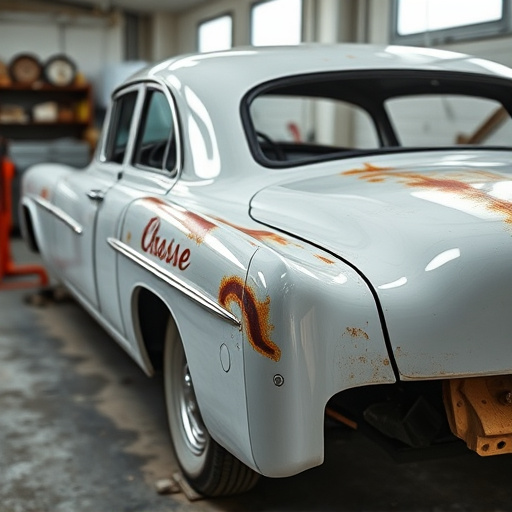
When assessing rear bumper damage, experts consider several key factors to determine the extent of the repair needed. They begin by visually inspecting the bumper for any visible cracks, dents, or deformations. This initial evaluation helps in identifying the severity of the impact and the potential structural integrity of the bumper.
Next, they may use specialized tools to measure the displacement and angle of the bumper components. Experts also look for signs of rust or corrosion, as these can indicate previous repairs or ongoing damage that needs attention. By combining visual assessments with precise measurements, auto body shops can provide accurate estimates for rear bumper repair, ensuring high-quality auto repair services and restoring your vehicle’s safety and aesthetic appeal.
Choosing the Right Repair Materials and Tools
When undertaking a rear bumper repair, selecting the appropriate materials and tools is paramount to achieving a quality outcome that matches the vehicle’s original factory finish. The market offers a range of options, from generic kits to brand-specific parts. Experts advise prioritizing high-quality products designed specifically for rear bumper repair. This ensures better compatibility, durability, and a seamless fit.
Consider factors like paint consistency, strength, and ease of application when choosing materials. For instance, using specialized adhesive and filler compounds tailored for car body repair can significantly enhance the bonding strength and final finish. Additionally, investing in precision tools, such as impact guns and sanders designed for car dent removal, streamlines the repair process, ensuring clean cuts, smooth surfaces, and a professional-looking restoration within your car body shop.
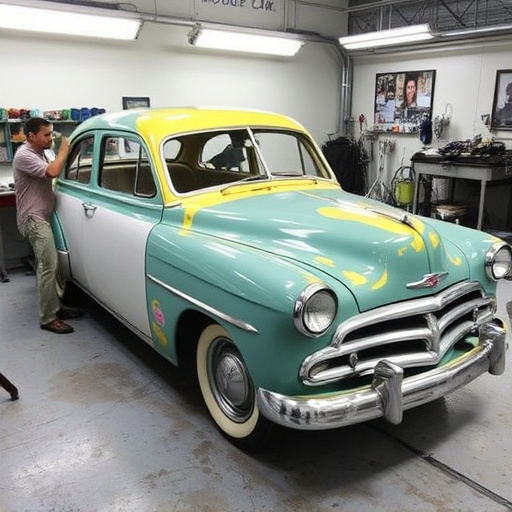
Step-by-Step Guide to Effective Rear Bumper Restoration
Restoring a rear bumper is a process that requires care and precision to ensure a flawless finish. Here’s a step-by-step guide to help with your rear bumper repair, making it look as good as new:
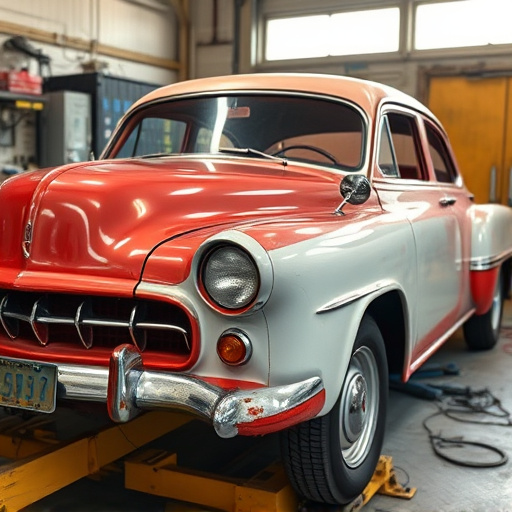
1. Safety First: Start by securing the car on a jack stand for stability. Protect yourself and others by wearing safety gear, including gloves and eye protection. This ensures that you and your work area remain safe throughout the process.
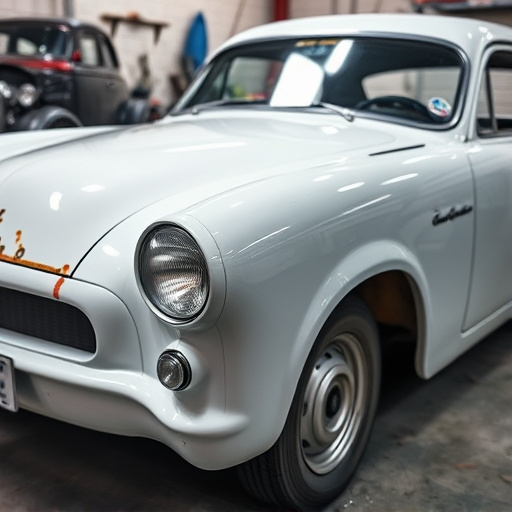
2. Inspect and Clean: Thoroughly inspect the damaged rear bumper, identifying cracks, dents, or other issues. Remove any loose debris using a pressure washer or a soft brush. Cleaning is crucial to ensure proper adhesion during the repair and painting phases, as it prepares the surface for auto painting.
3. Remove and Replace: Depending on the extent of damage, you may need to disassemble parts of the bumper to access and repair deeper issues. Use the right tools for removal, being careful not to damage surrounding components. Once the damaged section is identified, carefully cut out the affected area using a tool like a utility knife or a metal cutter. Replace it with a new piece, ensuring proper alignment and security before moving forward.
4. Fill and Sand: Fill any gaps or holes left from the removal process using automotive-grade filler. Allow it to dry completely, then sand the bumper gently until the surface is smooth. This step ensures a seamless transition between the old and new parts during car body repair.
5. Prime and Paint: Apply an automotive primer to the repaired area, helping to seal and protect the metal. Let it dry as per the product instructions. Finally, use high-quality auto painting techniques to match the bumper’s original color, ensuring a professional finish that complements your vehicle’s overall aesthetic.
When it comes to rear bumper repair, professionals recommend a thorough assessment of the damage, utilizing the right tools and materials for the job, and following a structured restoration process. By adhering to these best practices, you can effectively restore your vehicle’s rear bumper, ensuring both aesthetic appeal and structural integrity. Remember, proper repairs not only enhance the look of your car but also contribute to its overall safety on the road.