


Successful rocker panel replacement requires specific tools and precise preparation. Essential equipment includes impact wrenches, adjustable wrenches, a jack, laser level, utility knife, safety gear, and new panels. Prepare the surface, measure accurately, mark mounting points, and address imperfections for a seamless fit that enhances aesthetics and functionality while ensuring panel longevity.
When it comes to rockering your vehicle’s look and enhancing its structural integrity, rocker panel replacement is a crucial task. This comprehensive guide delves into the essential tools and straightforward steps for successfully replacing rocker panels. From understanding the function of these panels to acquiring the right equipment, you’ll be equipped to navigate this DIY project with ease. Get ready to transform your vehicle’s exterior and master the art of rocker panel replacement.
- Understanding Rocker Panels and Their Function
- Essential Tools for Efficient Replacement Process
- Step-by-Step Guide to Successful Installation
Understanding Rocker Panels and Their Function
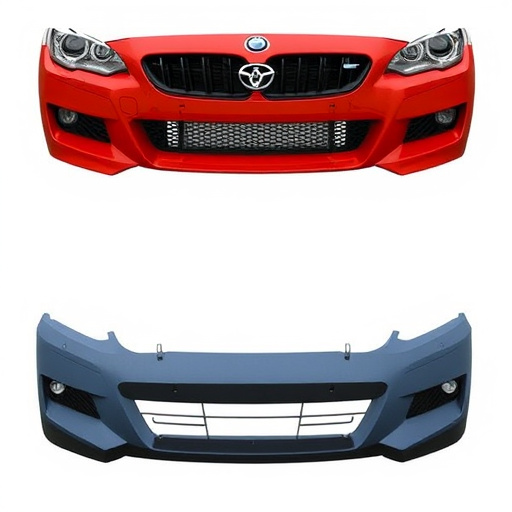
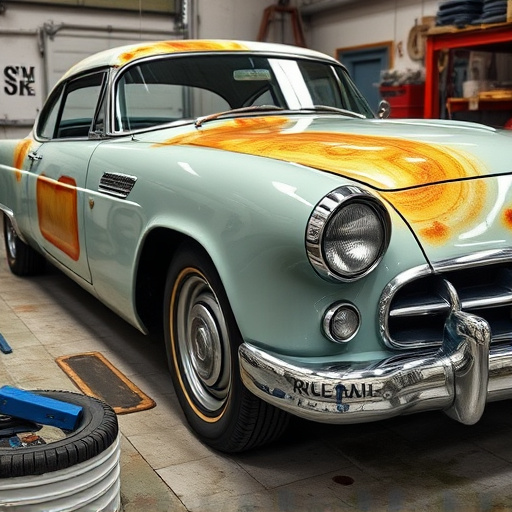
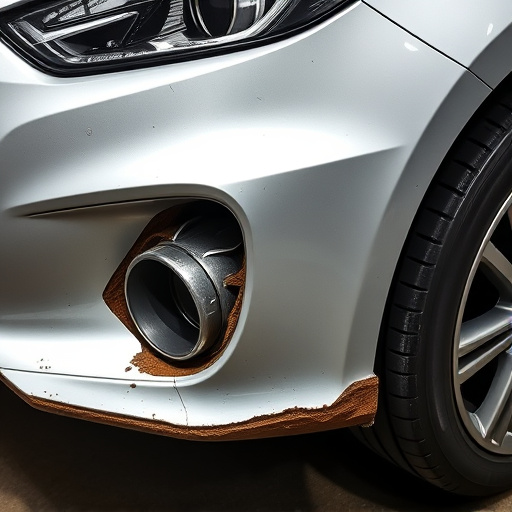
Rocker panels are an integral part of a vehicle’s exterior design and functionality. These panels, typically made of metal or composite materials, run along the sides of a car, covering the gap between the doors and the trunk lid or rear bumper. Their primary role is to enhance the aesthetic appeal of the vehicle by providing a smooth, seamless transition between these distinct body parts. Moreover, they serve as protective barriers, shielding the underbody from road debris, rocks, and other potential damage during everyday driving.
When considering a rocker panel replacement, whether for vehicle restoration or an auto body repair, understanding the structural role of these panels is crucial. They are subject to significant stress due to their location at the junction of moving parts (doors) and static components (body). Therefore, replacing them requires specific tools and equipment tailored for precision cutting, fitting, and fastening, ensuring a seamless finish that not only complements the vehicle’s appearance but also contributes to its structural integrity in the broader context of auto painting and vehicle restoration.
Essential Tools for Efficient Replacement Process
When it comes to a successful rocker panel replacement, having the right tools is paramount. The process requires precision and efficiency to ensure a seamless fit, and an array of specialized equipment can make all the difference for both professionals and DIY enthusiasts. Among the essentials are high-quality impact wrenches for securely loosening and tightening bolts, especially in tight spaces. A set of adjustable wrenches offers versatility, allowing for adjustments on various hardware sizes.
Additionally, a sturdy jack and jack stands facilitate safe lifting and support of the vehicle, enabling easy access to the rocker panels. For precise measurements and cuts, a laser level and utility knife are invaluable assets. These tools, coupled with a clear understanding of rocker panel replacement techniques, can lead to outstanding outcomes, whether it’s a professional collision repair or a DIY car dent repair.
Step-by-Step Guide to Successful Installation
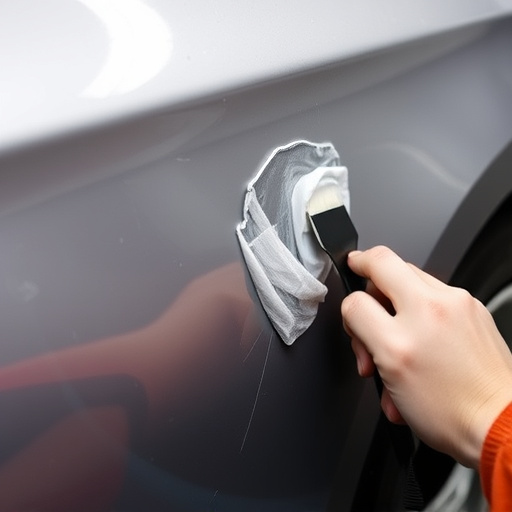
To ensure a successful rocker panel replacement, follow this step-by-step guide. First, gather all necessary tools and equipment, including specialized rockers, new panels, and safety gear. Next, prepare the surface by removing any loose debris or old adhesive residue using a pressure washer or degreaser, depending on the severity of contamination.
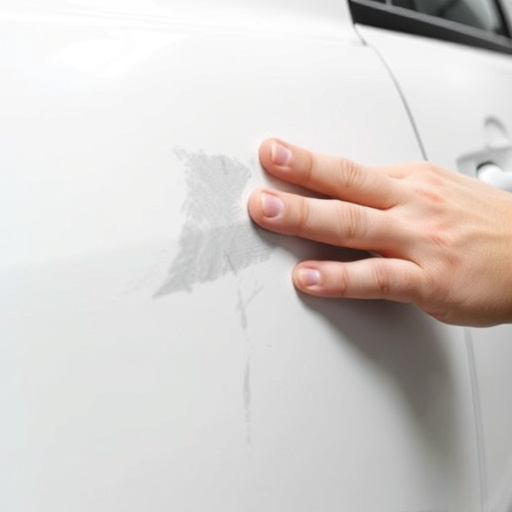
For accurate measurements, inspect both the damaged panel and the replacement part, noting any differences in size or shape. Mark the placement points for the new panel, ensuring alignment with the vehicle’s structure. Using tools like dent removal kits or scratch repair tools, carefully address any minor imperfections around the mounting areas to achieve a seamless fit. This meticulous preparation will not only enhance the overall look but also ensure proper functionality and longevity of the replacement rocker panel.
Rocker panel replacement is a manageable DIY project with the right tools and knowledge. By understanding the function of these panels, you can efficiently navigate the installation process, ensuring a secure and seamless fit for your vehicle. With our comprehensive guide and essential tool recommendations, you’re now equipped to tackle this task head-on, enhancing both the aesthetics and structural integrity of your ride.