


Tesla Model 3 front fascia cracks and dents require specialized repair. Gather tools like body filler, paint, sandpaper, and heat gun for fixes. Assess damage, prepare area, use filler/sand for minor issues or dent pullers for larger dents. Prime, paint, ensure proper ventilation for optimal results. For complex cases, consult a professional Tesla collision center.
“Experience a crack or dent in your Tesla Model 3’s front fascia? This comprehensive guide is designed to empower owners with the knowledge and step-by-step instructions for effective repairs. We’ll delve into the common causes of these damage types, outline the necessary tools and materials, and provide a detailed process for restoring your vehicle’s pristine aesthetic. By understanding Tesla Model 3 front fascia repair, you can save time, money, and maintain your electric vehicle’s sleek design.”
- Understanding Tesla Model 3 Front Fascia Cracks/Dents
- Tools and Materials Required for Repair
- Step-by-Step Guide to Effective Facia Restoration
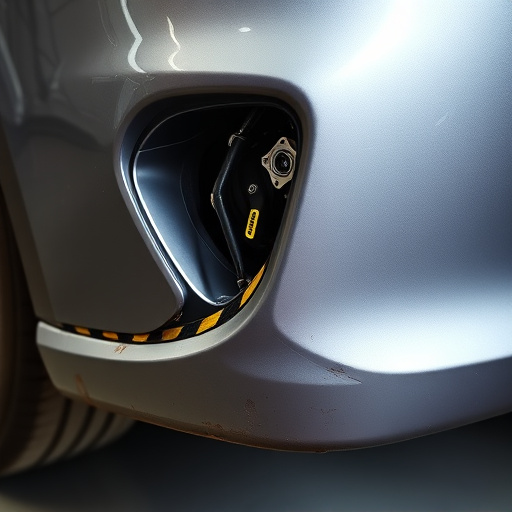
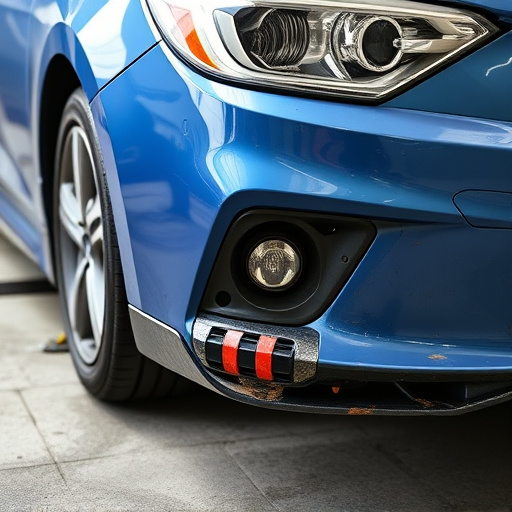
Understanding Tesla Model 3 Front Fascia Cracks/Dents

Tesla Model 3 owners often face the concern of front fascia cracks or dents due to various reasons, from minor fender benders to more severe collisions. These issues can significantly impact the vehicle’s aesthetics and may even affect its performance over time. Understanding the nature of these damage types is crucial when considering Tesla Model 3 front fascia repair options. Cracks in the front fascia are typically caused by impacts or changes in temperature, leading to structural fractures in the plastic component. Dents, on the other hand, often result from minor collisions, car scratch repairs, or even debris impact during driving.
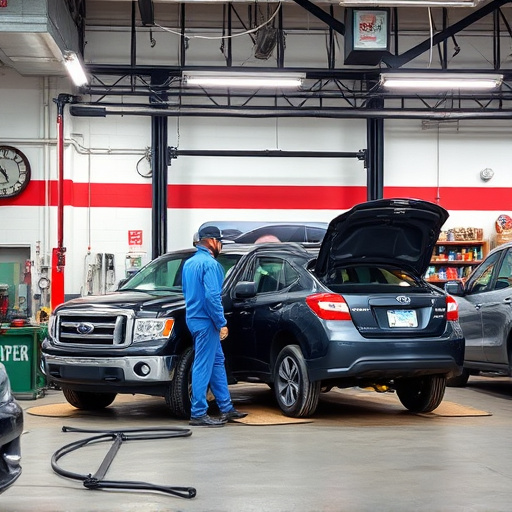
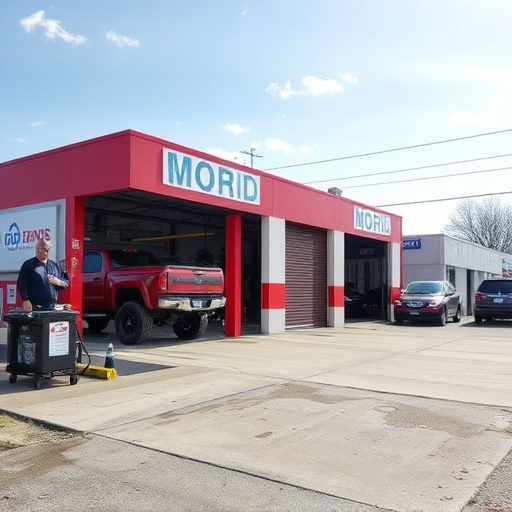
When a collision occurs, it’s recommended to visit a reputable collision repair center offering specialized body shop services for Tesla vehicles. Skilled technicians can assess the damage, providing options for either a full replacement of the front fascia or a precise repair to restore its original condition. Reputable shops equipped with advanced tools and expertise will ensure that any Tesla Model 3 front fascia repair is carried out efficiently, maintaining the vehicle’s sleek design and ensuring long-term performance.
Tools and Materials Required for Repair
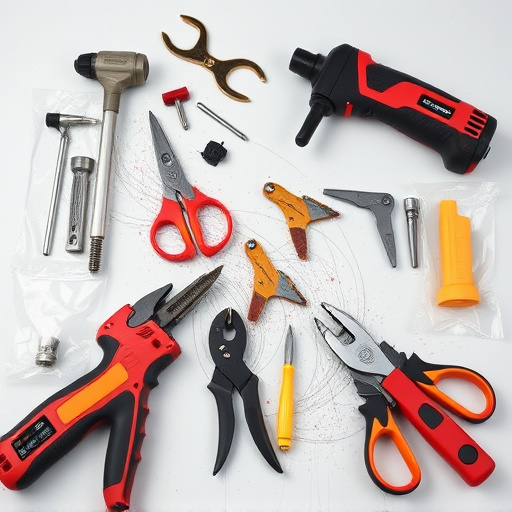
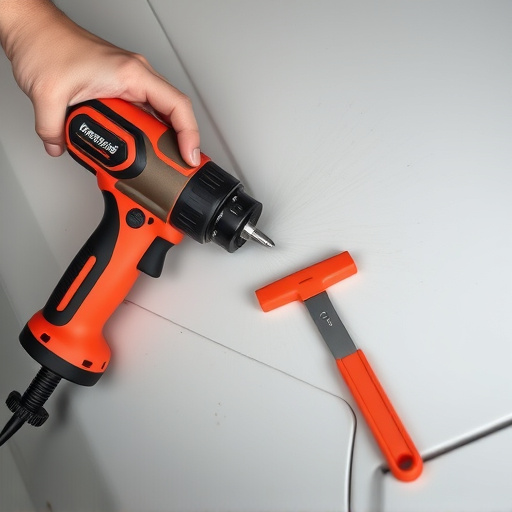
To undertake a Tesla Model 3 front fascia repair for cracks or dents, you’ll need specific tools and materials designed for precision work on modern automotive designs. Start with high-quality body filler and a matching paint that closely resembles the original finish of your Model 3. A set of specialized tools like putty knives, sandpaper (grits 400 and 1200), and a detailing cloth are essential. For precise measurements and cuts, consider using a heat gun and a pair of pliers or clamps.
Additionally, a clear coat and base coat paint from a reputable automotive supplier will ensure a seamless finish. Don’t forget safety gear, including gloves and eye protection, as well as a well-ventilated area to work in. If you’re dealing with significant damage, consider seeking assistance from a collision repair shop or collision center that specializes in Tesla vehicles for expert guidance and high-quality results.
Step-by-Step Guide to Effective Facia Restoration

Repairing a cracked or dented Tesla Model 3 front fascia requires precision and a systematic approach. Here’s a step-by-step guide to help you achieve effective restoration:
1. Assess the Damage: Begin by thoroughly examining the front fascia for cracks, dents, or any signs of damage. Identify the extent of the issue to determine the repair process needed. For minor cracks, a simple repair might suffice, while more extensive damage may require replacement parts.
2. Gather Materials and Tools: Before starting, gather all necessary tools and materials. This includes body filler (or putty), sandpaper, primer, paint, and possibly new fascia trim pieces if the damage is severe. Consider visiting a collision center or reputable car repair shop for expert advice on suitable products.
3. Prepare the Area: Clean the affected area, removing any dirt or debris. Mask surrounding areas with tape to avoid painting or damaging other parts of the vehicle. Ensure proper ventilation in the body shop services area as some products may emit strong fumes.
4. Repair or Replace: For small cracks, use a putty knife to apply body filler and smooth it out. Allow it to dry completely, then sand gently to achieve a flat surface. For larger dents, consider using a professional-grade dent puller or a heat gun (with caution) to return the fascia to its original shape. If replacement is necessary, order a new fascia panel from a trusted supplier.
5. Prime and Paint: After repairs, prime the area to ensure better paint adhesion. Let it dry, then apply a coat of high-quality car paint in the correct color. Use a fine brush for detailed work and a spray gun for larger surfaces to achieve an even finish.
Repairing cracks or dents in your Tesla Model 3’s front fascia is an essential task for maintaining its sleek and modern appearance. By understanding the issues, gathering the right tools, and following a detailed guide, you can effectively restore your vehicle’s facade. With a bit of patience and care, you’ll have a like-new front end, enhancing your Tesla’s overall aesthetic appeal. Remember, prompt action on minor damages can prevent them from becoming more severe, making regular checks and maintenance crucial for your Model 3’s longevity.