


Tesla interior trim damage, from scratches to dents, reduces aesthetics and resale value. Proper repair involves understanding damage types and using suitable tools: sandpaper, scrapers, paint kits, isopropyl alcohol, brushes. A simple guide includes cleaning, sanding, applying vinyl restorer, repeating until scratch reduction or elimination for like-new condition.
Looking to restore your Tesla’s interior? Discover the secrets to repairing scratches and scuffs on your vehicle’s trim. Understanding common damage types and the right tools is key. This comprehensive guide walks you through a step-by-step process, from preparing the area to achieving a flawless finish. Learn how to effectively repair Tesla interior trim, enhancing your car’s aesthetic appeal with professional results.
- Understanding Tesla Interior Trim Damage
- Tools and Materials for Repair
- Step-by-Step Guide to Effective Trim Restoration
Understanding Tesla Interior Trim Damage

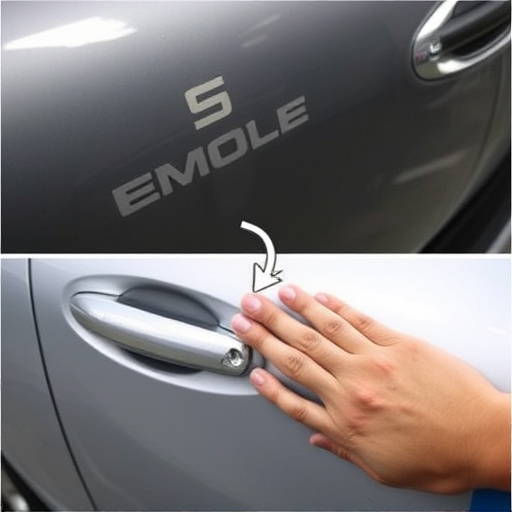
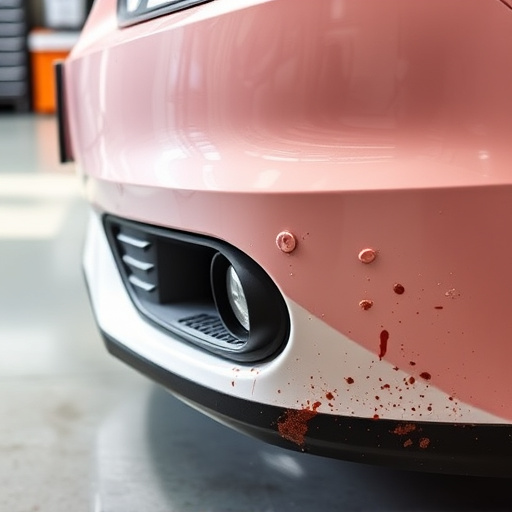
Tesla interior trim damage can manifest as scratches, scuffs, or even small dents on various components like doors, dashboards, and center consoles. These issues are not merely cosmetic; they can impact the overall aesthetic appeal and resale value of your Tesla. It’s crucial to address such damages promptly to maintain the vehicle’s sleek and modern look.
Understanding the types of trim damage is the first step towards effective repair. Scratches and scuffs often require light sanding, filling, and painting to match the existing color. For deeper indentations or dents, professional tools and techniques like air compression or specialized dent removal kits may be needed. These methods can restore the car’s bodywork to its original condition, ensuring a seamless and satisfying Tesla interior trim repair experience.
Tools and Materials for Repair

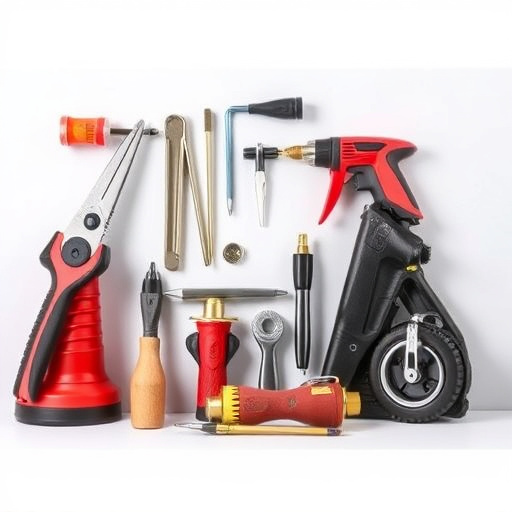
To undertake Tesla interior trim repair for scratches and scuffs, there are a few essential tools and materials required. These include specialized scrapers, sandpaper in various grit sizes, and vehicle paint repair kits. For effective Tesla interior trim repair, you’ll need fine-grit sandpaper (around 600 to 1200) to gently buff away damaged areas without causing further harm. Scrapers designed for removing adhesives or old paint are also crucial, ensuring a clean, even surface for application of new paint or trim pieces. Vehicle paint repair kits are another staple, offering a range of colors and finishes specific to Tesla vehicles, ensuring a seamless match with your car’s interior. Additionally, you might need isopropyl alcohol for cleaning and preparing the surface, as well as brushes and applicators for precise painting.
Choosing the right materials is half the battle won in vehicle repair services. Opting for high-quality products ensures lasting results that blend seamlessly into your Tesla’s original design. Remember, meticulous preparation and careful application are key to achieving a professional finish. Whether addressing minor scratches or more significant scuffs, these tools and materials will help restore your Tesla’s interior trim to its like-new condition.
Step-by-Step Guide to Effective Trim Restoration

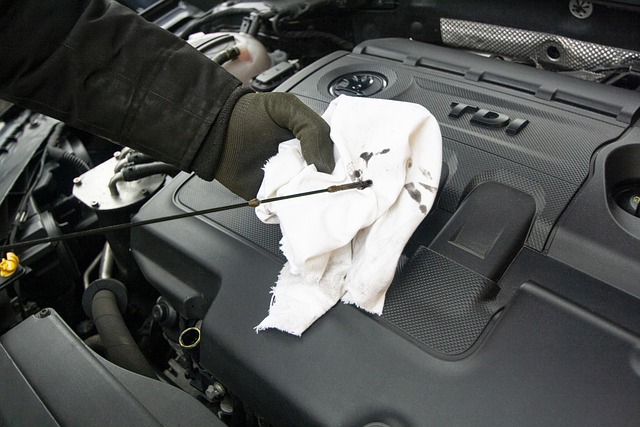
Restoring your Tesla’s interior trim doesn’t have to be a daunting task. Here’s a step-by-step guide for effective trim restoration, tailored for Tesla owners looking to fix minor scratches and scuffs on their vehicle’s interior. Begin by gathering your supplies, including a high-quality vinyl cleaner, a soft cloth or sponge, and a fine-grit sanding block. Next, clean the damaged area thoroughly using the cleaner to remove any dirt or grime, ensuring the surface is free of debris. After cleaning, gently sand the area with the sanding block, working in small sections at a time to avoid oversanding. This process helps to smooth out the scratch and prepare the trim for repair. Once sanding is complete, wipe down the area again to remove any dust particles left behind.
The final step involves applying a high-quality vinyl restorer using a clean cloth or sponge. Spread the restorer evenly over the scratched area, following the product’s instructions for drying time. As the restorer dries, you’ll notice the scratch beginning to fade. Once completely dry, inspect the restored area and ensure it matches your vehicle’s original finish. If needed, repeat the sanding and restoring process until the scratch is significantly reduced or eliminated entirely. Remember, patience is key during Tesla interior trim repair—take your time to achieve the best possible results, as these minor fixes can go a long way in maintaining your vehicle’s pristine appearance.
Tesla interior trim repair is a feasible DIY project for those with moderate craftsmanship skills. By understanding the common causes of damage, having the right tools and materials, and following a step-by-step guide, you can effectively restore your Tesla’s interior trim, removing scratches and scuffs to restore its original look. This not only saves costs but also allows you to maintain and personalize your vehicle’s aesthetic appeal.