


Mercedes bumper repair involves addressing impacts and damage from collisions, debris, scratches, and weather. Preparation includes gathering tools, ensuring safety, and consulting professionals for complex cases. The process begins with inspection, cleaning, extracting dents, filling cracks, priming, and painting for a durable, matching finish, emphasizing meticulous care and professional guidance.
Looking to fix your damaged Mercedes bumper like new? This comprehensive guide covers best practices for long-lasting Mercedes bumper repair. From understanding common causes of damage, to equipping yourself with the right tools and mastering a step-by-step restoration process, you’ll learn essential techniques to ensure durability and preserve your vehicle’s aesthetic appeal. Discover expert tips tailored specifically for Mercedes bumper repair.
- Understanding Mercedes Bumper Damage and Causes
- Preparation and Tools for Effective Repair
- Step-by-Step Guide to Long-Lasting Restoration Techniques
Understanding Mercedes Bumper Damage and Causes
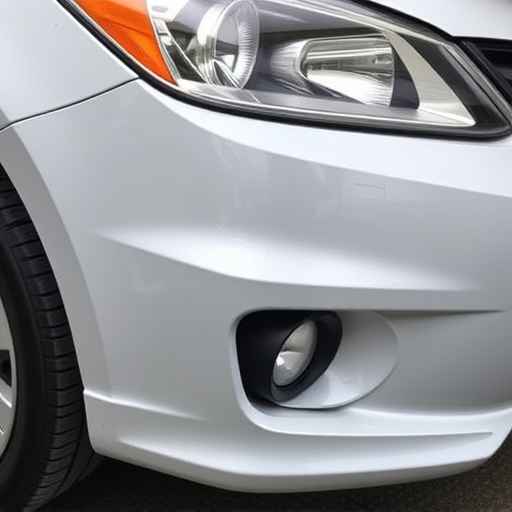
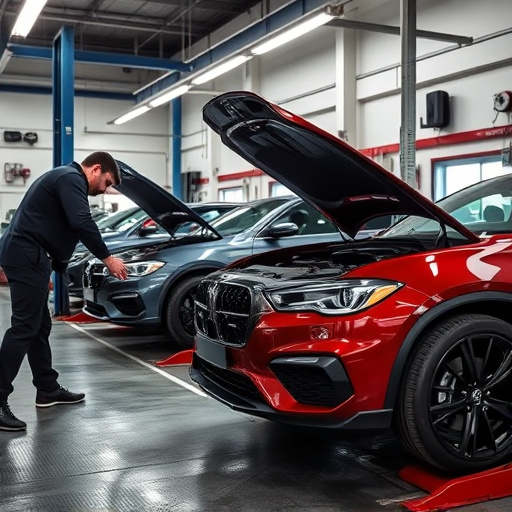
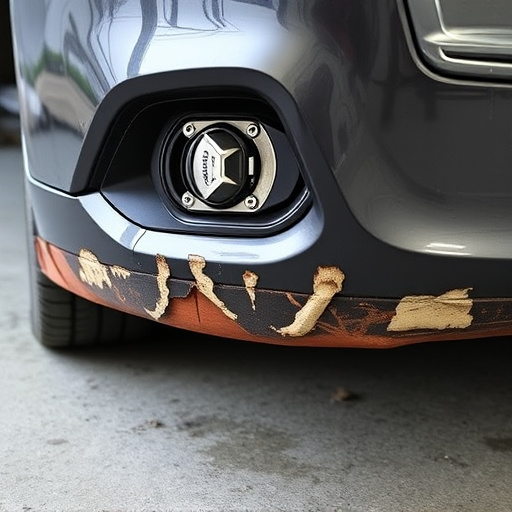
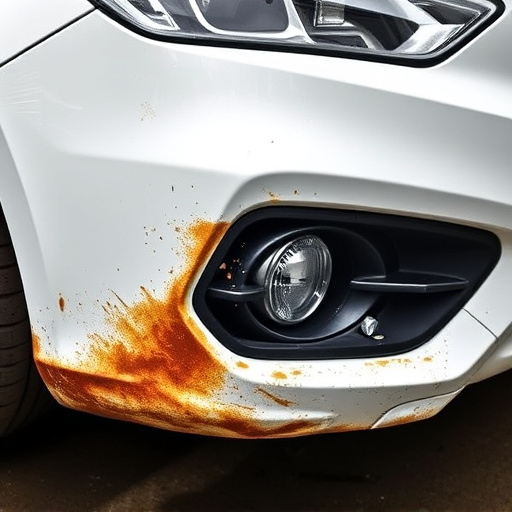
Mercedes bumpers are designed to withstand impact and protect the vehicle’s front or rear ends. However, over time, they can sustain damage from various sources such as collisions, road debris, and even minor scratches. Understanding the common causes of Mercedes bumper damage is essential for effective repair and restoration.
One of the primary reasons for Mercedes bumper repair is a collision, whether it’s a minor fender bender or a severe crash. These incidents can cause dents, cracks, or complete detachment of the bumper. Road hazards like potholes, loose debris, or flying stones can also leave visible marks and damage the surface. Moreover, exposure to harsh weather conditions, including rust and corrosion, can weaken the bumper’s structural integrity over time, making it more susceptible to damage when subjected to minor impacts. Recognizing these causes enables car owners to seek prompt collision repair services from a reputable auto body shop, ensuring their vehicle’s safety and aesthetics are maintained through professional car bodywork services.
Preparation and Tools for Effective Repair
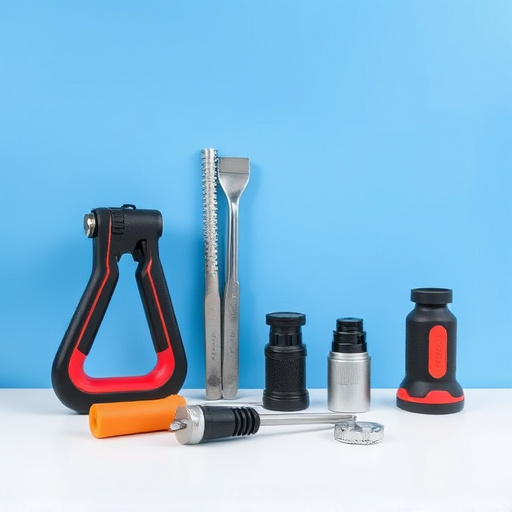
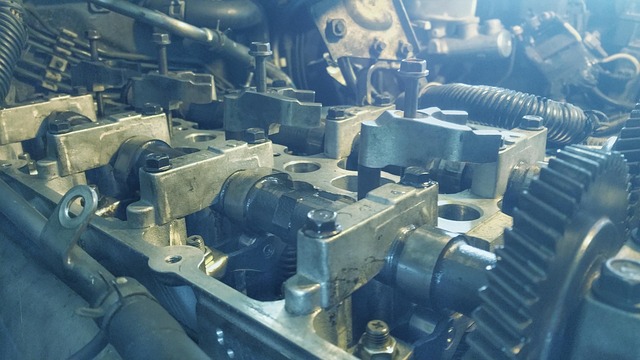
Before starting any Mercedes bumper repair, ensuring you have the right preparation and tools is paramount. Gather all necessary equipment, including a variety of screws, adhesive, and primer suitable for automotive use. A reliable collision center or experienced automotive repair shop will stock these essentials. Additionally, a clean workspace and proper ventilation are crucial to prevent damage from fumes during the repair process.
For effective Mercedes bumper repair, safety should never be compromised. Wear protective gear such as gloves and eye goggles. Ensure your work area is well-lit for precision. If tackling a complex repair or restoring a classic car, consider seeking advice from a professional who understands the intricacies of these processes. Remember, thorough preparation and adherence to safety protocols are key steps in achieving long-lasting results for your bumper repair, whether it’s for routine maintenance or after a collision.
Step-by-Step Guide to Long-Lasting Restoration Techniques
Restoring a Mercedes bumper to its original condition requires precision and care. Here’s a step-by-step guide for achieving long-lasting results in an automotive body shop:
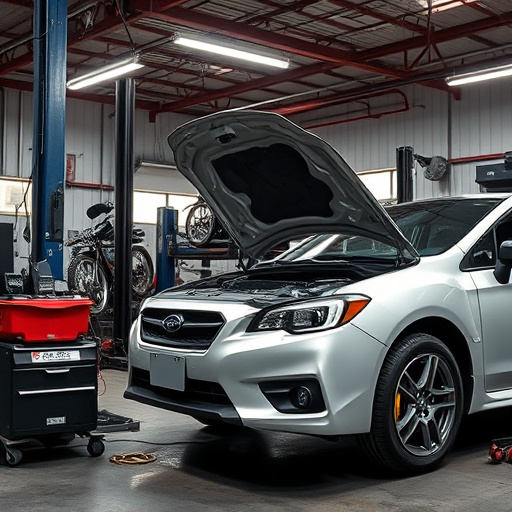
1. Inspection: Begin by thoroughly inspecting the damaged bumper, identifying the extent of the repair needed. This involves checking for dents, cracks, or missing parts. Take detailed notes to ensure every issue is addressed during the repair process.
2. Preparation: Clean the bumper area meticulously using automotive-grade cleaning agents. Remove any debris, grease, or old paint. This step ensures a clean canvas for the upcoming repairs and car paint repair. Use sandpaper to smoothen rough surfaces, making it ready for auto body services.
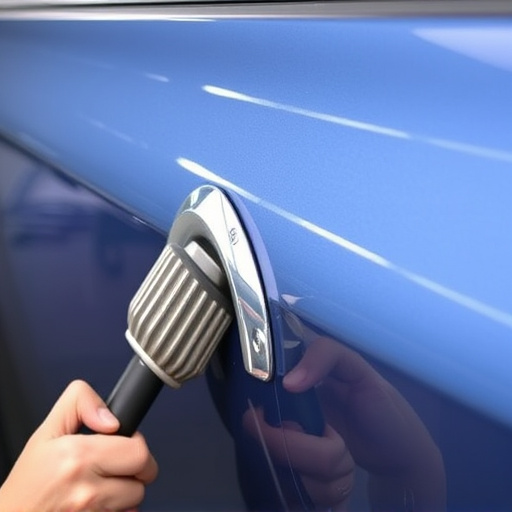
3. Dents and Cracks: For dents, use specialized tools like hammers and dolly sets to carefully pull out the damaged areas. This process should be done with precision to avoid marring the bumper’s finish. Once the dents are removed, fill any cracks or gaps with high-quality auto body filler. Sand smoothly after filling to create a level surface.
4. Painting: Before painting, prime the repaired area to ensure better adhesion. Use an automotive primer suitable for Mercedes bumpers. Allow it to dry completely. Then, apply several thin coats of car paint, matching the original color as closely as possible. This step requires patience and skill to achieve a flawless finish.
5. Final Touches: Once the paint is dry, inspect for any imperfections. Touch up any remaining defects with fine-grit sandpaper and then reapply paint if needed. Ensure all surfaces are smooth and seamless.
When it comes to Mercedes bumper repair, a thorough understanding of damage causes and implementing best practices is key. By preparing with the right tools and following a meticulous step-by-step guide, you can achieve a long-lasting restoration that maintains your vehicle’s aesthetic and value. Remember, proper preparation and expert techniques are essential for achieving top-notch results in Mercedes bumper repair.