


The Mercedes Head-Up Display (HUD) projects driving info onto the windshield, enhancing safety and driver experience through advanced optics, sensors, and software. Proper calibration ensures data aligns with driver's vision, minimizing distractions. Calibration relies on specialized tools for brightness, image projection, and software comparison. Performing calibration involves connecting a diagnostic scanner, using dedicated devices, adjusting settings, and fine-tuning parameters to ensure optimal alignment.
Unleash the full potential of your Mercedes with a precise Mercedes head-up display calibration. This guide is tailored for car enthusiasts and professionals alike, offering a comprehensive overview of the tools needed and a detailed step-by-step process.
Grasp the intricate Mercedes head-up display system before delving into essential calibration tools and methods. Discover how to fine-tune this advanced technology, ensuring optimal performance and a seamless driving experience. Optimize your vehicle’s HUD today!
- Understanding Mercedes Head-Up Display System
- Essential Tools for Calibration Process
- Step-by-Step Calibration Guide
Understanding Mercedes Head-Up Display System

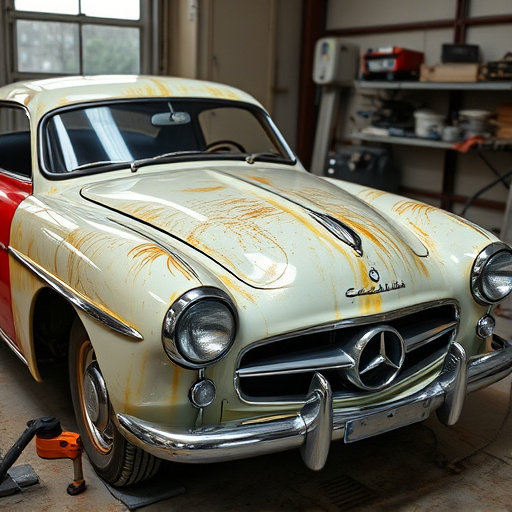
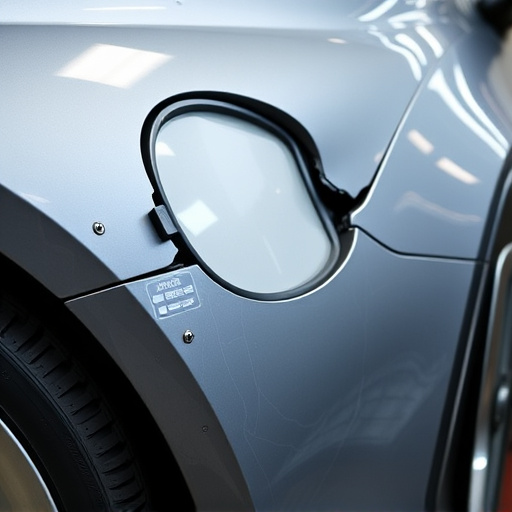
The Mercedes Head-Up Display (HUD) is a cutting-edge feature designed to enhance driver experience and safety by projecting relevant driving information onto the windshield. This innovative system combines advanced optics, precise sensors, and sophisticated software to deliver critical data such as speed, navigation instructions, and vehicle diagnostics in a heads-up format. Understanding how this intricate system works is crucial for anyone planning Mercedes head-up display calibration, which ensures optimal performance and accurate projection.
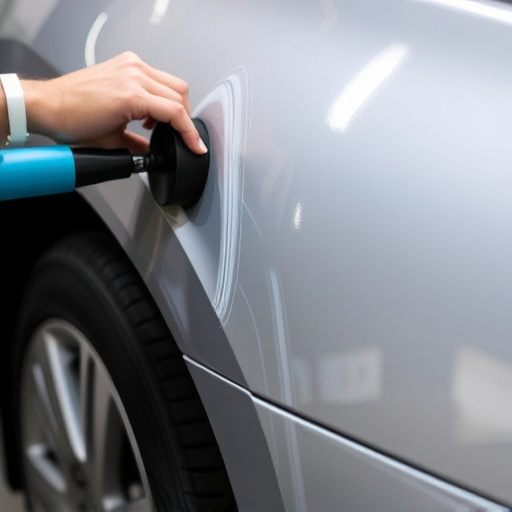
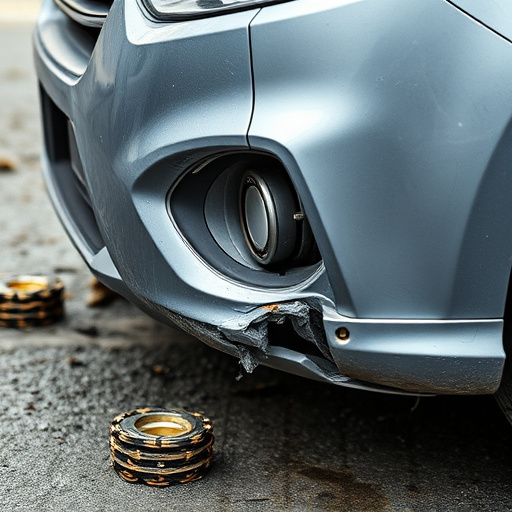
Proper calibration guarantees that the displayed information aligns precisely with the driver’s line of sight, offering a seamless and safe driving experience. Unlike traditional dashboards, the HUD eliminates the need for drivers to glance down at instruments, reducing potential distractions on the road. This technology is not just about precision; it’s also about ensuring the safety of the vehicle and its occupants, making it essential to maintain and calibrate the system correctly, much like a vehicle body shop addresses car dent removal or car paint repair to keep the exterior in top condition.
Essential Tools for Calibration Process

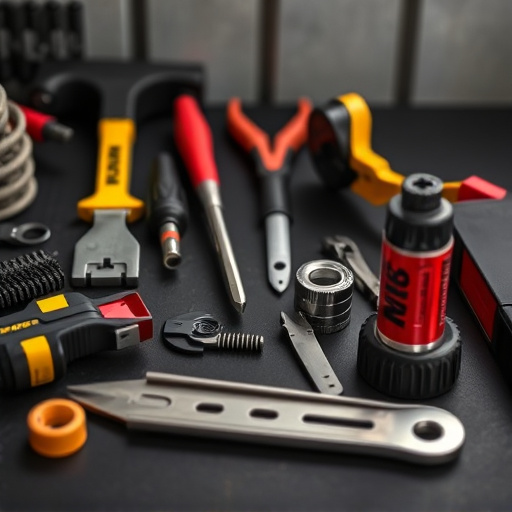
The Mercedes head-up display (HUD) is a sophisticated technology that requires precise calibration for optimal performance. The calibration process involves several essential tools to ensure accuracy and achieve the best visual experience. One of the key tools is a specialized sensor that detects and measures light intensity, enabling adjustments to the HUD’s brightness and contrast settings. This sensor plays a crucial role in fine-tuning the display for different lighting conditions, ensuring it remains clear and readable regardless of ambient light.
Additionally, a calibrated projector and a high-definition reference screen are indispensable for Mercedes HUD calibration. The projector projects images onto the reference screen, which is then analyzed by specialized software to compare with the expected output. This comparison helps identify any discrepancies or deviations in the display’s projection, allowing auto body repairs experts to make necessary adjustments during car repair shop procedures. Paintless dent repair techniques can also benefit from these tools, as they are used to ensure a seamless and accurate finish on vehicle interiors, enhancing the overall aesthetic appeal of the Mercedes HUD.
Step-by-Step Calibration Guide
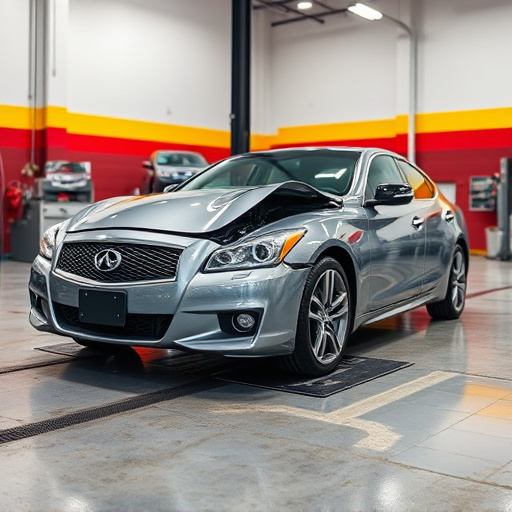
Performing a Mercedes head-up display calibration is a precise process that requires specialized tools and knowledge. Start by ensuring your vehicle is parked on a level surface, engine off, and all doors closed to minimize distractions. Gather the essential tools for the job—a diagnostic scanner compatible with Mercedes systems, a calibration device specifically designed for head-up displays, and a set of precision adjustments tools.
Follow a step-by-step guide meticulously: begin by connecting your diagnostic scanner to the vehicle’s OBD-II port. Access the head-up display settings through the scanner’s interface. Next, attach the calibration device to the display unit according to the manufacturer’s instructions. Adjust the device’s settings until the display reflects accurate data, fine-tuning parameters like font size, color contrast, and positioning. Once satisfied with the visual output, confirm the calibration using the provided tests and save the settings. Remember, proper alignment is crucial for a seamless experience, so take your time and double-check each step to ensure top-tier automotive repair services and an optimally calibrated Mercedes head-up display.
Mercedes head-up display calibration is a precision task that ensures your vehicle’s advanced driver assistance systems function optimally. By following the step-by-step guide and utilizing the essential tools outlined in this article, you can achieve accurate calibration, enhancing both safety and driving experience. Remember, proper maintenance and regular checks are vital to keeping your Mercedes’ cutting-edge technology at its best.