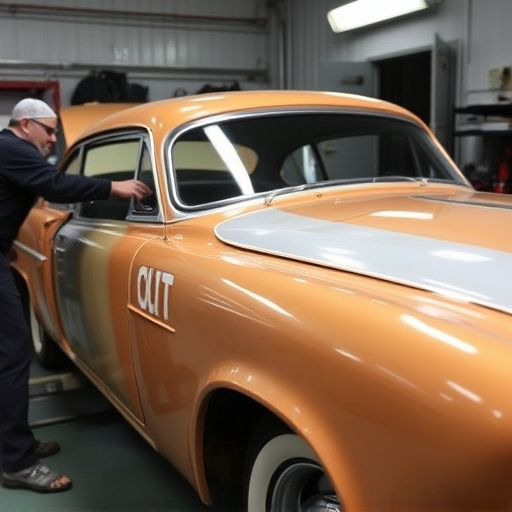

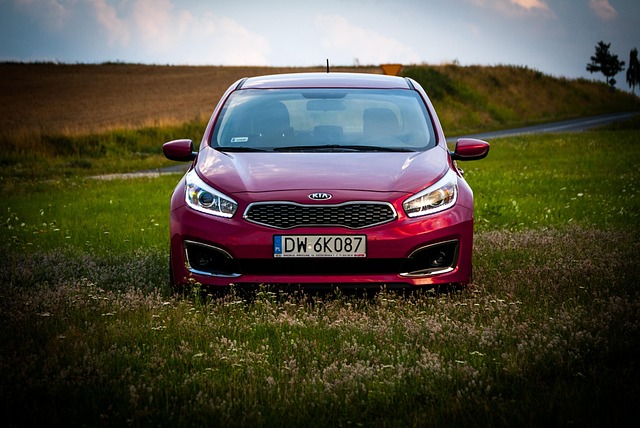
Mercedes pearl effect repairs require advanced skills and techniques from auto technicians. The process involves meticulous preparation, blending in fresh paint while preserving the unique iridescent texture, and ensuring seamless integration with the vehicle's body. By following a step-by-step guide, using specialized tools like fine abrasives, and applying Mercedes-specific primer and paint, technicians achieve a flawless finish that meets the brand's high standards, ultimately enhancing customer satisfaction for top-tier car bodywork services.
Discover the art of blending techniques for seamless Mercedes pearl effect panel repairs. This comprehensive guide delves into the unique properties of Mercedes pearl effect paint and provides step-by-step instructions for achieving expert results. Learn how to navigate the intricate process, ensuring a flawless fusion that matches the original finish. From understanding the paint’s characteristics to best practices, this guide is your go-to resource for successful Mercedes pearl effect repair.
- Understanding Mercedes Pearl Effect Paint and Its Unique Properties
- The Art of Blending: Techniques for Seamless Repairs
- Step-by-Step Guide: Repair Process and Best Practices
Understanding Mercedes Pearl Effect Paint and Its Unique Properties
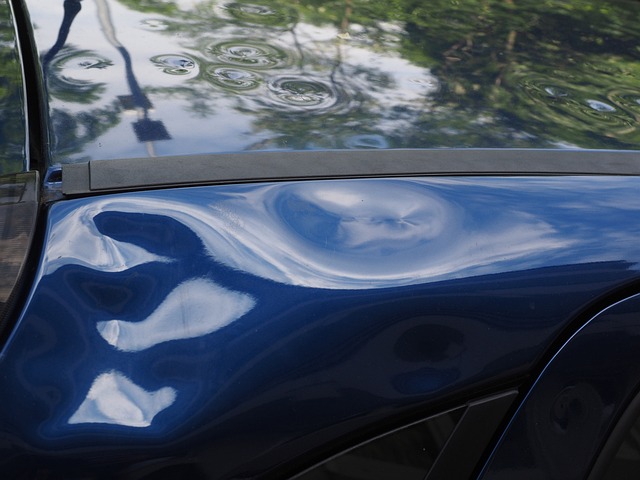
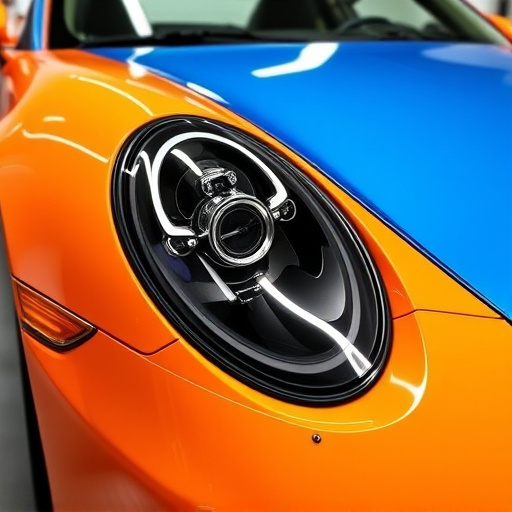
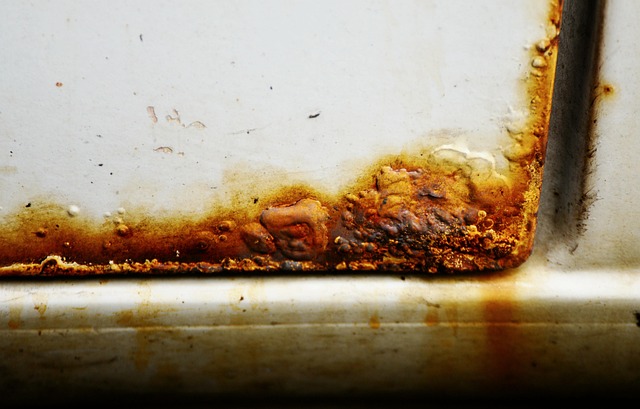
Mercedes Pearl Effect paint is renowned for its exquisite, iridescent finish—a signature look often associated with high-end automobiles like Mercedes-Benz models. This unique paint type features tiny, metallic flakes embedded within a clear coat, creating a stunning, multi-dimensional effect that shifts and gleams under different lighting conditions. The intricate interplay of light and color makes repairs to Mercedes Pearl Effect panels particularly challenging and requires specialized techniques.
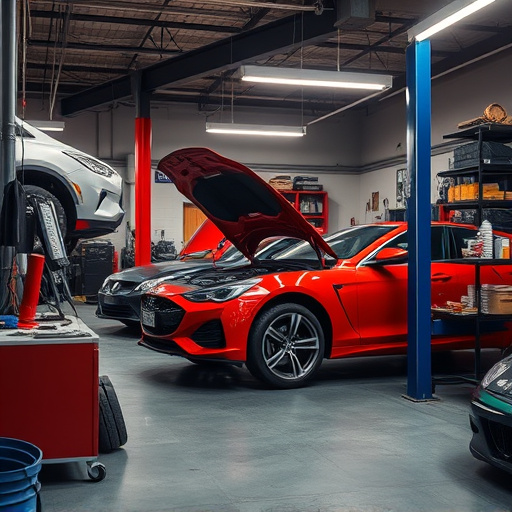
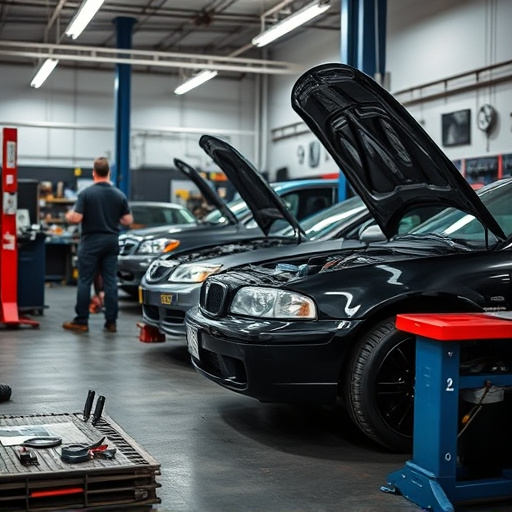
When addressing Mercedes pearl effect repair at an auto repair shop or automotive body shop, technicians must carefully match the original paint’s specific shade and texture. This involves using advanced color-matching technology and precise blending techniques. Auto body painting experts will delicately remove damaged or faded sections of the pearl effect coating, then blend in fresh paint that seamlessly integrates with surrounding areas. The goal is to restore the panel’s aesthetic appeal while preserving the distinctive pearl effect finish, ensuring the repaired area aligns perfectly with the vehicle’s overall design and quality standards.
The Art of Blending: Techniques for Seamless Repairs
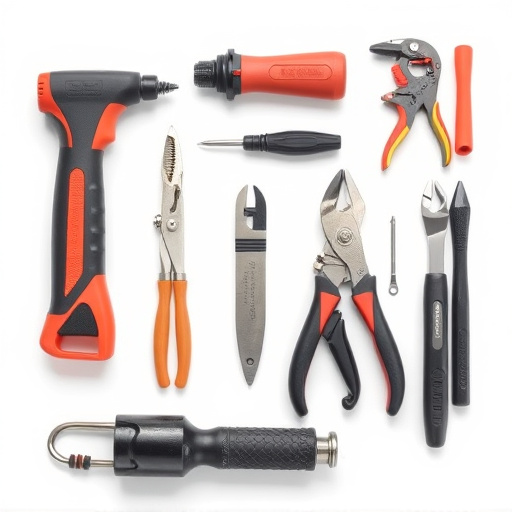
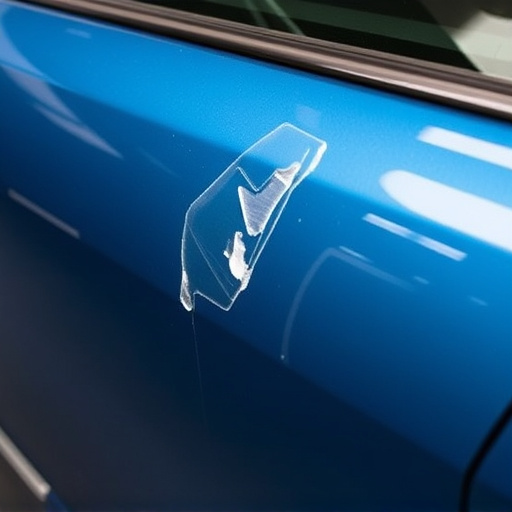
The art of blending is a precise skill required for Mercedes pearl effect panel repairs, ensuring a seamless finish that matches the vehicle’s original aesthetics. This technique involves carefully mending and reshaping damaged areas to create an invisible join between new and old parts, a process that demands both expertise and patience. Skilled technicians use specialized tools and paint techniques to match not just the color but also the texture and reflectivity of the pearl effect finish.
They begin by preparing the surface, ensuring it’s clean and free from debris. Then, using fine-grit sandpaper, they gently buff away damaged or chipped areas, creating a smooth base for repair. Next, they apply a thin layer of primer designed to match the pearl effect, followed by precise painting with custom-mixed colors to replicate the original hue. As the paint dries, technicians use finer abrasives to blend the repair seamlessly into the surrounding panel, achieving a flawless, indistinguishable fusion that showcases the beauty of Mercedes’ pearl effect craftsmanship. This meticulous blending process is key to delivering top-tier car bodywork services and ensuring customer satisfaction in auto body work repairs.
Step-by-Step Guide: Repair Process and Best Practices
Step-by-Step Guide: Repair Process and Best Practices for Mercedes Pearl Effect Repairs
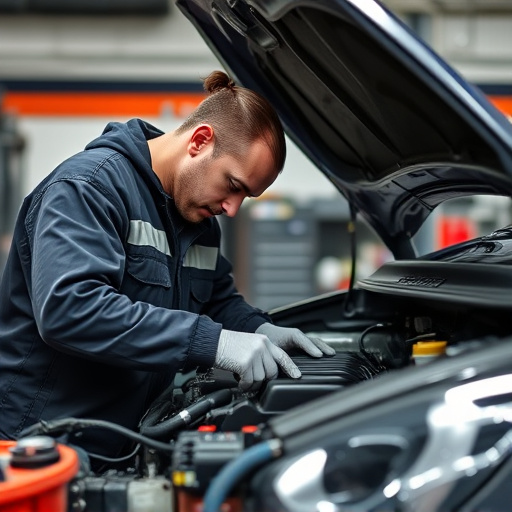
The first step in repairing a Mercedes pearl effect panel is preparing the damaged area. This involves removing any loose debris, using specialized cleaning agents to ensure a spotless surface, and masking off surrounding areas to prevent unwanted paint transfer. Next, carefully sand down the damaged zone to create a rough texture that promotes better adhesion for the repair compound. After sanding, apply an even coat of auto-specific primer designed for pearl effect finishes, allowing it to dry thoroughly.
Proceeding with the repair, use high-quality pearl effect paint tailored specifically to Mercedes vehicles. Apply thin, controlled layers, letting each layer cure before adding the next. This meticulous process ensures a seamless blend that matches the original pearl effect finish. Once the final coat is applied and completely dry, inspect the repair for any imperfections. Light sanding with fine grit paper can help smooth out minor issues, followed by another light coat of clear coat to seal and protect the repair. Remember, patience and precision are key in achieving a professional Mercedes pearl effect repair, rivaling the quality you’d find at any reputable collision repair shop.
Blending techniques are essential for achieving flawless Mercedes Pearl Effect panel repairs. By understanding the unique properties of this specialized paint and employing precise blending methods, technicians can ensure a seamless restoration that matches the original finish perfectly. Following the step-by-step guide provided in this article, professionals can master the art of blending, thereby elevating the quality of their Mercedes pearl effect repair work.