

Before using a bumper repair kit, understand its components and intended uses for quick fixes like dents, cracks, or scratches. Clean and prepare the damaged area, then follow kit instructions precisely, including curing times. Avoid common mistakes like skipping sanding, cleaning, or not following directions for optimal, professional-looking bumper repairs that maintain your vehicle's aesthetic and structural integrity.
“Achieve professional-grade repairs with a bumper repair kit and restore your vehicle’s sleek look. This comprehensive guide covers everything you need to know, from understanding your bumper repair kit to avoiding common mistakes. By following our step-by-step instructions, you’ll master the art of bumper restoration, ensuring precise results that match your car’s original finish. Elevate your DIY skills with these expert tips tailored for bumper repair kits.”
- Understanding Your Bumper Repair Kit
- Step-by-Step Guide to Professional Results
- Common Mistakes to Avoid During Repair
Understanding Your Bumper Repair Kit
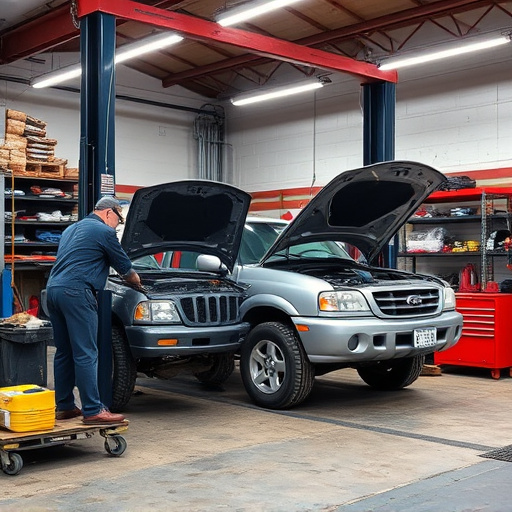
Before attempting any repairs, take the time to thoroughly understand your bumper repair kit. These kits typically include a range of tools, adhesives, and fillers designed to match the original material of your bumper. Familiarize yourself with each component and its intended use. Read the instructions carefully; understanding the step-by-step process will ensure professional results.
Knowing that these kits are often used for quick fixes or minor damages, such as dents, cracks, or scratches, allows you to set realistic expectations. While they can restore your bumper to a good as new condition, major structural damage may require professional automotive body work, especially if it involves metal fabrication or complex repairs. Remember, proper preparation and understanding your kit are key to achieving high-quality results, comparable to those provided by tire services for your vehicle’s external protection.
Step-by-Step Guide to Professional Results
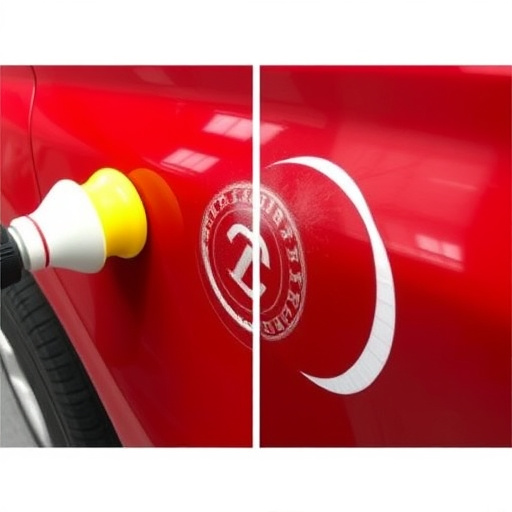
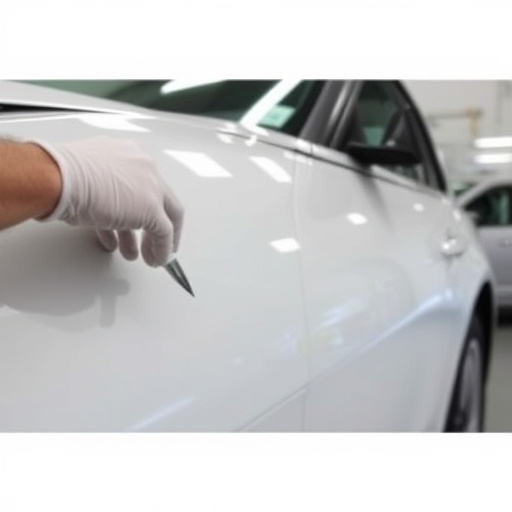
Achieving professional results with a bumper repair kit is within reach for anyone who follows a structured approach. Start by thoroughly cleaning and preparing the damaged area. Use a dedicated cleaner to remove any dirt, grease, or debris, ensuring the surface is free from contaminants that could hinder adhesion. Once clean, dry the surface completely to prevent water spots or uneven drying from affecting your repair.
Next, apply an appropriate primer designed for bumper repairs. This step ensures better paint adhesion and helps match the original finish perfectly. Allow the primer to dry according to the manufacturer’s instructions before moving on. Following this, carefully sand the area gently with fine-grit sandpaper to smoothen any imperfections or raise slight dents. Wipe away dust with a damp cloth, then let the surface dry again. Finally, apply your bumper repair kit using even strokes and following the product’s instructions for curing time. This meticulous process will yield professional-looking repairs that blend seamlessly with your car’s exterior.
Common Mistakes to Avoid During Repair
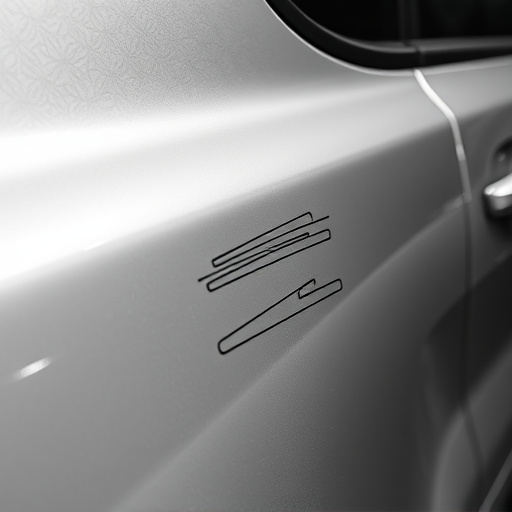
When using a bumper repair kit, there are several common mistakes to avoid that can ensure your work looks professional and lasts. One of the most frequent errors is inadequate preparation of the damaged area. Skipping steps like sanding and cleaning can result in poor adhesion and an uneven finish. Always take the time to properly prepare the surface, removing any debris or old paint, and ensuring it’s smooth and clean.
Another blunder to steer clear of is not following the instructions provided with your bumper repair kit diligently. Each kit is designed for specific applications, so deviating from the guidelines can lead to subpar outcomes. Be precise in measuring and applying the product as directed, whether it’s a filler, primer, or paint. Remember, proper execution in collision repair, automotive restoration, or car restoration projects often hinges on attention to detail and adherence to recommended procedures.
A successful bumper repair isn’t just about choosing the right bumper repair kit; it’s also about understanding your vehicle and following a structured process. By heeding the tips outlined in this article, including a thorough understanding of your bumper repair kit, meticulous step-by-step guidance, and awareness of common mistakes to avoid, you’ll achieve professional results that enhance your vehicle’s appearance and value. Remember, with the right approach and tools, like a high-quality bumper repair kit, even minor dents and dings can be repaired effectively.