


Tempered glass installation requires a precise curing process involving heating to 750°C and rapid cooling for superior strength. Curing conditions must be strictly controlled for uniform strengthening. Common mistakes include surface contamination, misalignment, and insufficient curing time, leading to poor performance and potential costs. Proper preparation and attention to detail ensure optimal installation outcomes for automotive repairs and other applications.
“Unleashing the power of safe and durable tempered glass installation requires understanding its curing process. This essential practice transforms the glass from a vulnerable state to a robust, shock-resistant form. In this comprehensive guide, we’ll demystify the art of tempered glass curing. From the underlying process to optimal environmental conditions, you’ll gain invaluable insights. Additionally, we’ll highlight critical mistakes to steer clear of during installation, ensuring your tempered glass stands the test of time and enhances your space securely.”
- Tempered Glass Curing Process Explained
- Ideal Conditions for Efficient Curing
- Common Mistakes to Avoid During Installation
Tempered Glass Curing Process Explained
The tempered glass curing process involves a precise series of steps to ensure the strength and safety of the final product, essential for applications like automotive collision repair and fender repair. It begins with heating the glass to a specific temperature, typically around 750°C (1382°F), in a controlled environment. This high-temperature treatment ensures the glass reaches its maximum structural integrity.
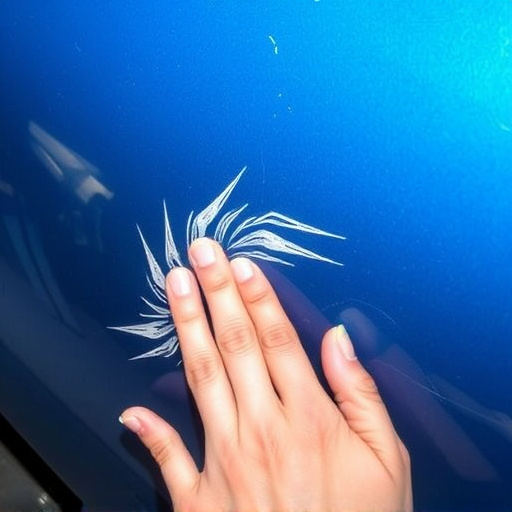
Once heated, the glass goes through rapid cooling, usually by exposure to ambient air or specific quenching methods. This quick transition from heat to cold is crucial as it creates internal stresses within the glass. These stresses are what give tempered glass its characteristic strength and durability. Unlike standard glass, which can shatter into sharp pieces when broken, tempered glass shatters into small, non-sharp pieces, making it safer for installation in various settings, including car repair services.
Ideal Conditions for Efficient Curing
For optimal results in tempered glass installation, understanding the ideal conditions for efficient curing is paramount. The process requires precise environmental control to ensure the glass reaches its maximum strength and durability. Typically, this involves maintaining a controlled temperature range, usually between 150°F and 300°F (65°C to 150°C), and ensuring consistent humidity levels throughout the curing period. These conditions facilitate chemical reactions that strengthen the glass, making it resistant to shattering or cracking under stress.
Proper tempered glass curing also demands a stable and still environment to prevent any unwanted movement or vibrations that could disrupt the process. This is especially important in applications like classic car restoration or collision damage repair, where precision and integrity of the final product are paramount. Avoiding sudden temperature fluctuations and extreme environmental conditions ensures that the glass hardens uniformly, resulting in a high-quality finish suitable for various applications beyond just car dent repair.
Common Mistakes to Avoid During Installation
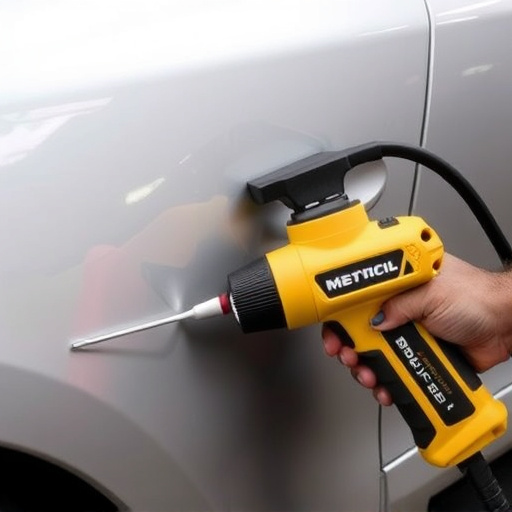
During the installation of tempered glass, whether for a window or automotive repair like car damage repair, several common mistakes can be avoided with proper preparation and attention to detail. One of the primary blunders is not properly cleaning the surfaces before application; even the slightest residue or oil can compromise the adhesion and integrity of the final product in both car body shop settings and general construction sites. Insufficient alignment is another issue; tempered glass installation requires precise fitting, so any misalignment can lead to poor performance and potential auto maintenance headaches down the line.
Another mistake to steer clear of is not allowing enough time for curing. Tempered glass must cure thoroughly, a process that involves letting it set for a specific duration after installation. This crucial step ensures the adhesive bonds optimally, preventing issues like premature breakage or poor thermal insulation in vehicles and buildings alike. Ignoring this can lead to subpar results, requiring costly car body shop repairs or replacement installations.
Proper tempered glass curing is a critical step in ensuring the safety and durability of your tempered glass installations. By understanding the curing process, ideal conditions, and common mistakes to avoid, you can achieve optimal results for your projects. Remember, the key lies in meticulous attention to detail throughout the installation process.