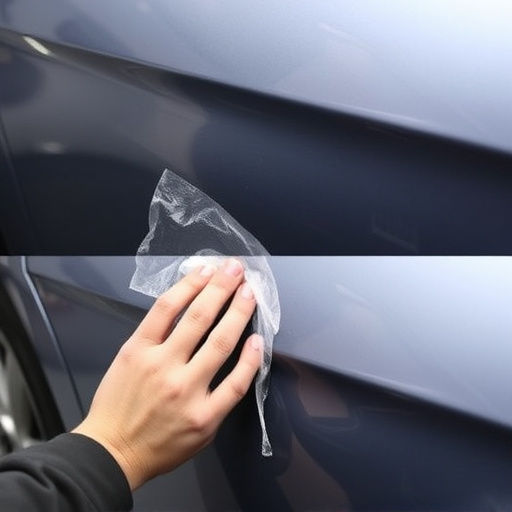


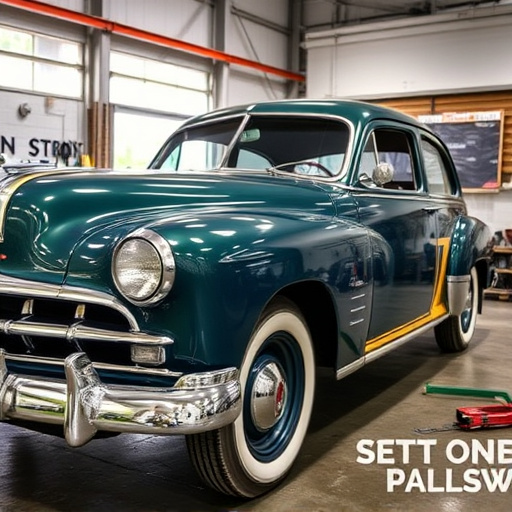
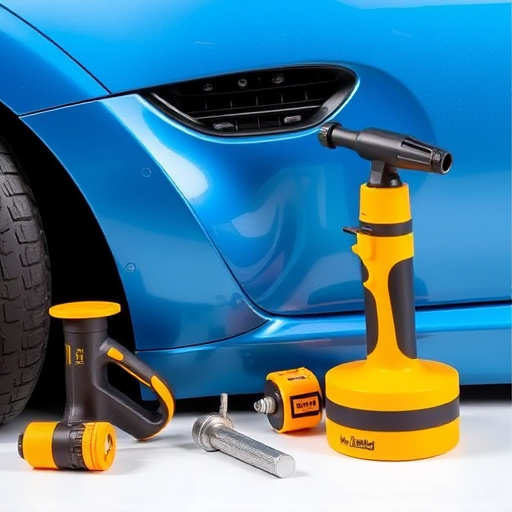
Windshield molding replacement involves assessing damage, precise cutting for a perfect fit, and meticulous finishing with sealing agents to prevent rust. Skilled technicians ensure color and texture match, using techniques like paintless dent repair, while reputable shops handle simple to complex tasks, restoring your vehicle's aesthetic appeal and structural integrity.
Proper windshield trim installation is essential for both vehicle safety and aesthetics. This article delves into the key elements of successful windshield molding replacement, providing a step-by-step guide. We explore understanding the basics of windshield molding replacement, measuring and cutting trim for a precise fit, and securing and finishing the job to ensure longevity and maintain a sleek look. By following these guidelines, you’ll master the art of windshield molding replacement, enhancing both functionality and visual appeal.
- Understanding Windshield Molding Replacement Basics
- Measuring and Cutting Trim for Precise Fit
- Securing and Finishing for Longevity and Aesthetics
Understanding Windshield Molding Replacement Basics
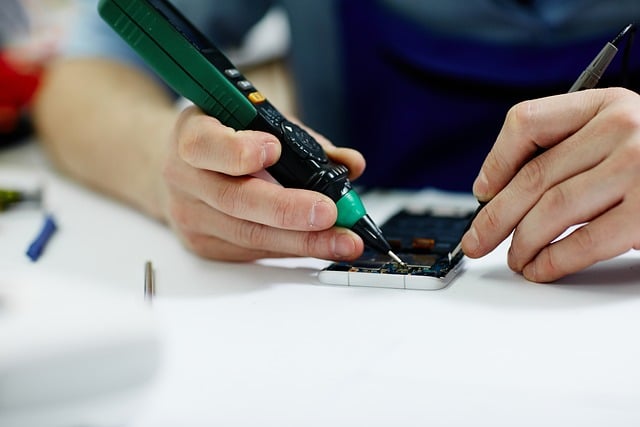
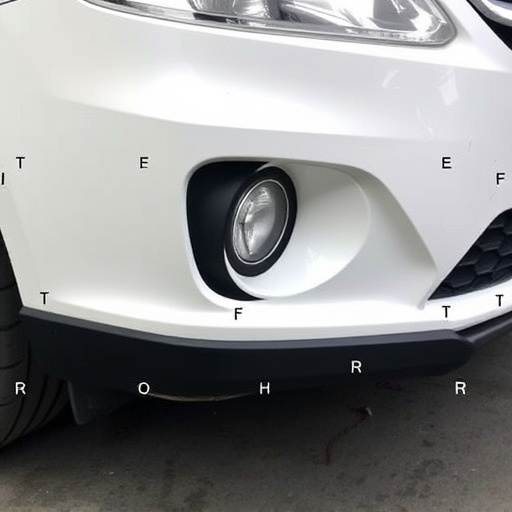
When it comes to windshield molding replacement, understanding the basics is key. This process involves more than just swapping out a broken or damaged piece; it requires precision and attention to detail to ensure a seamless fit and finish. The first step in any windshield molding replacement is assessing the damage. Inspecting the existing molding for cracks, chips, or other imperfections helps determine the extent of the repair needed. In many cases, minor damages can be addressed with simple repairs like painting or filling, but more extensive issues may necessitate complete replacement.
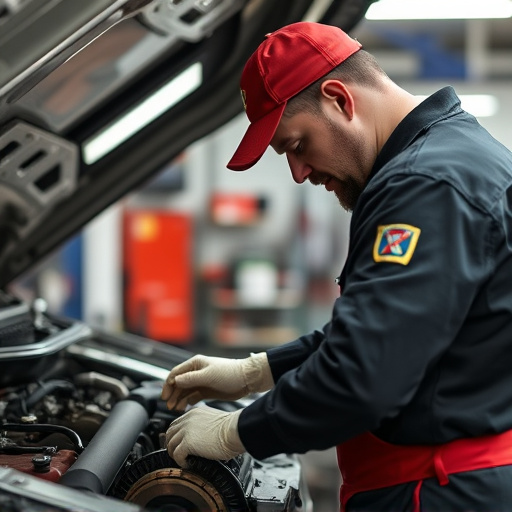
A successful windshield molding replacement goes beyond just installing new parts. It involves matching the color and texture of the existing molding to maintain the vehicle’s original aesthetic appeal. This is where skilled technicians excel, utilizing techniques like paintless dent repair for subtle corrections. A reputable car repair shop equipped with the right tools and expertise can handle both straightforward windshield molding replacements and complex car body restoration tasks, ensuring your vehicle looks as good as new.
Measuring and Cutting Trim for Precise Fit
Accurate measurement and trim cutting are paramount for achieving a seamless fit when installing or replacing windshield molding. This meticulous process ensures that the new trim seamlessly integrates with your vehicle’s body lines, creating a clean and professional finish. Before beginning, gather all necessary tools, including measuring tape, a marker, and a high-quality pair of scissors or a utility knife. Carefully measure the length and contours of the existing windshield moldings to ensure precise cutting. Mark these measurements clearly on the new trim pieces using a durable marker.
Cutting the trim requires precision and attention to detail. Use a sharp blade to cut along your marked lines, ensuring straight and clean cuts that match the vehicle’s curves. Test-fit the trimmed pieces over the windshield to verify their accuracy before finalizing the installation. This step ensures that there are no misalignments or gaps that could compromise the structural integrity of the vehicle body shop during collision repair services.
Securing and Finishing for Longevity and Aesthetics
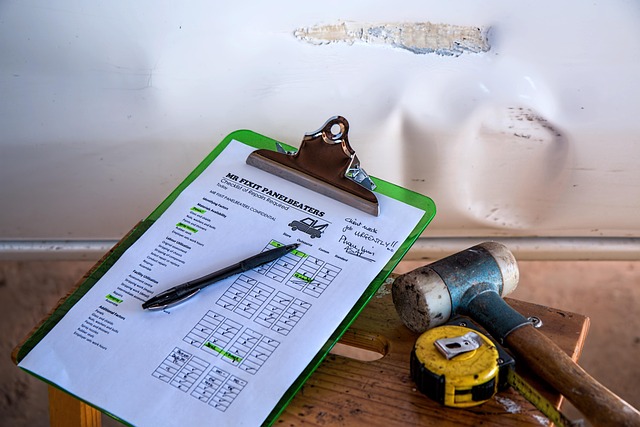
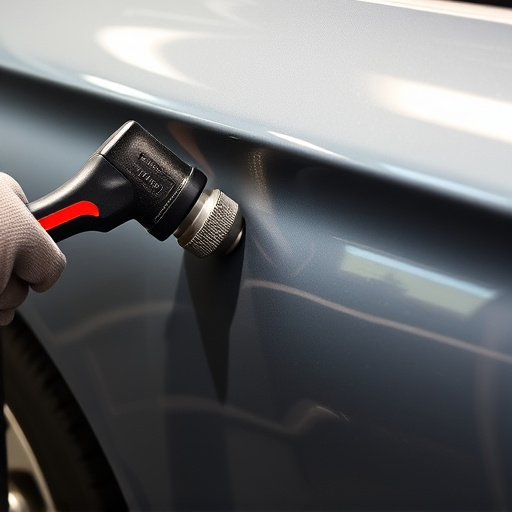
Securing and finishing are paramount when it comes to proper windshield trim installation, ensuring both longevity and aesthetic appeal. After fitting the new windshield molding replacement, a thorough inspection is crucial to identify any gaps or misalignments. These issues can be addressed with precision using auto body services’ specialized tools and expertise. Sealing agents and adhesive tapes should be employed to create a secure bond between the trim and the vehicle’s structure, preventing water infiltration that could lead to rust and other damage over time.
A seamless finish is as important for aesthetics as it is for functionality. The surface of the windshield molding replacement should be meticulously smoothed, and any visible marks or imperfections from the installation process should be touched up with care using vehicle paint repair techniques. This attention to detail ensures that your vehicle not only looks its best but also maintains its value, even after a fender bender or minor collision, showcasing a robust and aesthetically pleasing finish.
Proper windshield trim installation involves understanding the basics of windshield molding replacement, precise measurement and cutting, and secure finishing. By following these key elements, you can ensure a long-lasting, aesthetically pleasing finish that enhances both the functionality and visual appeal of your vehicle. Mastering these steps is essential for anyone considering a DIY approach to windshield molding replacement, ultimately saving time and money while achieving professional results.