


Tesla premium paint repair requires understanding multi-layered paint systems and using matching color codes for accurate results. DIY methods are suitable for minor damage like shallow scratches and chips, but severe repairs need professional collision shop expertise. Gather high-quality tools and materials including sandpaper, clear coat, and safety gear; prepare workspace with drop cloths. For small issues, follow step-by-step guide: wash, inspect, lightly sand, clean, apply paint in thin layers; deeper chips use chip repair kits from collision shops.
Looking to give your Tesla a fresh, pristine finish without the dealership cost? This guide teaches you how with a comprehensive, at-home Tesla premium paint repair approach. We break down the essentials of understanding Tesla premium paint repair basics and outline the tools and materials needed for success. Follow our simple step-by-step instructions to effectively fix small scratches and chips, returning your vehicle to its showroom condition.
- Understanding Tesla Premium Paint Repair Basics
- Gather Tools and Materials for the Job
- Step-by-Step Guide to Fix Small Scratches and Chips
Understanding Tesla Premium Paint Repair Basics
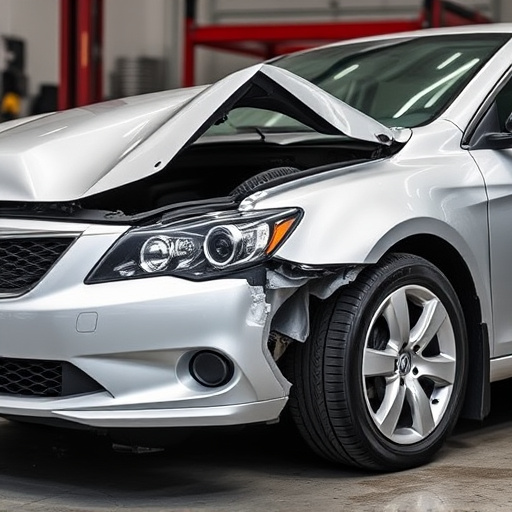
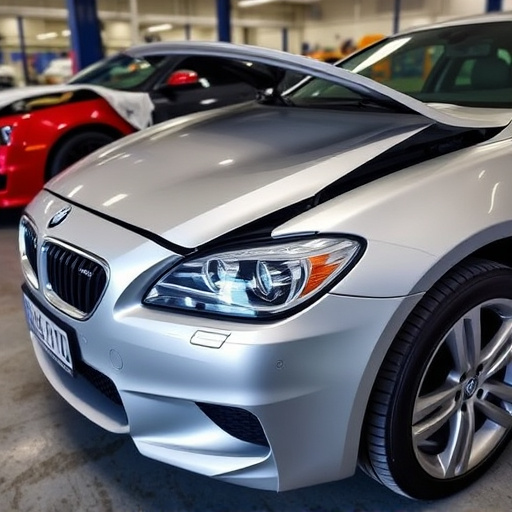
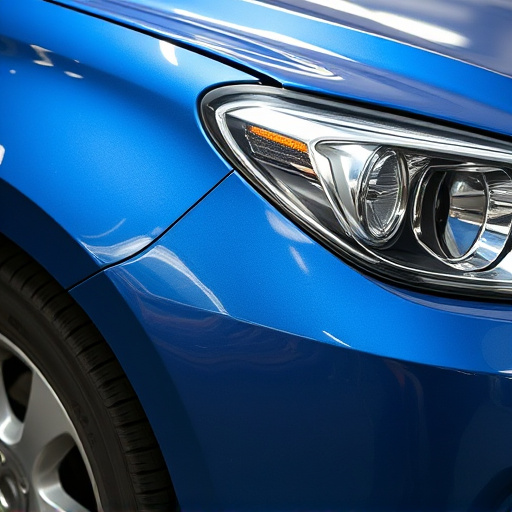
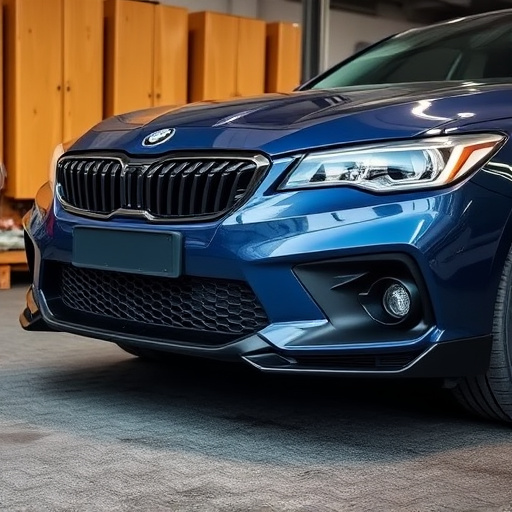
Tesla premium paint repair is a specialized process designed to restore the pristine finish of your Tesla vehicle. While many owners prefer to leave such work to professional collision repair shops, there are instances where a quick, at-home fix might be feasible. The basics involve understanding the unique paint system used in Teslas, which includes several layers of high-quality, durable coating. Unlike traditional dent repair or frame straightening methods common in other vehicles, Tesla’s approach requires precision and care to maintain the car’s overall aesthetic appeal.
Before attempting any DIY premium paint repair, it’s crucial to assess the extent of damage, whether it’s a minor dent or a more significant chip. Tools needed may include specialized sandpaper, paint matching your vehicle’s color, and a clear coat applicator. While this method can be cost-effective for small issues, it’s essential to recognize that serious repairs, such as extensive body work or frame adjustments, are best left to qualified technicians who have the expertise and equipment for collision repair.
Gather Tools and Materials for the Job
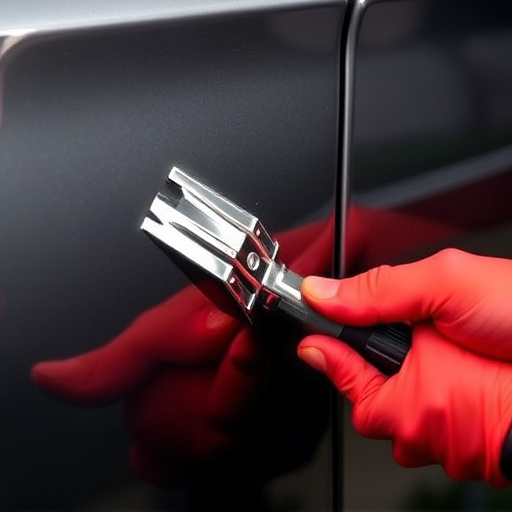
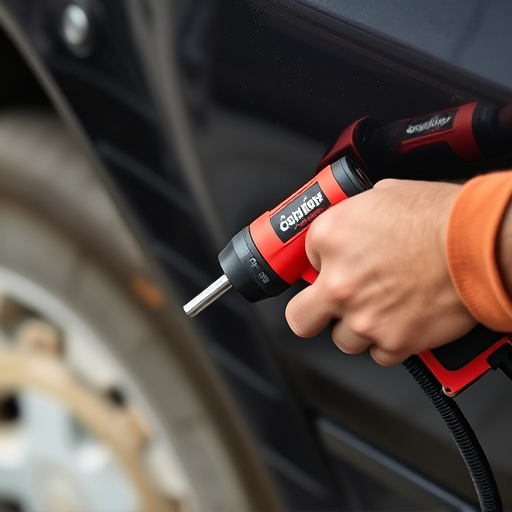
Before starting any DIY project, ensuring you have all the necessary tools and materials is paramount for success. For a Tesla premium paint repair, gather high-quality automotive paint that matches your vehicle’s exact color code. This precision is key to achieving a flawless finish. Also, stock up on essential items like sandpaper (grit 400-600), an electric sander, a paint applicator pad, and a clear coat. Don’t forget safety gear: gloves, goggles, and a respirator mask are must-haves to protect against harmful fumes.
Additionally, prepare your workspace by covering it with drop cloths or old sheets to avoid damaging surfaces. A clean, well-lit area is ideal for this task. Having the right auto painting equipment and following meticulous preparation will greatly facilitate the vehicle paint repair process, ensuring your Tesla’s bodywork looks as good as new.
Step-by-Step Guide to Fix Small Scratches and Chips
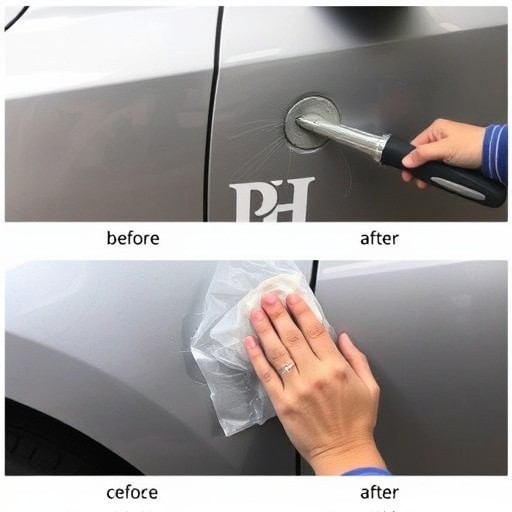
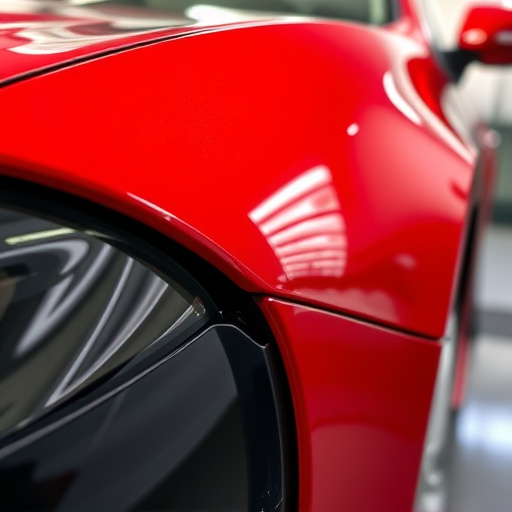
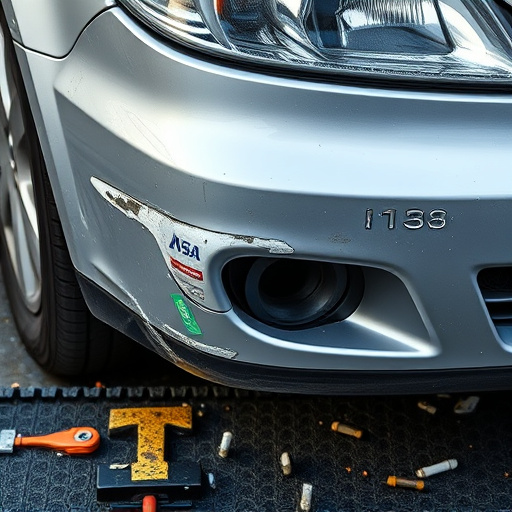
Fixing small scratches and chips in your Tesla’s premium paint at home can be a quick and cost-effective solution for maintaining its sleek appearance. Here’s a step-by-step guide to help you achieve professional results, similar to what you’d expect from top automotive repair services. Start by preparing the area: wash and dry the damaged section thoroughly, ensuring it’s free of any debris or contaminants. Next, inspect the scratch or chip – if it’s shallow and not too long, you can proceed with the repair.
Gather your tools: a high-quality automotive paint matching your Tesla’s color, a fine-grit sandpaper (around 1000-2000 grit), a cleaning solution like isopropyl alcohol, and a microfiber cloth. Lightly sand the damaged area to create a smooth surface, then use the cleaning solution to remove any dust or debris. Apply the paint with a small brush or sponge, working in thin, even layers. Allow each layer to dry completely before adding the next. For stubborn chips, consider using a dedicated chip repair kit available from most vehicle collision repair shops.
Fixing small dents and scratches on your Tesla at home is easier than you think. By understanding the basics of Tesla premium paint repair and gathering the right tools, you can effectively restore your vehicle’s exterior. Following our step-by-step guide, you’ll be equipped to handle minor cosmetic issues promptly, ensuring your Tesla maintains its sleek and vibrant appearance. With these simple techniques, you can save time and money while keeping your prized electric vehicle in top condition.