

Sound deadening restoration is crucial for classic car care, addressing noise issues caused by aging materials or modifications. By strategically applying acoustic treatments, shops can enhance driving comfort, protect interiors, and improve media enjoyment. A meticulous process involving assessment, material selection, application, and testing ensures a quieter, more immersive experience for classic car owners.
Classic car enthusiasts know that every detail matters. Sound deadening, often overlooked but crucial, plays a pivotal role in bringing vintage vehicles back to life acoustically. This article delves into the significance of sound deadening restoration, exploring its impact on vehicle interior comfort and performance. We’ll break down the benefits, guide you through the process, and provide essential tips for achieving optimal acoustics in your classic car restoration project.
- Understanding Sound Deadening in Classic Cars
- The Benefits of Restoration for Better Acoustics
- Step-by-Step Guide to Effective Sound Deadening
Understanding Sound Deadening in Classic Cars

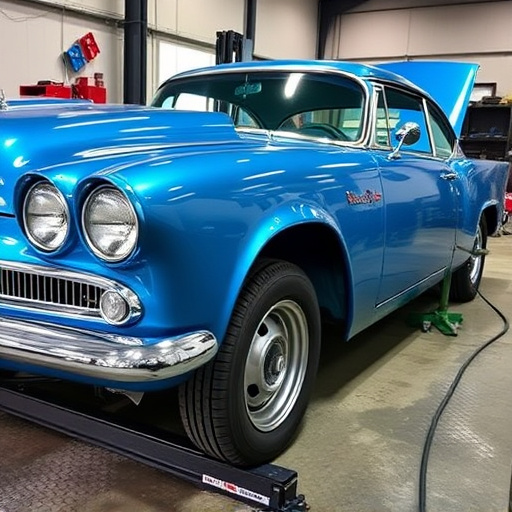
In classic car restorations, sound deadening is an often-overlooked but crucial aspect that significantly enhances both the performance and comfort of the vehicle. Sound deadening refers to the process of reducing unwanted noise within a space, in this case, the interior of a classic car. Over time, original soundproofing materials may have degraded or been removed during previous restoration efforts, leading to an unpleasant driving experience due to excessive road and engine noise.
Proper sound deadening restoration involves strategically placing specialized materials to absorb and block sound waves, creating a quieter and more refined cabin environment. This process not only improves the overall driving experience but also protects the classic car’s interior from further damage caused by prolonged exposure to loud noises. Effective sound deadening is particularly important for classic cars, which often boast open-top designs or have been modified with aftermarket parts, making them more susceptible to noise intrusion during operation.
The Benefits of Restoration for Better Acoustics

Classic cars, with their timeless charm, often come with a unique set of challenges when it comes to modernizing them for today’s standards. One aspect that can significantly enhance both the driving experience and overall ambiance is sound deadening restoration. This process involves improving the car’s acoustic environment by addressing resonances and reducing unwanted noise, creating a calmer and more comfortable interior.
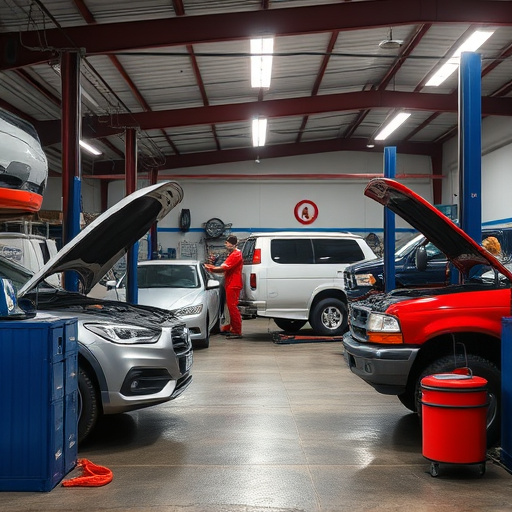
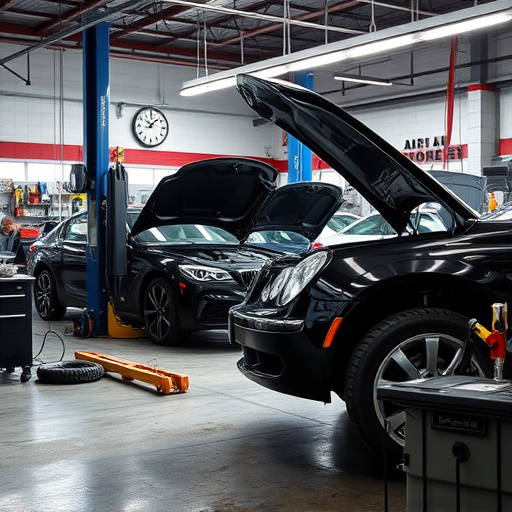
By incorporating sound deadening restoration as part of auto body services or body shop services, auto repair shops can transform classic vehicles into quieter, more refined spaces. It allows drivers to enjoy their favorite music or podcasts without distorting sounds or excessive background noise. This meticulous restoration technique involves strategically placing acoustic materials to absorb high-frequency sounds and reduce low-frequency vibrations, resulting in a serene environment that enhances the overall ownership experience.
Step-by-Step Guide to Effective Sound Deadening

Restoring a classic car involves meticulous attention to detail, and sound deadening is a crucial step that often gets overlooked. Effective sound deadening can transform your classic ride from a noisy beast into a comfortable, quiet sanctuary. Here’s a step-by-step guide to ensure you achieve optimal results:
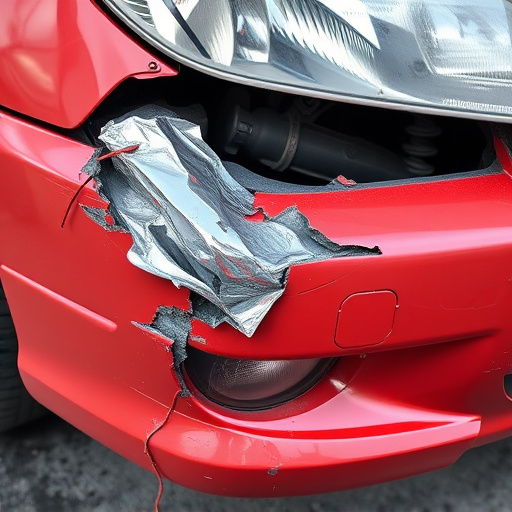
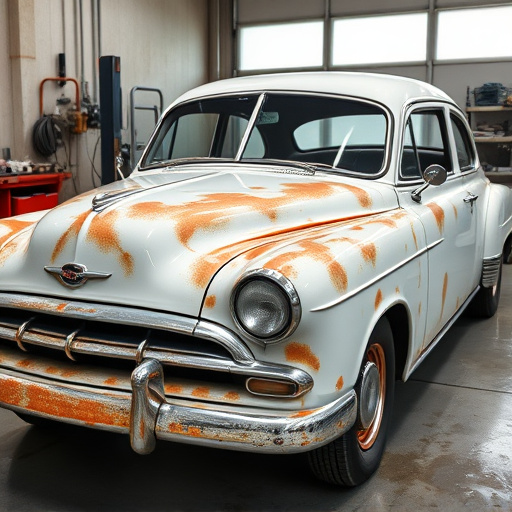
1. Assess the Current State: Before beginning, inspect your car’s interior and identify areas where noise is most pronounced. This could be along the roofline, door panels, or even the engine bay. Understanding these problem spots will guide your material choices and application techniques.
2. Choose the Right Materials: Select high-quality sound deadening materials designed specifically for automotive applications. Options include specialized mats, sprays, and wraps. For best results, opt for materials that are known for their superior noise reduction capabilities, such as those formulated for collision repair and auto restoration.
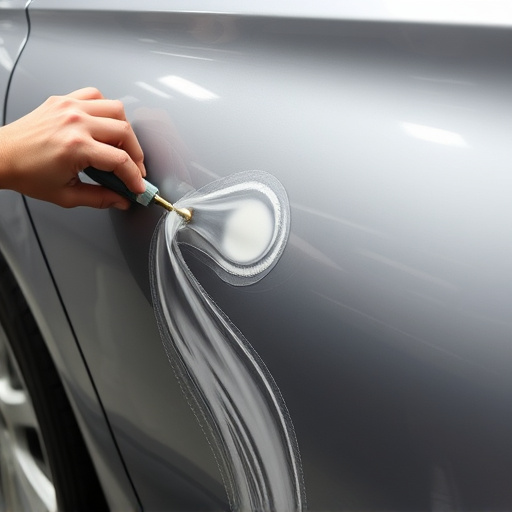
3. Prepare the Surface: Ensure all surfaces are clean, dry, and free of debris. Any existing sound deadening material should be removed or sanded down to create a smooth base. Priming the surface may also be necessary, especially if you’re applying new materials over painted areas, to ensure adhesion.
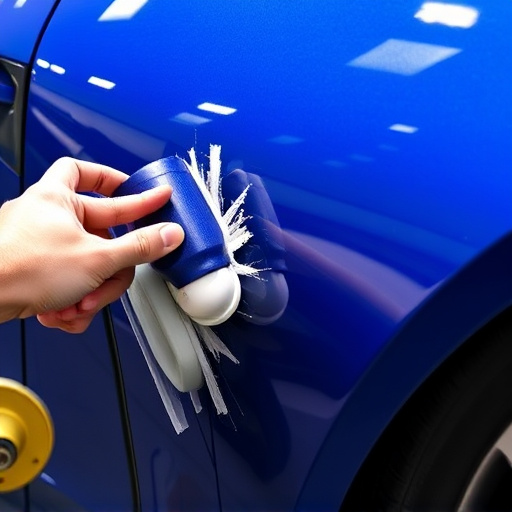
4. Apply the Sound Deadener: Follow the manufacturer’s instructions for application. This could involve spreading mats, spraying on solutions, or wrapping materials around curves and corners. Be thorough but avoid excessive use, as it can lead to unwanted buildup.
5. Allow Adequate Drying Time: Depending on the product, allow the sound deadener to dry completely before moving on. Proper curing is essential for optimal noise reduction.
6. Test and Adjust: After restoration, test your car’s interior noise levels in various conditions. If necessary, reapply or adjust materials for enhanced performance. Remember, achieving near-perfect silence isn’t always the goal—a significant reduction in noise is equally impressive.
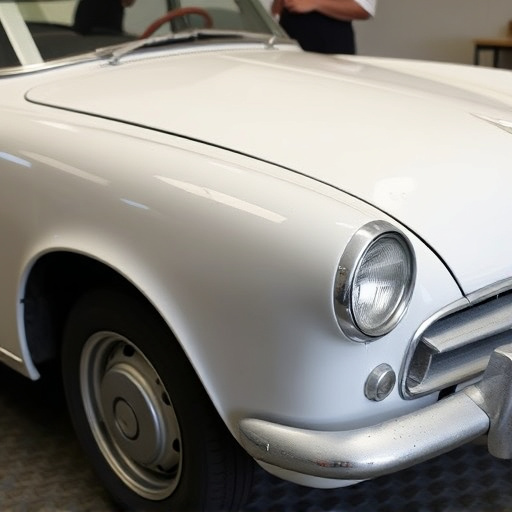
Restoring classic cars with sound deadening techniques is a valuable process that not only enhances the vehicle’s aesthetics but also significantly improves its acoustic performance. By implementing these steps and materials discussed, restorers can create a calmer, more enjoyable driving environment for today’s listeners while preserving the car’s timeless charm. Sound deadening restoration is a delicate art that combines tradition and modern innovations, ensuring classic cars remain relevant in today’s world without losing their unique character.