


Plastic body part repair begins with a thorough assessment of damage, followed by gathering tools and materials. Initial preparation includes clearing the work area, wearing PPE, and creating molds for precise replication. Molding, casting with resin, filling, and sanding restore and enhance car's appearance, achieving outstanding results.
“Discover the art of plastic body part repair with our comprehensive guide. Whether it’s a crack, dent, or missing piece, learning this skill can save you time and money. We break down the process into simple steps: assess the damage, gather essential materials, prepare the affected area, create a mold, cast and fill the repair, then add final touches. Master these techniques and say goodbye to costly professional repairs. Embrace DIY plastic body part repair for convenience and cost-effectiveness.”
- Assess Damage and Gather Materials
- Prepare the Area and Mold Creation
- Casting, Filling, and Final Touches
Assess Damage and Gather Materials

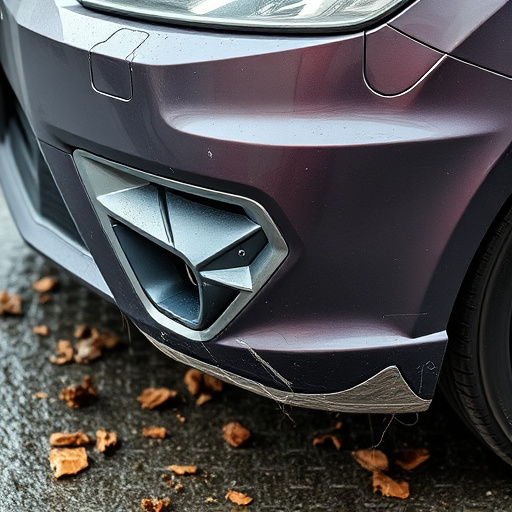
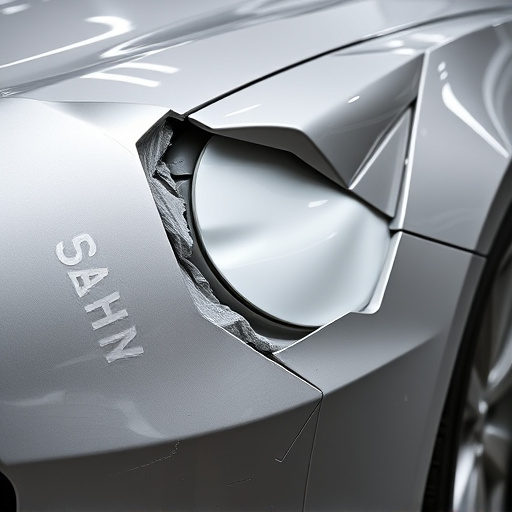
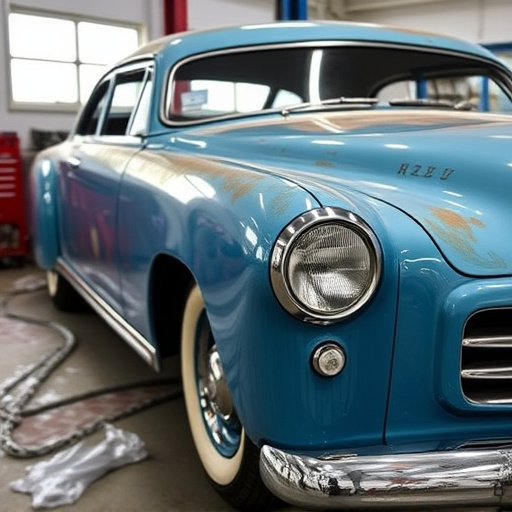
Before diving into the intricate process of plastic body part repair, it’s imperative to meticulously assess the damage and gather the necessary materials. The first step involves inspecting the affected area closely, taking note of cracks, dents, or any other deformities in the vehicle’s bodywork—a crucial aspect often overlooked during a casual glance. This detailed evaluation determines the extent of the repair required, guiding the subsequent steps.
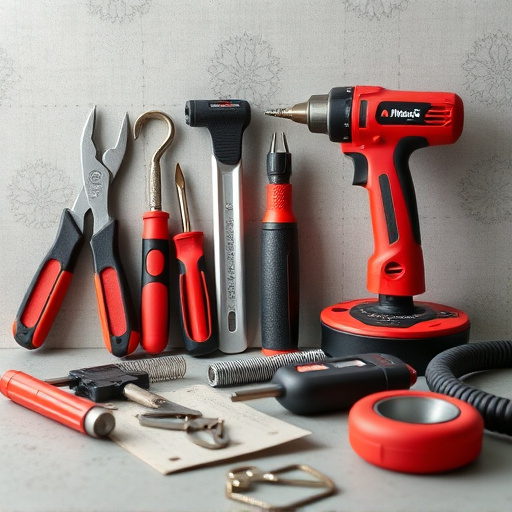
Once the damage is mapped out, it’s time to gather the essential tools and materials for car dent repair. Depending on the severity of the fender bender, this could range from simple tools like suction cups and putty knives to more complex equipment such as heat guns and specialized adhesives. Having all these plastic body part repair essentials ready ensures a smooth process, allowing you to effectively restore your vehicle’s pristine condition, turning what was once a source of stress into a testament to your DIY skills.
Prepare the Area and Mold Creation

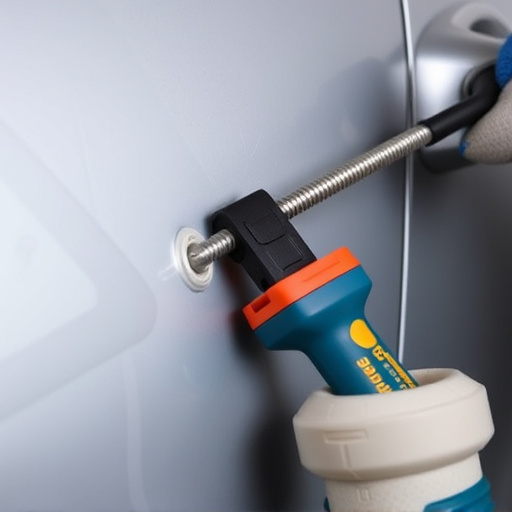
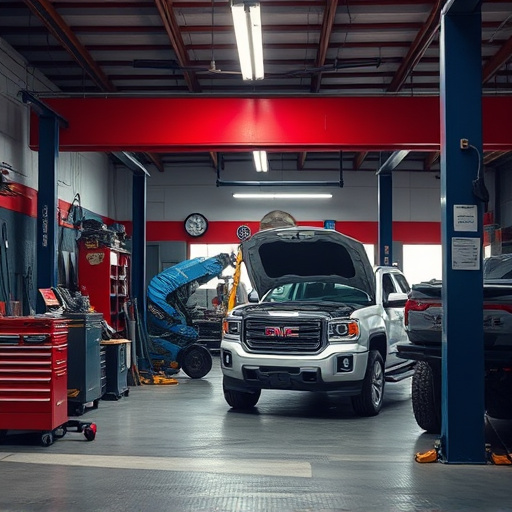
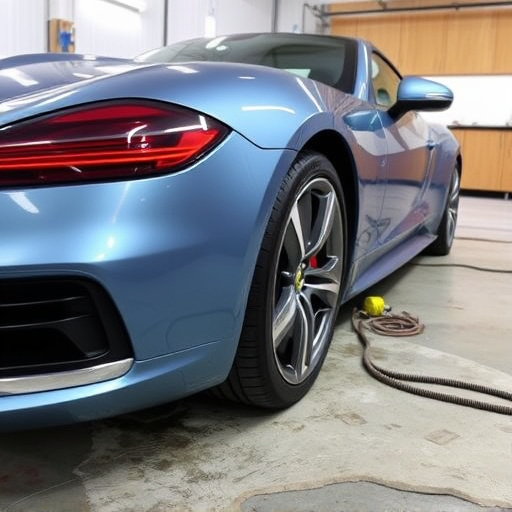
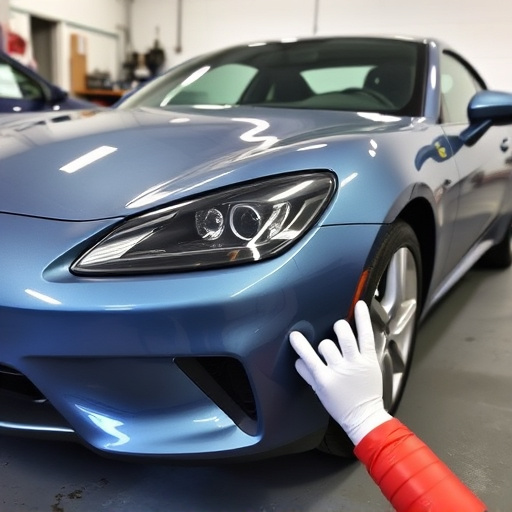
Before initiating any plastic body part repair, meticulous preparation is paramount. This involves a thorough inspection of the damaged area to assess its extent and identify any underlying issues. The work zone needs to be cleared, ensuring no debris or foreign objects that could hinder the repair process. Personal protective equipment (PPE) should be donned, including gloves, safety glasses, and a respirator, as the repair involves handling materials that may emit harmful fumes. Additionally, proper ventilation is crucial to maintain a safe environment during the entire procedure.
Mold creation plays a pivotal role in plastic body part repair, especially for complex shapes or large areas. Specialized machinery is employed to craft molds tailored to the specific car damage repair requirements. These molds serve as templates, enabling precise replication of the damaged section. Once ready, the mold is strategically placed over the prepared area, forming a crucial framework that guides the replacement process. This step is pivotal in automotive body work, ensuring that every detail, from contours to precision, aligns perfectly with the original design, ultimately contributing to an outstanding tire services outcome.
Casting, Filling, and Final Touches
After the initial preparation and sanding, the final stages of plastic body part repair involve casting, filling, and applying final touches. First, a mold is created using the damaged area as a reference. This mold ensures precision and accuracy in replicating the original part. The mold is then filled with a specialized resin that hardens to match the exact specifications of the plastic body panel.
Once the resin has cured, it’s time for filling and sanding. Any imperfections or gaps are filled using putty compound, ensuring a seamless blend with the existing car bodywork. After allowing the filler to dry, a fine-grit sandpaper is used to smoothen the surface, making it ready for priming and painting. This meticulous process guarantees that the repaired area not only matches the original but also enhances the overall aesthetics of the vehicle, leaving no trace of the previous damage from a car collision repair.
Repairing plastic body parts can be a complex yet rewarding process. By following these meticulous steps—assessing damage, preparing the area, creating molds, casting, filling, and adding final touches—you can effectively restore damaged components to their original state. This comprehensive guide empowers you with the knowledge to tackle plastic body part repair projects confidently, ensuring your vehicle’s aesthetic and structural integrity are maintained.