


Tesla taillight assembly issues stem from defects or damage, requiring precise diagnosis using advanced tools to avoid unnecessary part replacements. This process ensures accuracy, cost-effectiveness, and proper functionality after body restoration work on luxury vehicles, maintaining Tesla's superior performance and aesthetics. Repair involves gathering compatible parts, removing old assemblies, inspecting components, connecting new ones securely, and ensuring proper fit.
Tesla owners often face frustrating issues with their vehicle’s taillight assemblies, leading to safety concerns. This comprehensive guide addresses the common problems and provides a step-by-step process for repairs using diagnostic tools. Learn how these advanced tools can identify faults, from software glitches to hardware failures, ensuring your Tesla’s lighting system functions optimally. By understanding the repair process, you’ll be equipped to maintain your vehicle’s taillight assembly effectively, enhancing safety on the road.
- Understanding Tesla Taillight Assembly Issues
- Diagnosing Problems with Diagnostic Tools
- Step-by-Step Guide to Repair and Maintenance
Understanding Tesla Taillight Assembly Issues

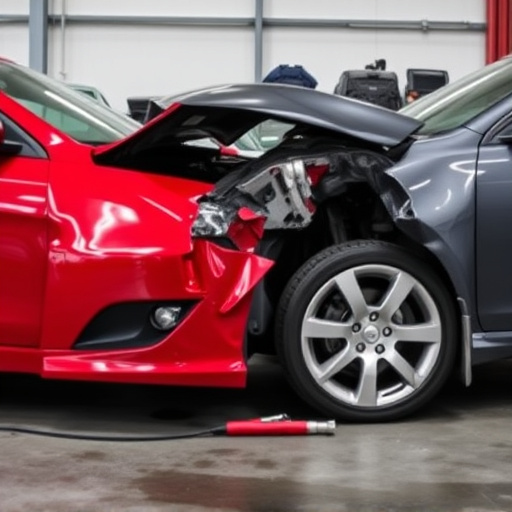
Tesla taillight assembly issues can arise due to various reasons, from manufacturing defects to accidental damage. These problems often manifest as flickering lights, non-functioning bulbs, or even complete assembly failure. Identifying the root cause is crucial before proceeding with Tesla taillight assembly repair. Advanced diagnostic tools play a pivotal role in this process, enabling technicians to pinpoint issues that might otherwise go unnoticed during visual inspections.
By utilizing these tools, vehicle repair services and automotive collision repairs can efficiently diagnose problems related to wiring harnesses, control modules, or sensor malfunctions. This not only ensures the accuracy of Tesla taillight assembly repair but also prevents unnecessary parts replacements, making the process more cost-effective for both customers and repair shops.
Diagnosing Problems with Diagnostic Tools
When it comes to diagnosing issues with a Tesla taillight assembly, the use of advanced diagnostic tools is paramount. These instruments allow for precise identification of problems, whether it’s an electrical malfunction causing the lights to flicker or a physical damage that needs Tesla taillight assembly repair. Modern diagnostic systems can scan the vehicle’s computer network, providing detailed insights into the performance and health of each component, including lighting systems.
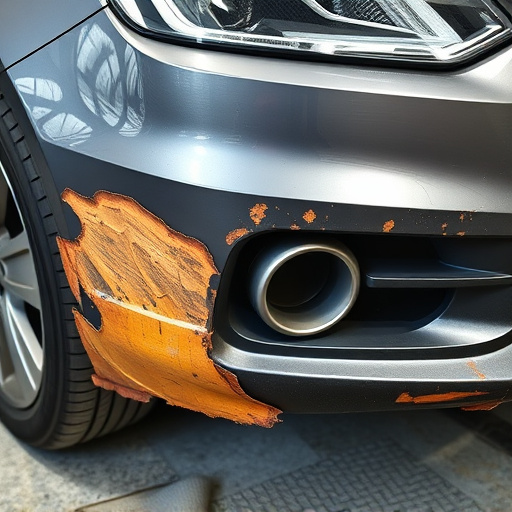
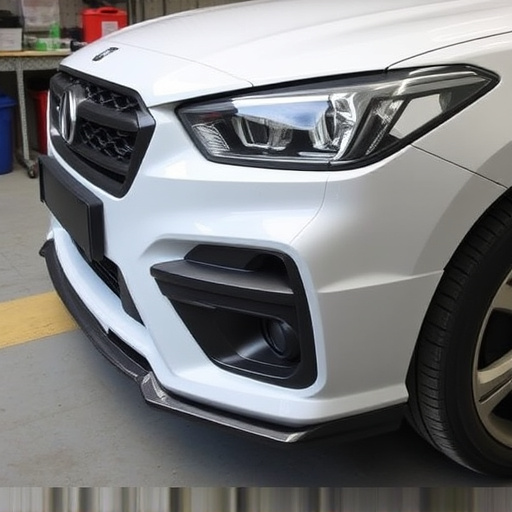
For instance, specialized tools can check for faulty wiring, damaged connectors, or even software glitches affecting the taillight functionality. In cases where a car body restoration is required due to minor dents or scratches, diagnostic checks are crucial in ensuring that all components are fully operational before and after repair, especially in luxury vehicle repairs. This meticulous process guarantees that Tesla vehicles maintain their superior performance and aesthetics.
Step-by-Step Guide to Repair and Maintenance

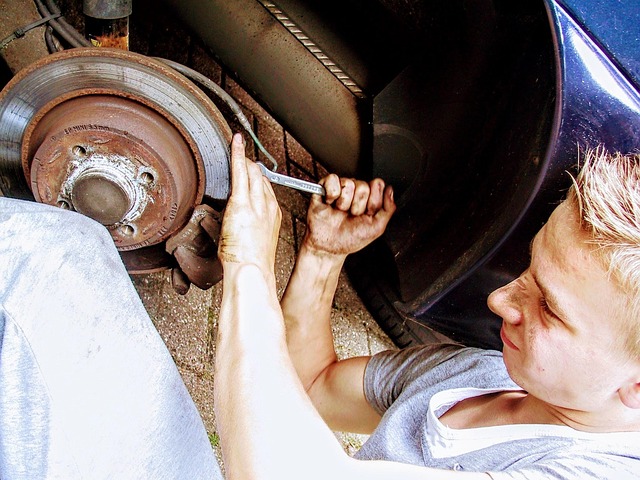
Repairing a Tesla taillight assembly is a task that requires precision and the right tools. Here’s a straightforward guide for any owner looking to tackle this luxury vehicle repair themselves or understand the process before visiting an auto body shop. First, gather all necessary parts and diagnostic tools, including a new taillight assembly, wire connectors, and any other accessories specific to your Tesla model. Ensure everything is compatible with your vehicle for a seamless installation.
Next, begin by carefully removing the old taillight assembly, following the reverse procedure of its installation. This may involve detaching wires and securing components carefully. Once the old assembly is removed, inspect the housing and lens for any damage or wear. Clean the area thoroughly to ensure optimal adhesion when installing the new taillight. Proceed with connecting the new assembly, ensuring all electrical connections are secure. Double-check that all parts fit snugly into place before finalising the repair.
In conclusion, understanding and effectively diagnosing Tesla taillight assembly issues is a crucial step in ensuring safe and reliable vehicle operation. By leveraging advanced diagnostic tools, owners can efficiently verify problems and implement targeted repairs. Following the provided step-by-step guide, you’ll be well-equipped to tackle common maintenance tasks, ultimately enhancing your Tesla’s performance and extending its lifespan. For all things related to Tesla taillight assembly repair, these strategies prove invaluable.