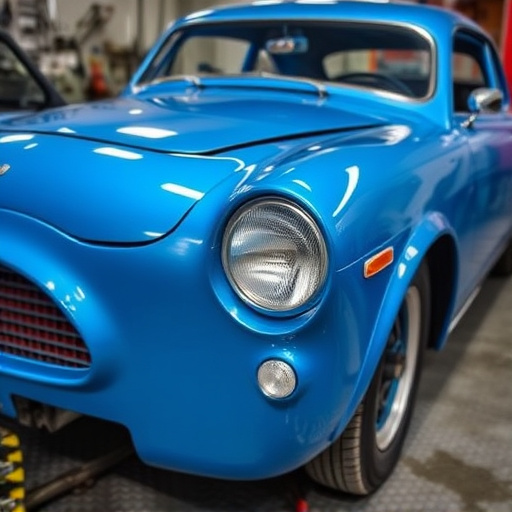


Tesla Paint Protection Film (PPF) protects paint from chips and cracks. Identify high-wear zones like door sills, fenders, and bumper edges for repair. Proper PPF maintenance includes regular washing, inspecting, and trimming damaged areas with isopropyl alcohol-based adhesive reapplication. Regular tire services extend PPF life.
“Tesla owners know their vehicles demand top care. When it comes to protecting the pristine finish, Tesla’s Paint Protection Film (PPF) is a game-changer. However, high-wear zones can degrade its effectiveness over time. This article guides you through understanding Tesla PPF, identifying common problem areas, and offers a detailed step-by-step repair process for a like-new Tesla look. Learn how to restore your car’s protective barrier with our comprehensive guide on Tesla PPF repair.”
- Understanding Tesla PPF: Its Role and Common High-Wear Zones
- Diagnosing Damage: Identifying Areas for Repair
- Step-by-Step Guide to Effective PPF Restoration
Understanding Tesla PPF: Its Role and Common High-Wear Zones
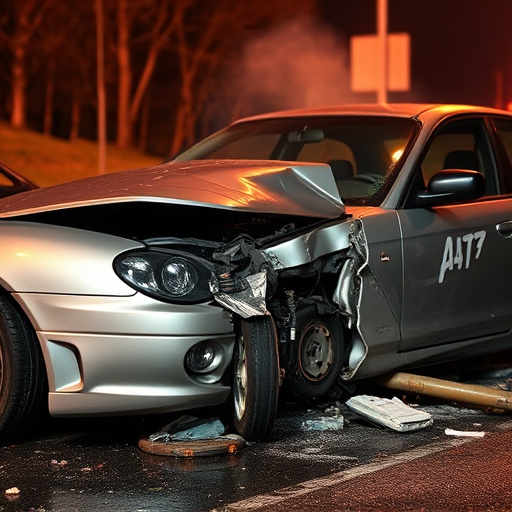
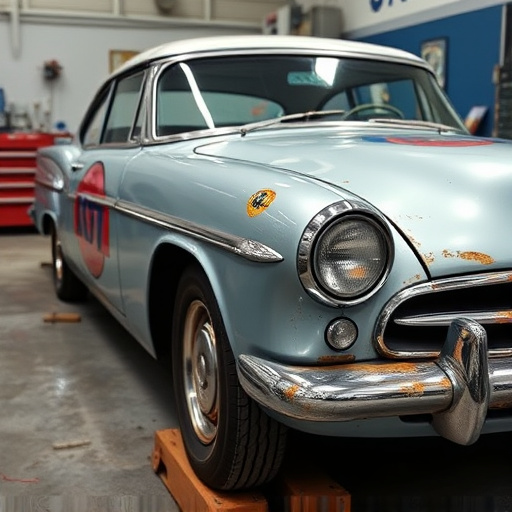
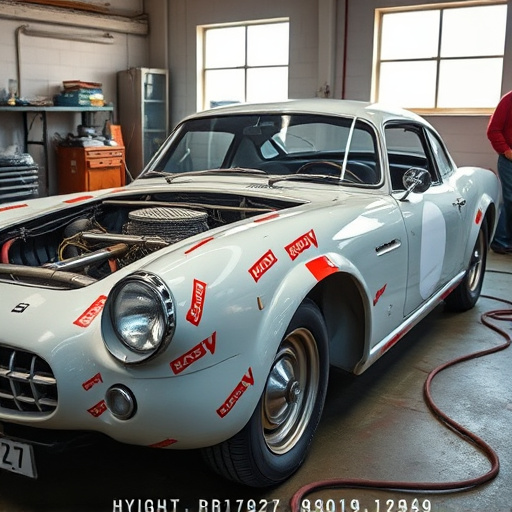
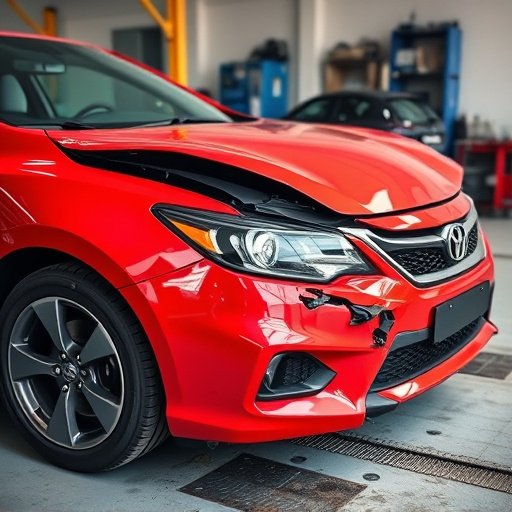
Tesla PPF, or Paint Protection Film, is a durable, clear polymer that acts as an extra layer of defense for a vehicle’s paintwork. It’s designed to shield the car from chips, cracks, and other forms of damage caused by everyday driving conditions, such as road debris, bird droppings, and UV rays. By understanding where these high-wear zones are located on a Tesla, owners can better appreciate the benefits of PPF repair when necessary. Common areas that require attention include the lower door panels, rocker panels, fenders, and wheel wells—areas frequently exposed to road grime and potential damage from car collisions or automotive collision repairs. When damage does occur, it’s crucial to address it promptly to prevent further aesthetics and structural issues, ensuring vehicle paint repair is done expertly to maintain the car’s original and vibrant finish.
Diagnosing Damage: Identifying Areas for Repair
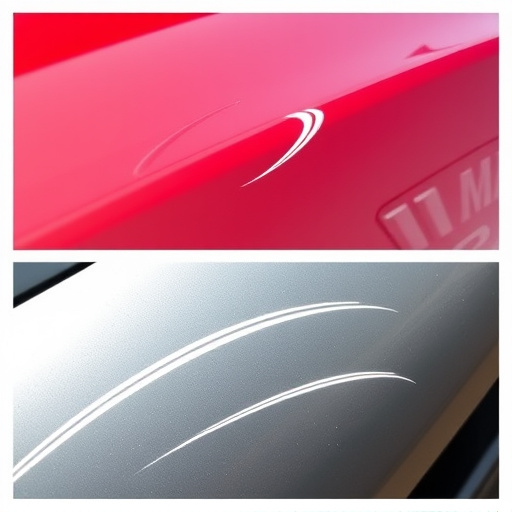
Diagnosing damage on a Tesla is the first step in any repair process, especially when dealing with Paint Protection Film (PPF). PPF, designed to safeguard the car’s paintwork from scratches and chips, can itself become damaged over time, particularly in high-wear zones like door sills, fenders, and bumper edges. To identify areas needing Tesla PPF repair, owners should carefully inspect their vehicles for signs of degradation such as cracks, bubbles, or lifting edges. The use of a flashlight can help uncover hidden issues under the film’s glossy surface.
Focusing on high-wear zones is crucial in car scratch repair and collision damage repair scenarios. If the PPF appears damaged or has lost its protective integrity, it’s important to assess the extent of the issue. An auto repair near me specialist familiar with Tesla PPF repair techniques can provide guidance on whether a simple touch-up or a more comprehensive repair is required. This involves carefully removing the affected PPF, repairing or replacing the underlying paint as needed, and then reapplying fresh PPF to ensure optimal protection for the vehicle’s finish.
Step-by-Step Guide to Effective PPF Restoration

Restoring your Tesla’s Paint Protection Film (PPF) is an essential step to maintain its sleek and protective barrier against daily wear and tear. Here’s a straightforward guide to effectively reviving your PPF:
1. Prepare the Surface: Start by thoroughly washing and drying your Tesla to remove any dirt or grime on the PPF. Ensure the surface is free from wax or other coatings, as these can hinder adhesion during repair. For particularly stubborn residue, use a dedicated PPF cleaner for optimal results.
2. Inspect for Damage: Carefully examine the high-wear zones where the PPF has started to crack, peel, or fade. Identify any areas requiring repair and gather the necessary tools: a sharp knife or blade for trimming, a solvent-safe adhesive, and a clean cloth for application. For more complex damage, such as deep scratches, you might need professional auto glass replacement services.
3. Trim and Clean: Using the knife, carefully trim away any loose or damaged PPF edges. Ensure you only remove the damaged portion to avoid unnecessary scraping of the paint beneath. Wipe down the area with a cloth dampened in isopropyl alcohol to create a clean surface for repair.
4. Apply Adhesive: Follow the manufacturer’s instructions for the chosen adhesive. Typically, this involves applying a thin layer over the repaired area and allowing it to set for a specified time. Ensure proper ventilation during application.
5. Reapply PPF: Carefully place the new or patched PPF section over the repaired area, ensuring complete coverage. Press firmly to create a strong bond between the film and the paintwork. Remove any air bubbles by gently sliding a credit card along the surface.
6. Clean and Inspect: Once the adhesive has fully cured, clean the restored area with a suitable PPF cleaner to ensure optimal performance. Check for any remaining issues and repeat the process if necessary. Regular maintenance, including tire services or fleet repair for frequent use zones, can extend the life of your Tesla’s PPF.
Tesla’s Paint Protection Film (PPF) is a valuable asset in safeguarding your vehicle’s finish, especially in high-wear zones. By understanding the common damage spots and following a structured repair process, you can effectively restore your Tesla’s PPF. This DIY guide equips owners with the knowledge to tackle minor repairs, extending the life of their protective film and preserving the car’s original look. For more extensive damage, professional assistance ensures optimal results, ensuring your Tesla remains in pristine condition.