


Tesla taillight assembly leaks and cracks can be caused by weather, debris, or collisions, leading to water intrusion and damage. Regular maintenance and prompt action are crucial. Disassembling for repair is straightforward; identify cracked gaskets and replace as needed. Root causes include loose connections, damaged gaskets, or manufacturing defects. Timely repairs with high-quality parts extend taillight lifespan, enhancing safety features for optimal visibility on the road.
“Experience a leaking or cracked Tesla taillight assembly? This comprehensive guide provides step-by-step instructions on repairing your Tesla taillight, addressing common issues like gasket leaks. Learn how to disassemble the taillight safely, replace faulty components, and troubleshoot problems effectively. By following these expert tips, you’ll restore your Tesla’s taillight functionality and enhance road safety. Discover the essential steps for a successful Tesla taillight assembly repair.”
- Understanding Tesla Taillight Assembly Leaks and Cracks
- Disassembling the Taillight for Repair and Replacement
- Troubleshooting Common Issues and Final Assembly Tips
Understanding Tesla Taillight Assembly Leaks and Cracks

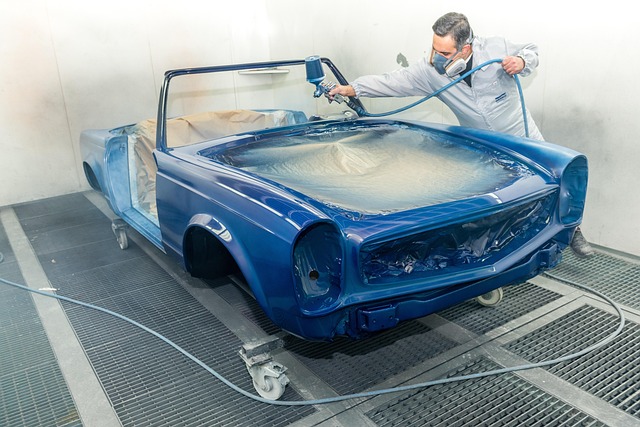
Tesla taillight assembly leaks and cracks can be frustrating issues for any vehicle owner. These problems often arise due to exposure to harsh weather conditions, road debris, or a previous collision. The gasket areas, responsible for sealing and protecting the light assembly, can degrade over time, leading to water intrusion and subsequent damage. If you notice moisture buildup, fogging, or even visible cracks in your Tesla’s taillights, it’s crucial to address these issues promptly.
Proper maintenance and regular checks are essential to prevent such problems from escalating. A trip to a reputable collision center or automotive repair shop specializing in Mercedes Benz repairs can help diagnose the issue accurately. Techniques like paintless dent repair offer a cost-effective solution for minor cracks without compromising aesthetics, ensuring your Tesla taillight assembly functions optimally and retains its sleek appearance.
Disassembling the Taillight for Repair and Replacement
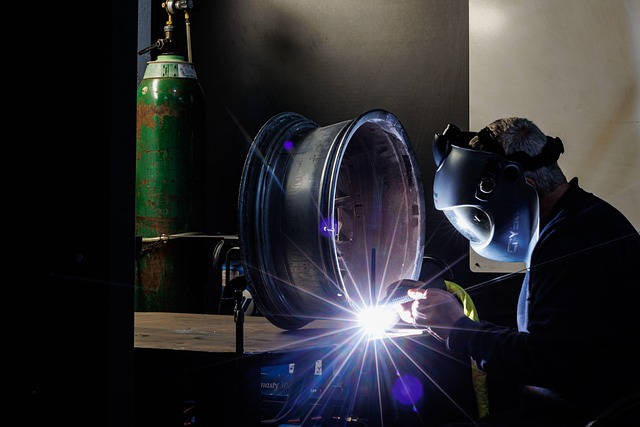
Disassembling a Tesla taillight for repair or replacement is a straightforward process that can be accomplished with basic tools and some patience. Begin by locating and accessing the taillight assembly, which is typically located at the rear of the vehicle. Using a suitable socket wrench, carefully remove the retaining bolts securing the light in place. Once these are loosened, gently pull the taillight outwards to expose the internal components. This step allows for an thorough inspection of the gasket areas responsible for sealing the light against moisture intrusion.
For effective Tesla taillight assembly repair, identifying cracked or compromised gaskets is crucial. With the light disassembled, inspect the areas around the bulb and lens for any signs of damage or degradation. Common issues include cracks, tears, or bulges in the gasket material. If these are found, it’s advisable to replace both the faulty gasket and the taillight assembly to ensure complete sealing and optimal vehicle safety.
Troubleshooting Common Issues and Final Assembly Tips
When troubleshooting a Tesla taillight assembly repair for leaking or cracked gasket areas, it’s crucial to identify the root cause. Common issues include loose connections, damaged gaskets, or even manufacturing defects. Start by inspecting the light housing for any visible signs of damage and checking the condition of the seals. A simple tightening of screws or replacement of worn-out parts can often resolve minor issues. However, if the problem persists, it might be necessary to consult a professional auto repair service specializing in car bodywork repairs.
During final assembly, ensure all components are securely fastened and sealed. Use high-quality replacement parts for the best results, especially when dealing with gasket replacements. Double-check alignment and positioning of the taillight assembly to prevent future leaks. Regular maintenance and timely repairs can significantly extend the lifespan of your Tesla’s taillights, ensuring optimal visibility and safety on the road. Remember, a well-maintained car bodywork is not just about aesthetics; it’s also about enhancing safety features like taillights, which are essential for driving in all conditions.
Repairing a leaking or cracked Tesla taillight assembly is a feasible DIY project, offering cost savings and peace of mind. By understanding the common issues, disassembling the components carefully, and following troubleshooting tips, you can effectively address these problems. With the right tools and a step-by-step approach, you’ll be back on the road with a reliable taillight assembly, enhancing both safety and your vehicle’s aesthetic appeal. For any challenges, remember that seeking professional assistance is always an option. Now, get ready to drive with enhanced confidence, knowing your Tesla’s taillights are in top condition!