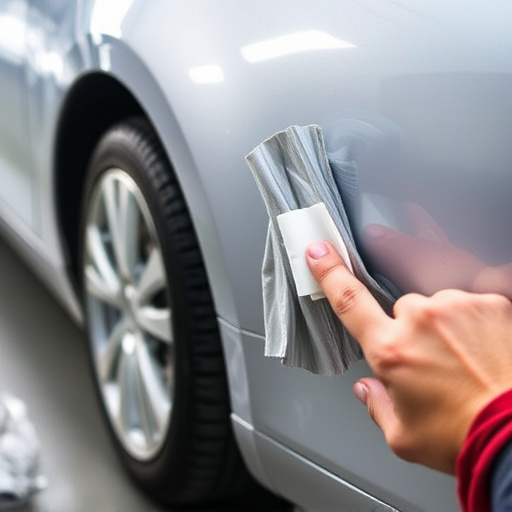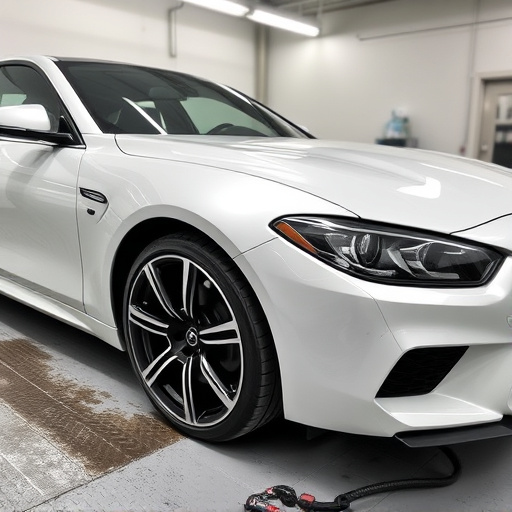


Before Mercedes hood star alignment, clear debris, vacuum surface, protect adjacent areas with drop cloths, and follow safety guidelines including glove use, goggles, tape for overspray, and cloth protection to ensure precise, scratch-free repairs, especially in classic car restoration projects.
“Learn how to expertly repair your Mercedes hood without leaving scratches. This guide outlines a step-by-step process for achieving precise alignment, ensuring your vehicle’s finish remains flawless. From preparing the work area to utilizing protective gear, we cover everything you need to know. Say goodbye to unsightly scratches and hello to a seamless hood star replacement that matches your Mercedes’ impeccable standards.”
- Prepare the Workarea to Prevent Scratches
- Correctly Align the Hood Star
- Utilize Protective Gear and Techniques
Prepare the Workarea to Prevent Scratches
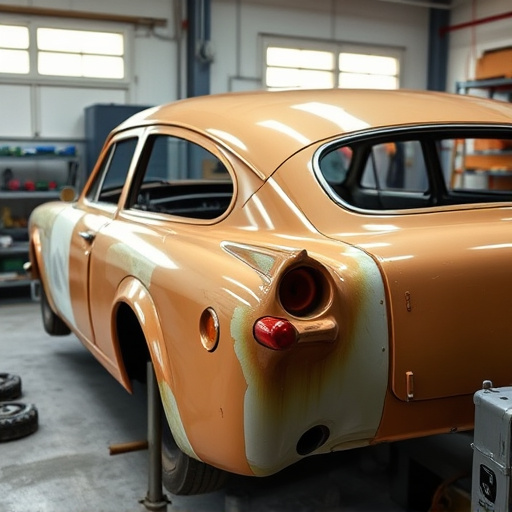
Before starting any repairs on your Mercedes hood, preparing the work area is essential to prevent scratches and ensure a clean finish. Begin by clearing all loose debris, such as leaves or dirt, from the hood’s surface and the surrounding area. Use a vacuum cleaner with a soft brush attachment to thoroughly clean the region, removing any dust or grime that could cause scratches during the repair process.
Covering nearby surfaces with drop cloths or plastic sheets is another crucial step. This protects your car’s paint job and prevents any accidental transfer of debris or chemicals onto adjacent areas. Additionally, consider using tape to secure the edges of the drop cloths, creating a neat, scratch-free barrier around your work area, especially if you’re dealing with a classic car restoration project at an auto body shop.
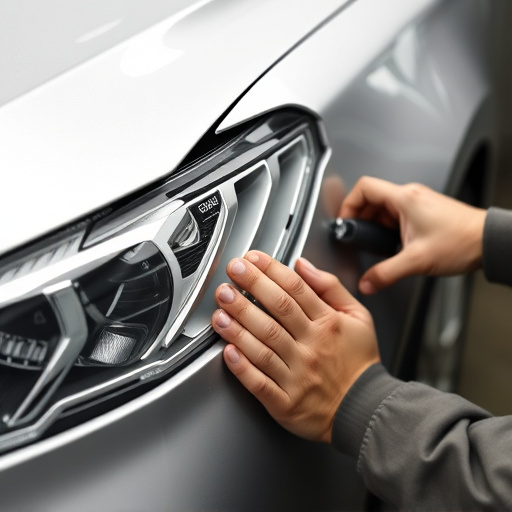
Correctly Align the Hood Star
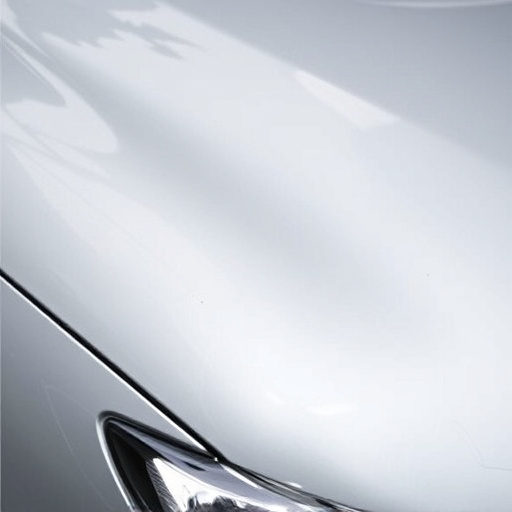
When repairing a Mercedes hood star, achieving proper alignment is paramount to ensuring a flawless finish and preventing future scratches. Begin by thoroughly cleaning the area around the damaged section to eliminate any dirt or debris that could hinder accurate alignment. Next, carefully inspect existing alignment marks or guidelines provided by the vehicle manufacturer. These references will guide you in positioning the new hood star precisely.
Utilize precision tools designed for automotive body work, such as alignment rods or guides, to ensure the hood star is correctly aligned with the car’s contour. This meticulous process demands patience and attention to detail. By taking your time and aligning the hood star accurately, you significantly reduce the risk of scratches during the repair process, ultimately contributing to a more aesthetically pleasing car damage repair outcome at your trusted auto collision center.
Utilize Protective Gear and Techniques
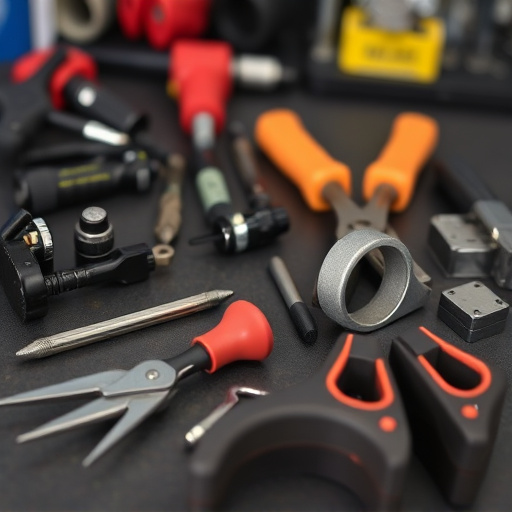
When undertaking a Mercedes hood star alignment or any car paint repair, it’s crucial to employ protective gear and techniques to prevent scratching. Start by donning gloves designed for automotive restoration; these protect your hands while keeping debris out. For eye safety, wear goggles that conform to industry standards, shielding against flying particles that could cause permanent damage.
Next, utilize a masking tape specifically formulated for automotive paint jobs. This not only protects surrounding areas from overspray but also helps guide precise applications during the repair process. Additionally, consider using drop cloths or sheets to cover adjacent surfaces, further minimizing the risk of unwanted paint transfer. These precautions are essential components of quality automotive repair services and will ensure your job is done right, with minimal risk of damaging the existing paintwork.
To ensure a successful Mercedes hood star alignment, preparation is key. By carefully preparing your work area, aligning the hood star precisely, and employing protective gear and techniques, you can avoid unsightly scratches and maintain the pristine condition of your vehicle’s exterior. Remember, proper care during repair ensures a seamless finish that complements your Mercedes’ overall elegance.