


Before replacing a Mercedes MBUX system, check vehicle compatibility (production year and model). Gather necessary tools, parts, and diagnostic equipment. Disassemble existing unit, unplug, and carefully take apart dashboard panels. Install new MBUX system with correct alignment and secure components. Reassemble dashboard panels and reconnect cables, testing functionality after installation. This method ensures a smooth replacement, minimizing disruption to vehicle interior or performance, even when collision repair is needed.
Looking to upgrade your Mercedes with a new Mercedes MBUX system? This comprehensive guide is your roadmap. We’ll walk you through a step-by-step process, from assessing compatibility with your Mercedes model to installation, ensuring a seamless transition. Gather the necessary tools and parts, then follow our detailed disassembly and installation instructions for a successful Mercedes MBUX system replacement.
- Assess Your Mercedes for MBUX Compatibility
- Gather Necessary Tools and Parts
- Step-by-Step Disassembly and Installation Guide
Assess Your Mercedes for MBUX Compatibility
Before diving into a Mercedes MBUX system replacement, it’s crucial to assess if your vehicle is compatible. Not all Mercedes models come equipped with this cutting-edge infotainment system. To determine if your car is eligible for an MBUX upgrade, check its production year and model. The MBUX system was introduced in 2018 and has since been integrated into various Mercedes models, including the A-Class, E-Class, and S-Class. If your vehicle falls within these parameters, you’re good to proceed.
Consulting a trusted auto body shop or car repair center can also help confirm compatibility. These professionals have the expertise to evaluate your car’s electrical system and ensure that replacing the MBUX will not cause any damage or compatibility issues with other components. This step is vital before investing in a Mercedes MBUX system replacement to avoid costly repairs down the line.
Gather Necessary Tools and Parts

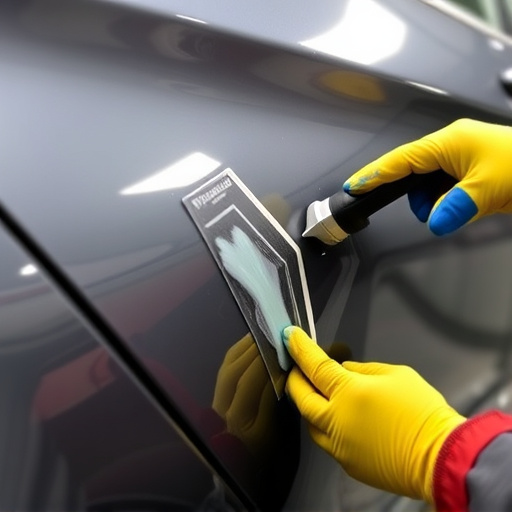
Before diving into the Mercedes MBUX system replacement process, it’s crucial to assemble all the necessary tools and parts. This includes specialized diagnostic equipment for accessing the vehicle’s computer systems, such as a OBD-II scanner compatible with Mercedes vehicles. Additionally, you’ll need replacement units for the MBUX hardware components, ensuring they’re compatible with your car model. Don’t forget safety gear, like gloves and eye protection, as well as basic auto repair tools like wrenches, screwdrivers, and wire strippers. For a seamless experience, consider ordering parts from reputable suppliers specializing in Mercedes-Benz accessories to guarantee quality and compatibility, especially when dealing with intricate systems like the MBUX.
Among the essential components for a successful Mercedes MBUX system replacement are high-quality cables, connectors, and housing parts, as these directly interact with the vehicle’s electronics. While a car collision repair or extensive vehicle bodywork might be required if your MBUX unit has sustained physical damage, the core replacement process involves primarily software and hardware configurations. Ensure that all tools and parts are readily available to streamline the procedure and minimize potential delays during installation.
Step-by-Step Disassembly and Installation Guide
When replacing the Mercedes MBUX system, the first step involves carefully disassembling the existing unit to gain access to its components. Begin by power-off and unplugging the device from all connections. Then, using a combination of tools including screwdrivers and suction cups, meticulously take apart the dashboard panels, one piece at a time, until you reach the MBUX system. This process requires patience and precision to avoid damaging any surrounding parts or sensors.
Once the MBUX system is exposed, you can begin installation of the new unit. Ensure all components are aligned correctly before securing them with the appropriate screws. Reattach the dashboard panels following the reverse order of disassembly, making sure each piece fits snugly into place. After re-connecting all cables and ensuring proper power supply, test the system to verify its functionality. This step-by-step approach ensures a seamless Mercedes MBUX system replacement, with minimal disruption to your vehicle’s interior or overall performance, even when considering services from an auto collision center or car body shop for frame straightening if necessary.
Upgrading your Mercedes with a new Mercedes MBUX system is an exciting journey, offering enhanced connectivity and advanced features. By carefully assessing compatibility, gathering the right tools and parts, and following a detailed step-by-step guide, you can successfully replace your existing system. This process allows you to take control of your vehicle’s technology, ensuring a seamless and modern driving experience. Remember, with the right approach, a Mercedes MBUX system replacement is achievable and can significantly enhance your overall ownership satisfaction.