


The Tesla Chrome Delete Wrap offers a durable and cost-effective solution for repairing damaged chrome elements on Tesla vehicles. Skilled body shops use advanced technology to create a custom wrap that mimics genuine chrome while providing enhanced protection. This method is suitable for both individual owners and fleet services, aiming for aesthetic enhancement and preservation of the vehicle's original charm. "Tesla chrome delete repair" techniques involve surface preparation, adhesive primer application, precise cutting and positioning of the wrap, and trimming excess material for a professional finish.
Looking to seamlessly repair your Tesla’s damaged or faded chrome details? Discover the transformative power of a Tesla chrome delete wrap—a sleek, smooth solution that restores and enhances your vehicle’s aesthetic. This article guides you through understanding the process, exploring its benefits, and provides a comprehensive step-by-step guide to ensure a flawless application. Get ready to revive your Tesla’s charming chrome elements with this effective repair technique.
- Understanding Tesla Chrome Delete Wrap
- Benefits of Smooth Repair for Teslas
- Step-by-Step Guide to Chrome Delete Application
Understanding Tesla Chrome Delete Wrap
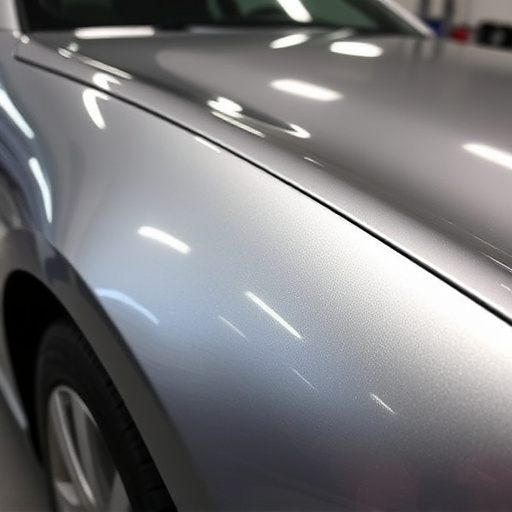
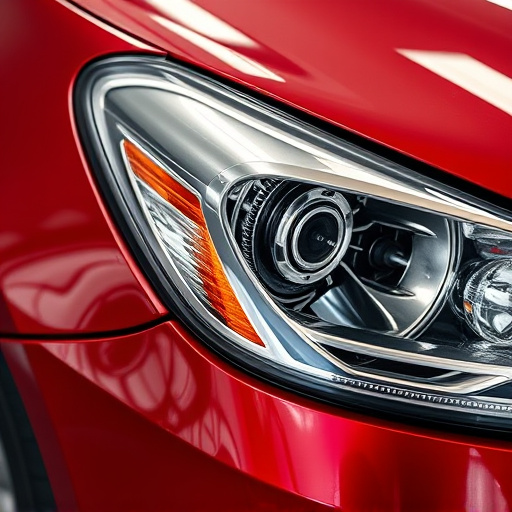
Tesla Chrome Delete Wrap is a specialized solution designed to seamlessly restore and repair damaged or unsightly chrome elements on Tesla vehicles. This process involves applying a precise layer of wrap that duplicates the appearance of genuine chrome, but offers the durability and protection of advanced automotive materials. By using this method, owners can achieve a smooth, factory-like finish while eliminating the need for costly replacement parts, making it an ideal choice for both individual vehicle owners and fleet repair services.
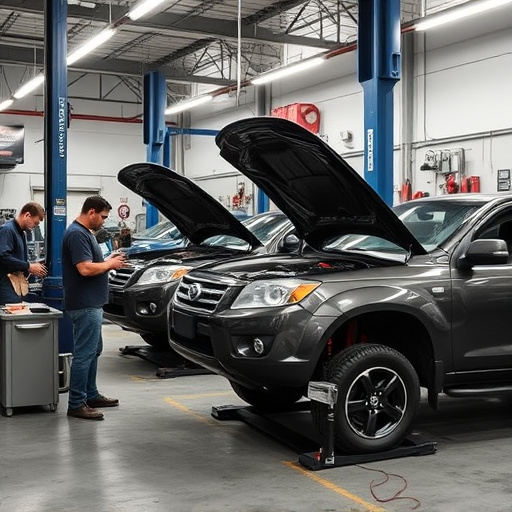
Automotive body shops skilled in Tesla chrome delete repair utilize cutting-edge technology and techniques to ensure optimal results. The process begins with careful preparation of the damaged area, followed by application of the custom-matched wrap. This not only repairs the visible imperfections but also protects the underlying surface from further corrosion or damage. Whether for aesthetic purposes or to restore a vehicle’s original charm, Tesla chrome delete wrap provides a cost-effective and long-lasting solution for any vehicle body shop, catering to both personal and commercial needs.
Benefits of Smooth Repair for Teslas
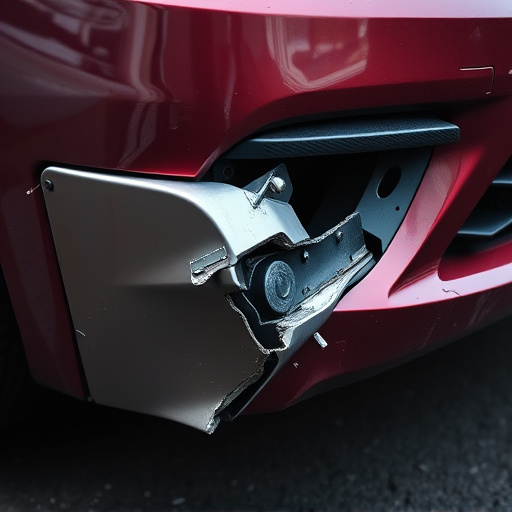
For Tesla owners, achieving a seamless and imperfection-free finish on their vehicles is paramount to preserving their car’s aesthetic appeal and resale value. Smooth repair, an advanced technique in vehicle restoration, offers numerous advantages specifically tailored to Teslas. By employing specialized tools and materials, such as the Tesla chrome delete wrap, this method allows for precise removal of damaged or unwanted chrome accents while maintaining the vehicle’s original design intent.
This not only enhances the car’s overall look but also contributes to better protection against future damage. Moreover, smooth repair can be more cost-effective than complete frame straightening, making it an attractive option for Tesla owners looking for high-quality yet budget-friendly vehicle repair services. Even minor repairs, including tire services, can benefit from this approach, ensuring that the car’s exterior remains as close to its factory finish as possible.
Step-by-Step Guide to Chrome Delete Application
Matching Tesla Chrome Delete Wrap for Smooth Repair
The process of applying a Tesla chrome delete wrap is a meticulous art that requires precision and patience. Here’s a step-by-step guide to help you achieve a seamless repair:
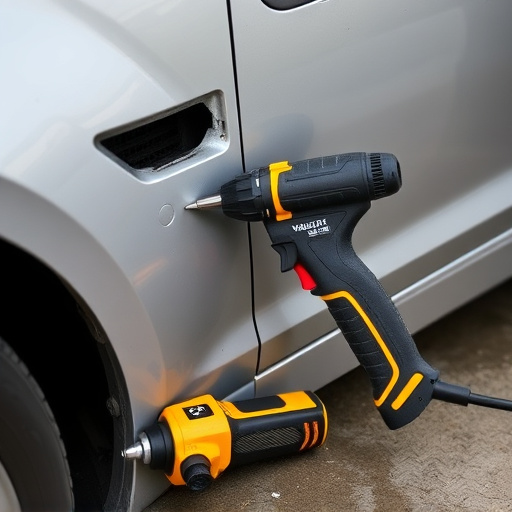
1. Prepare the Surface: Begin by thoroughly cleaning and decontaminating the damaged area. Use high-quality auto body cleaners and microfiber cloths to remove any dirt, grease, or residue. Ensure the surface is dry before proceeding.
2. Apply Adhesive Primer: After cleaning, apply a layer of adhesive primer designed for chrome delete wraps. This step ensures better adhesion and prepares the metal surface for the wrap. Let the primer dry completely according to the manufacturer’s instructions.
3. Cut and Position the Wrap: Carefully cut the chrome delete wrap to match the contours of your Tesla’s curves. Use a sharp knife or scissors to ensure clean lines. Position the wrap over the repaired area, adjusting it carefully to avoid bubbles or wrinkles.
4. Secure with Pressure: Once positioned, use a rubber mallet or a smooth, flat tool to gently press and secure the wrap in place. Be careful not to tear the material. Apply even pressure to ensure a tight fit.
5. Trim Excess Material: After securing the wrap, carefully trim any excess material using a sharp pair of scissors or a utility knife. Make sure the edges align neatly with the surrounding body panels for a professional finish.
A Tesla chrome delete wrap offers a seamless and smooth repair solution, enhancing the vehicle’s aesthetics without compromising its original design. By following the step-by-step guide outlined in this article, you can achieve a professional finish that not only covers damaged or faded chrome elements but also adds a modern touch to your Tesla. This DIY approach allows car owners to take control of their vehicle’s upkeep, ensuring a lasting and attractive result with minimal effort. For those looking to tackle a Tesla chrome delete repair, this method is an effective and accessible option.