


Before starting a sound deadening restoration, assess vehicle damage and create a detailed plan outlining parts to restore, materials, tools, budget, and DIY vs. professional services. Research compatible sound deadening options and assemble a comprehensive kit with necessary tools and safety gear. Meticulously assess gaps and noise intrusion points, using strategic techniques and specialized materials for optimal sound absorption and sealing all openings for a serene driving space in classic cars.
Looking to revive your vehicle’s interior with better sound insulation? This comprehensive guide offers a step-by-step approach to automotive sound deadening restoration. From assessing the current state of your car’s acoustics to optimizing sound absorption, you’ll learn how to create a calmer, more comfortable ride. Discover the essential tools and materials needed for successful sound deadening restoration, enabling you to transform your vehicle’s audio experience effectively.
- Assess and Plan Your Sound Deadening Project
- Gather Necessary Tools and Materials
- Implement and Optimize Sound Deadening Techniques
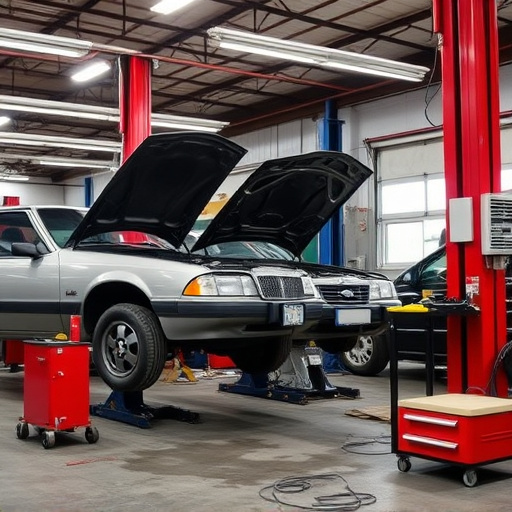
Assess and Plan Your Sound Deadening Project
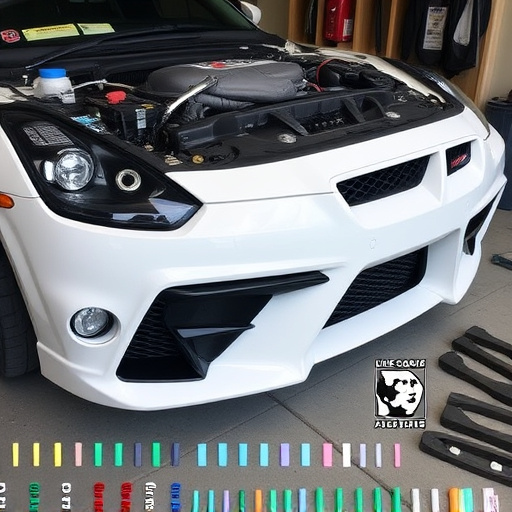
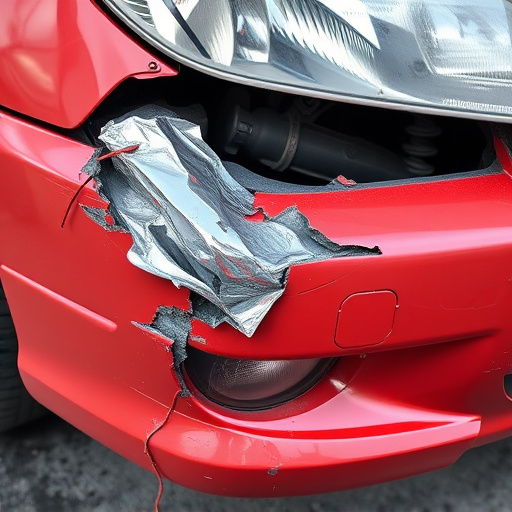
Before diving into your sound deadening restoration project, thorough assessment and planning are crucial. Begin by evaluating the current state of your vehicle’s interior, focusing on areas that often require sound deadening—door panels, hood, trunk, and even the dashboard. Look for signs of damage from accidents or wear and tear, such as cracks in the trim or missing insulation. A fender bender or Mercedes Benz collision repair might have left these components exposed or weakened.
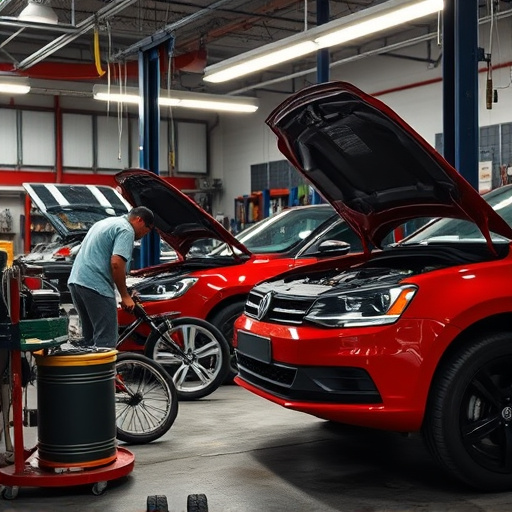
Next, create a detailed plan outlining which parts need restoration, the materials required, and the tools needed for the job. Consider your budget and whether you’re planning to do this as a DIY project or seeking luxury vehicle repair services. Research different sound deadening options, from basic foam kits to specialized acoustic treatments, ensuring compatibility with your vehicle’s make and model. This strategic approach will ensure an effective sound deadening restoration, enhancing both the comfort and aesthetics of your vehicle, whether it’s a recent fender bender fix or a complete collision repair job.
Gather Necessary Tools and Materials
Before beginning any sound deadening restoration project, ensure you have all the essential tools and materials on hand. This includes specialized sound-deadening mats designed for automotive applications, along with a variety of adhesive products suitable for different surfaces within your vehicle. A utility knife or scissors will be needed to cut the mats precisely, while a roller or brush set is ideal for applying the adhesive evenly. For safer handling, safety goggles and gloves are crucial additions to your kit.
Additionally, consider investing in a high-quality heat gun to help with the removal of old sound deadening materials, as well as a vacuum cleaner to thoroughly clean the vehicle’s interior and remove any debris. Proper ventilation is also essential during this process, so a fan or an open window can aid in minimizing the impact of fumes from adhesives and other chemicals used in auto maintenance and bodywork repairs.
Implement and Optimize Sound Deadening Techniques

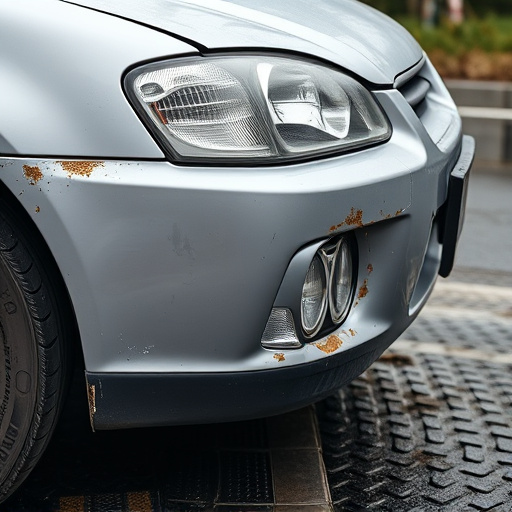
When it comes to achieving optimal sound deadening during a classic car restoration project, every detail matters. Start by evaluating the current state of the vehicle’s interior and exterior. Identify any gaps or areas where noise can penetrate, such as in the car bodywork, around auto glass repair sites, or within door panels.
Next, employ strategic sound deadening techniques. Utilize specialized sound-absorbing materials to cover surfaces like ceiling linings and floor mats. For a more customized approach, consider adding acoustic panels or diffusers for enhanced noise reduction. Ensure proper sealing of all openings to prevent sound waves from finding paths through joints or cracks. This meticulous process will transform your classic car into a serene driving space, ensuring an enjoyable journey without the distractions of unwanted noise.
Restoring your vehicle’s sound deadening is a rewarding process that can significantly enhance both comfort and safety. By carefully assessing your needs, gathering the right tools and materials, and implementing proven sound deadening techniques, you can transform your car into a quieter, more enjoyable space. Remember, proper sound deadening isn’t just about minimizing noise; it’s about optimizing your driving experience. So, take a dive into this step-by-step guide, and start your journey towards a quieter, more comfortable ride today!