

Tesla's ultrasonic sensor system relies on precise high-frequency sound waves for obstacle detection. Damage to protective covers can impair performance and safety features. Replacing the cover is a manageable DIY task, requiring minimal tools and effort. Test driving after replacement is crucial to ensure optimal obstacle detection in various scenarios. Regular maintenance extends sensor lifespan and ensures optimal performance.
Looking to enhance your Tesla’s safety features? This comprehensive guide delves into the process of replacing the Tesla ultrasonic sensor cover and testing its obstacle detection capabilities. Understanding the ultrasonic sensor system is key, as it plays a vital role in autonomous driving. We provide a step-by-step breakdown for a successful replacement, ensuring optimal performance. After the swap, we test the sensor’s functionality, offering insights into its improved accuracy and overall performance for a safer driving experience.
- Understanding Tesla's Ultrasonic Sensor System
- Step-by-Step Guide: Cover Replacement Process
- Testing Obstacle Detection and Performance After Replacement
Understanding Tesla's Ultrasonic Sensor System

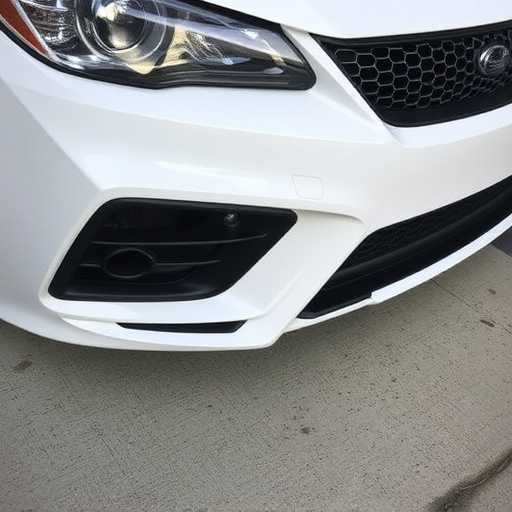
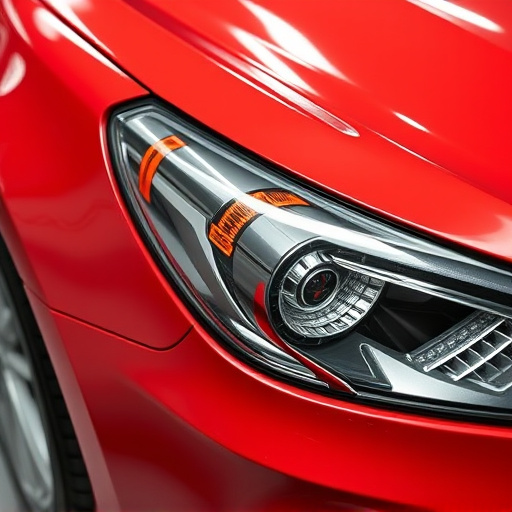
Tesla’s Ultrasonic Sensor System is a key component in their advanced driver-assistance systems (ADAS), specifically for obstacle detection and parking assistance. These sensors are designed to emit high-frequency sound waves that bounce off objects, providing valuable data on proximity and distance. By utilizing this technology, Tesla cars can detect obstacles like other vehicles, pedestrians, and stationary objects with remarkable accuracy. The ultrasonic sensor cover, often subject to damage from road debris or minor collisions, plays a crucial role in protecting the sensitive electronics beneath.
When considering a Tesla ultrasonic sensor cover replacement, it’s important to understand that this isn’t merely about aesthetics; it’s about maintaining the safety features of your vehicle. A damaged cover can compromise the sensor’s performance, affecting obstacle detection and potentially leading to accidents. Repairs are often more affordable than a complete collision repair center or paintless dent repair job, making it an appealing solution for owners looking to keep their cars in top condition while enhancing safety features.
Step-by-Step Guide: Cover Replacement Process
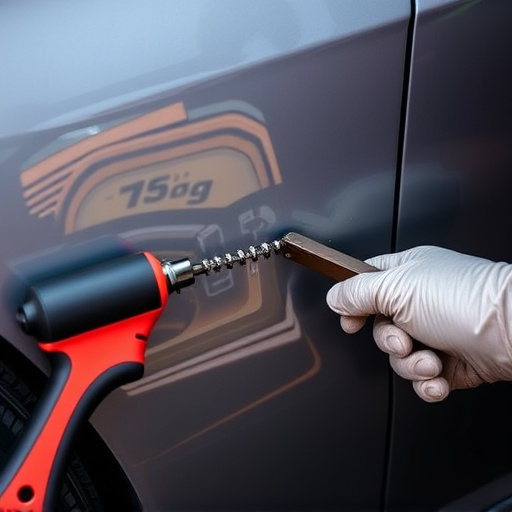
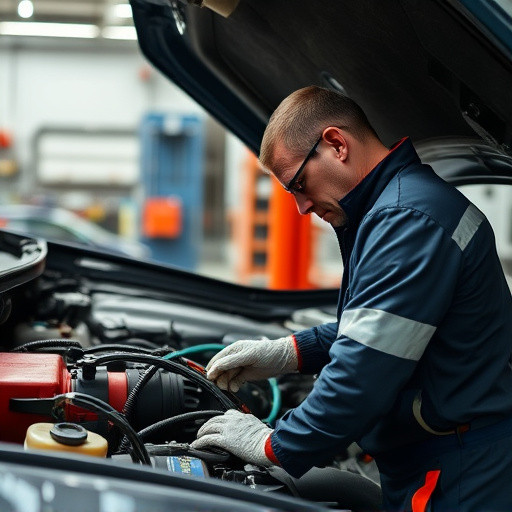
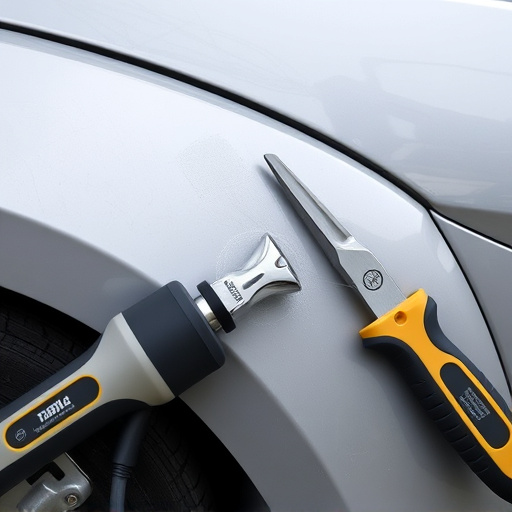
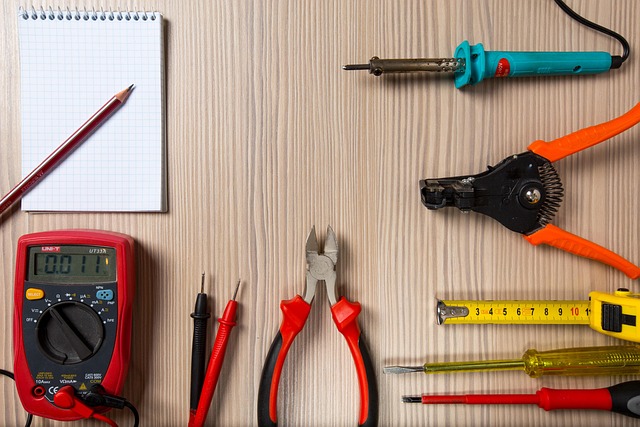
Replacing a Tesla’s ultrasonic sensor cover is a straightforward process that can be accomplished with the right tools and a few simple steps. Begin by identifying the location of the sensors, usually around the vehicle’s perimeter, especially in areas prone to obstructions like parking spaces or tight corners. Next, procure the necessary replacement covers, ensuring they are compatible with your Tesla model.
Gather your tools: you’ll need a set of precise metric screwdrivers, a soft cloth for cleaning, and possibly a heat gun for loosening adhesive (though be cautious with this step). With everything ready, carefully remove the old cover by unscrewing any visible fasteners and gently pulling it away. Clean the area thoroughly to ensure optimal sensor performance. Now, fit the new cover in place, aligning it precisely and securing it with the appropriate screws. Double-check that all sensors are exposed and unobstructed, then test the obstacle detection functionality for a seamless driving experience.
Testing Obstacle Detection and Performance After Replacement
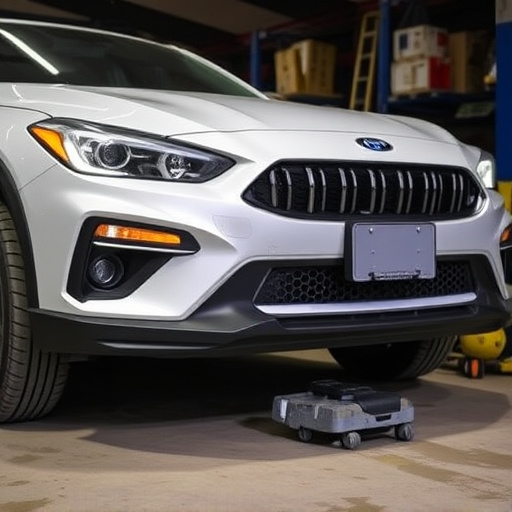
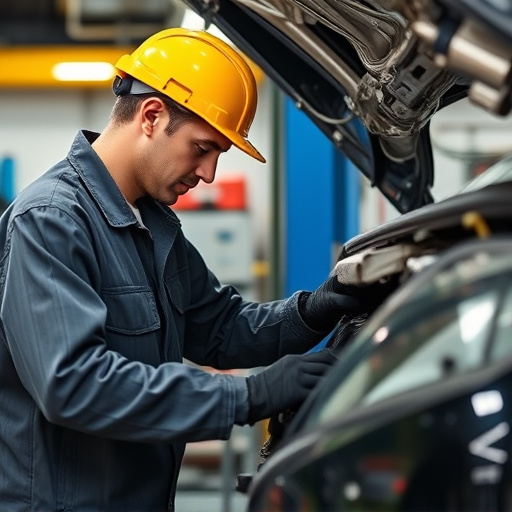
After successfully replacing the Tesla ultrasonic sensor cover, it’s crucial to test its obstacle detection capabilities and overall performance. This involves driving your vehicle through various scenarios where obstacles are present, such as narrow spaces, parking lots, or winding roads. Pay close attention to how the car responds; it should detect objects and adjust its speed or path accordingly without any sudden stops or erratic behavior.
A well-functioning ultrasonic sensor system should provide accurate readings, ensuring a safer driving experience. During this test phase, consider factors like weather conditions, as some environmental elements might impact sensor performance. If issues arise, such as false detections or missed obstacles, it may indicate a need for further adjustment or calibration at an auto repair shop specializing in Tesla models. Regular auto maintenance also plays a vital role in keeping these sensors optimized and prolonging their lifespan.
After successfully replacing the Tesla ultrasonic sensor cover, testing its obstacle detection capabilities is crucial. By performing comprehensive tests under various conditions, we ensure optimal performance and enhanced safety features for your Tesla vehicle. The process involves simulating real-world scenarios to verify the sensor’s accuracy and responsiveness, ultimately confirming its effectiveness in navigating through obstacles. This detailed approach guarantees that any issues are identified and addressed promptly, ensuring a seamless driving experience. With these steps, you can rest assured that your Tesla’s ultrasonic sensor system is ready to tackle any road challenges.