


Tesla MCU repair after a collision requires meticulous attention to detail. Damage assessment starts with inspecting visible marks and cracks. Repairs involve disassembling, replacing, and resealing affected areas, protecting sensitive electronics. Disconnect the battery, locate the MCU under steering wheel or dashboard, disassemble, inspect, install new unit, secure connections, reassemble, test all functions for full restoration of driver interface access and vehicle function to pre-collision levels. Trust a specialized collision center for successful Tesla MCU repair.
In the event of a collision, restoring access to your Tesla’s driver interface is paramount. This involves understanding and repairing the Model Control Unit (MCU), a central processing hub that controls various vehicle functions. This article delves into the intricacies of Tesla MCU repair after collision, offering a comprehensive guide for owners. We’ll break down the significance of the MCU, how to assess damage, and provide a step-by-step replacement process, ensuring your Tesla returns to peak performance post-collision.
- Understanding Tesla MCU and Its Role in the Vehicle
- Assessing Damage After a Collision for MCU Repair
- Step-by-Step Guide to Replacing Tesla's MCU Unit
Understanding Tesla MCU and Its Role in the Vehicle

The Tesla MCU (Modular Computer Unit) is a core component that acts as the brain of the vehicle, controlling and coordinating various functions such as driver assistance features, infotainment systems, and vehicle dynamics. It’s integral to ensuring the seamless operation of modern electric vehicles like Tesla models. In the event of a collision, proper Tesla MCU repair after collision becomes critical for restoring not just physical damage but also access to essential driver interface functionalities.
Similar to how a Mercedes-Benz collision repair involves meticulous attention to both structural integrity and cosmetic restoration, repairing the Tesla MCU demands specialized knowledge and advanced diagnostic tools. Damage can range from hardware issues like cracks or breaks in the unit itself to software corruptions that may require reinstalling or reprogramming. A qualified collision repair shop specializing in electric vehicle bodywork must be equipped to handle these complexities to ensure the MCU functions at pre-collision levels, thereby enhancing safety and driver experience.
Assessing Damage After a Collision for MCU Repair
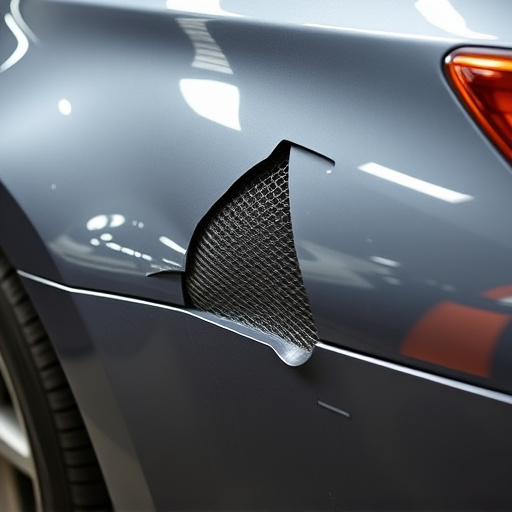
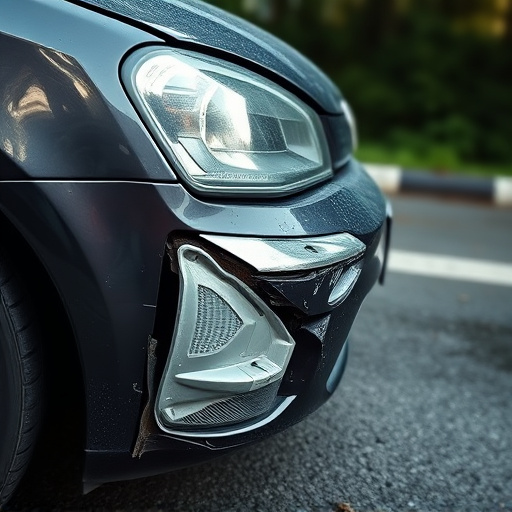
After a collision, assessing damage to the Tesla’s MCU (Modular Computer Unit) is crucial for restoring driver interface access. The first step involves a thorough inspection to identify any visible signs of impact or cracks on the MCU itself and its surrounding components. Often, a car dent repair or bumper repair might be needed before attempting MCU repair, as these parts can shield the sensitive electronics from direct damage.
Automotive repair services for Tesla MCU repair after collision require specialized knowledge and tools. Technicians must carefully disassemble the affected areas to gain access to the MCU while ensuring no internal components are compromised. This meticulous process involves replacing any damaged parts or modules and re-sealing them to prevent future issues, ultimately restoring driver interface functionality seamlessly.
Step-by-Step Guide to Replacing Tesla's MCU Unit

Replacing a Tesla’s MCU (Multi-Computer Unit) after a collision is a critical step in restoring driver interface access and ensuring your vehicle functions optimally. Here’s a step-by-step guide to help you navigate this process, focusing on both efficiency and accuracy. Begin by powering off the vehicle and disconnecting the battery to ensure safety during the repair. Next, locate the MCU unit, typically found under the steering wheel or in the dashboard area, depending on your Tesla model. Remove any surrounding components or panels to gain full access.
Using a specialized tool kit tailored for Tesla repairs, carefully disassemble the MCU and take note of its connections. This meticulous process demands precision to avoid damaging other components. Once the old MCU is removed, inspect it for damage and determine whether a replacement is necessary. Proceed by installing the new MCU, ensuring each connection is secure. After reassembling the vehicle, test all functions, including touchscreen responsiveness, navigation, and driver assistance features, to guarantee full functionality. Remember, a successful Tesla MCU repair after collision not only restores access but also returns your car to its pre-accident condition in terms of both performance and user experience, often facilitated by a trusted collision center specializing in automotive collision repair.
After a collision, restoring access to your Tesla’s driver interface is crucial. Understanding and repairing the MCU (Master Control Unit) is key in this process. By carefully assessing damage and following a meticulous step-by-step guide for replacement, owners can ensure their vehicle returns to its full functionality. Tesla MCU repair after collision is not only feasible but also essential for getting back on the road safely and comfortably.