


Evaluating and repairing Tesla interior trim damage requires identifying issues like gaps, misalignments, and loose pieces. Precision is key using quality parts, specialized tools, and proper techniques such as filling and sanding. Auto body putty is recommended for more severe cases. Regular maintenance prevents future problems. Specialized services offer tailored solutions for optimal vehicle presentation and performance.
Looking to perfect your Tesla’s interior? Discover how to tackle common issues with gap or panel misalignment in your vehicle’s trim. This comprehensive guide walks you through evaluating damage, gathering the right tools and materials, and step-by-step instructions for aligning and filling gaps effectively. Elevate your DIY skills and keep your Tesla looking its best with expert tips on Tesla interior trim repair.
- Evaluating Tesla Interior Trim Damage: Common Issues
- Tools and Materials for Trim Repair
- Step-by-Step Guide to Alignment and Gap Filling
Evaluating Tesla Interior Trim Damage: Common Issues
Evaluating Tesla Interior Trim Damage: Common Issues
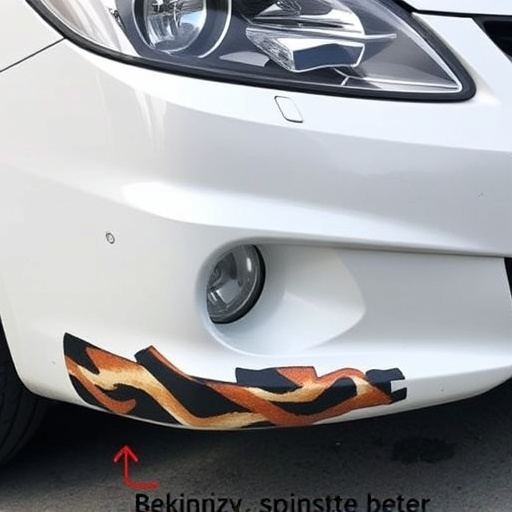
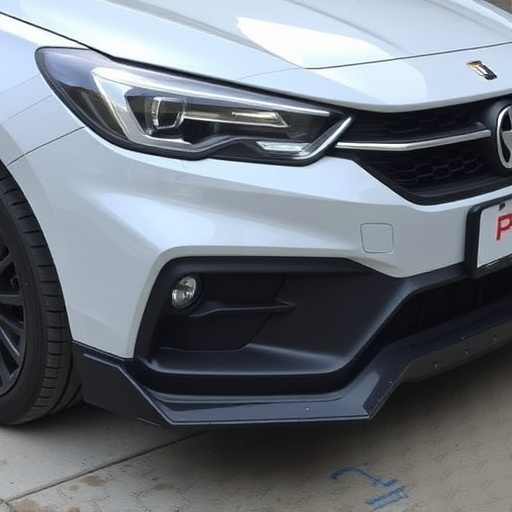
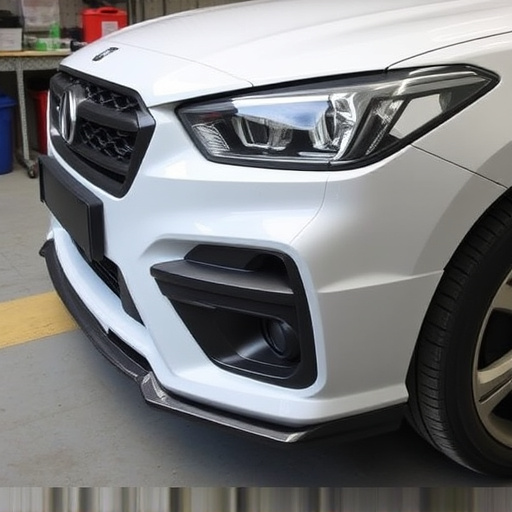
When it comes to Tesla interior trim repair, the first step is identifying the specific damage. Common issues include gaps between panels, misaligned components, and loose trim pieces. These problems can arise from various factors such as manufacturing defects, normal wear and tear, or even automotive collision repair. It’s crucial to address these issues promptly to maintain the vehicle’s aesthetic appeal and ensure optimal functionality.
During inspection, pay close attention to detail. Gaps might be caused by warped panels or misaligned doors, while loose trim could indicate faulty installation or damage from a classic car restoration process. Car repair services specializing in Tesla interiors can provide precise assessments, offering tailored solutions for each unique challenge, thereby enhancing the vehicle’s overall presentation and performance.
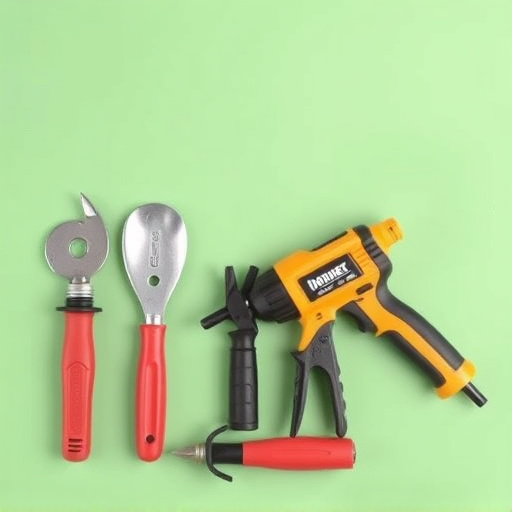
Tools and Materials for Trim Repair
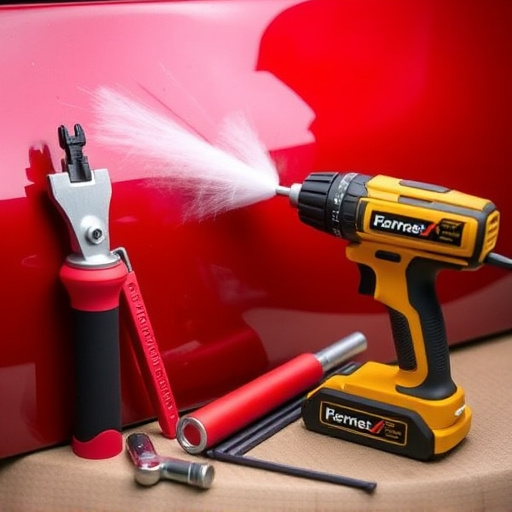
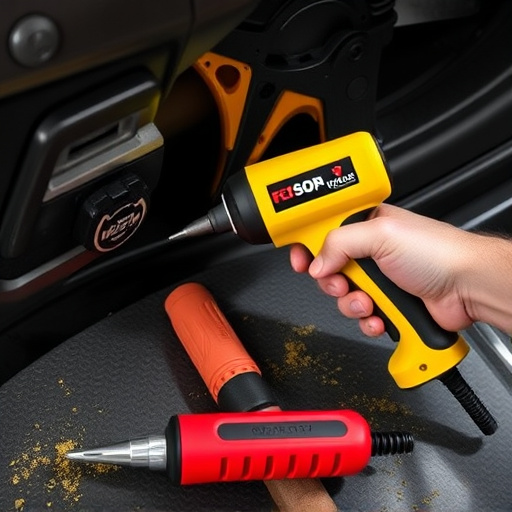
When it comes to Tesla interior trim repair, the right tools and materials are essential for achieving a precise and seamless finish. For this task, you’ll need a variety of specialized equipment. Start with high-quality replacement trim pieces that perfectly match your Tesla’s original specifications. This ensures an exact fit and maintains the vehicle’s overall aesthetic appeal.
Additionally, gather tools such as precision screwdrivers, hex keys, and pin punches to carefully disassemble and reassemble the interior components without damaging surrounding parts. A sturdy work surface with good lighting is crucial for accurate alignment during the repair process. Moreover, consider having access to auto body putty or composite repair kits, which are ideal for filling gaps and repairing misaligned panels, common issues arising from vehicle collisions or general wear and tear. These materials enable you to perform effective collision repair on your Tesla’s interior trim.
Step-by-Step Guide to Alignment and Gap Filling
To achieve perfect alignment and gap filling for your Tesla’s interior trim, follow this meticulous step-by-step guide. Begin by thoroughly inspecting the damaged area, identifying any misaligned panels or gaps. Next, gather the necessary tools, including specialized gap fillers and adhesive designed for vehicle interior repair. Ensure a clean workspace to prevent contamination of the materials.
Apply a thin layer of gap filler along the edges of the misaligned panel, pressing gently but firmly into place. Allow the filler to set according to the manufacturer’s instructions. Once cured, carefully sand the surface to achieve a smooth finish, matching the surrounding interior trim. For more severe damage or gaps, consider using auto body putty for a more comprehensive vehicle paint repair. Regular auto maintenance can help prevent such issues in the future by keeping your Tesla’s panels tightly aligned.
Tesla interior trim repair is a feasible DIY project for those with the right tools and knowledge. By understanding common issues like gaps or misaligned panels, and following a step-by-step guide, you can effectively address these problems. With the right materials and careful alignment, your Tesla’s interior will look as good as new, ensuring a satisfying and cost-effective repair experience.