

Car dents indicate deeper structural issues caused by fender benders, corrosion, and poor maintenance. Regular inspections and prompt repairs prevent future damage. Proper post-removal care includes cleaning, waxing, and sealing to maintain a dent-free finish.
After successfully removing unsightly car dents, preventing future ones is key to maintaining a sleek vehicle finish. This article guides you through a comprehensive strategy, from understanding the common causes of car dents to preparing your vehicle before removal and ensuring proper post-removal care. By following these steps, you’ll safeguard your ride against new dents and extend the life of your dent-free finish. Implement these practices for efficient and effective car dent removal and long-lasting protection.
- Understand Common Causes of Car Dents
- Prepare Your Vehicle Before Removal
- Post-Removal Care for Dent-Free Finish
Understand Common Causes of Car Dents
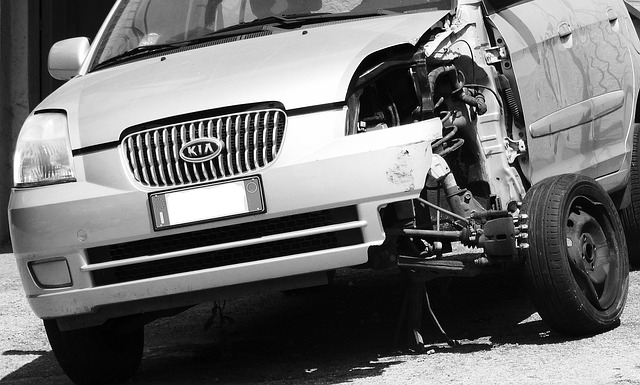
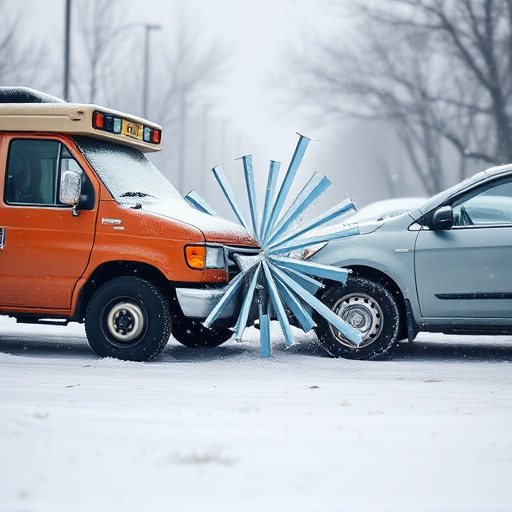
Dents on your car are not just unsightly; they’re often a sign of something deeper happening to your vehicle’s bodywork. Understanding common causes can help you prevent future issues, especially after a car dent removal process. A fender bender, for instance, is one of the most frequent culprits, leading to dents in the exterior panels of your vehicle. These impacts can occur during parking or while navigating through tight spaces, and they often go unnoticed until visible damage appears.
Another significant factor contributing to car dents is lackadaisical vehicle maintenance. Overlooking small cracks, rust spots, or weak panel joints makes your vehicle more susceptible to denting. Moreover, environmental factors like flying debris from construction sites or road salt during winter can accelerate corrosion, rendering your vehicle’s bodywork weaker and more prone to dents. Regular checks and prompt vehicle repair for any existing damage are essential preventive measures beyond car dent removal.
Prepare Your Vehicle Before Removal

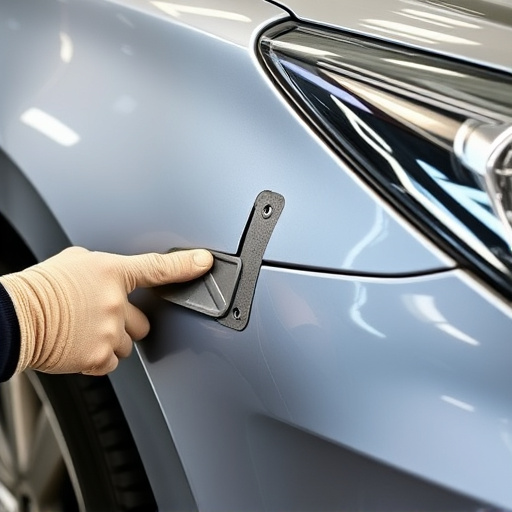
Before any dent removal process begins, it’s crucial to prepare your vehicle properly to prevent future dents and ensure a smooth fix. Start by thoroughly inspecting your car for existing damage or weak spots that could be vulnerable to new dents. Addressing these issues beforehand can significantly reduce the risk of further damage during the removal process.
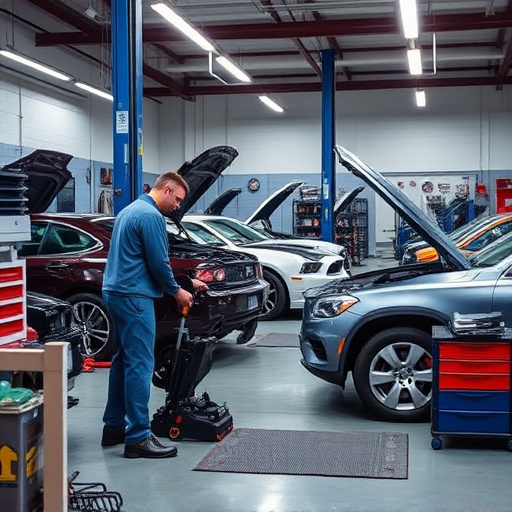
One effective step is to get a professional auto body assessment at a reputable collision center or through comprehensive auto body services. They can identify potential problem areas and offer tailored solutions, such as panel replacements or specialized repairs, to fortify your vehicle’s exterior against future dents. This proactive approach will not only enhance the overall look of your luxury vehicle repair but also provide long-lasting protection.
Post-Removal Care for Dent-Free Finish
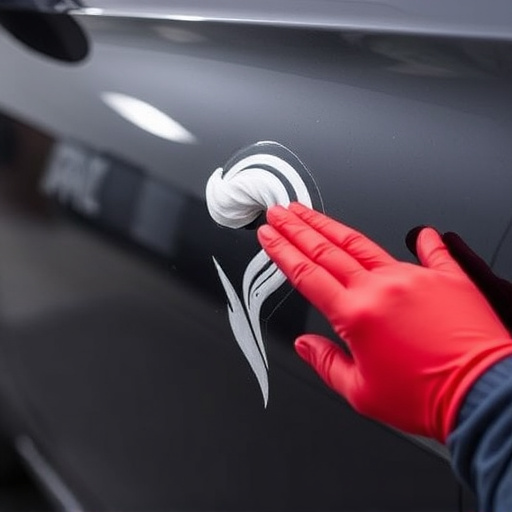
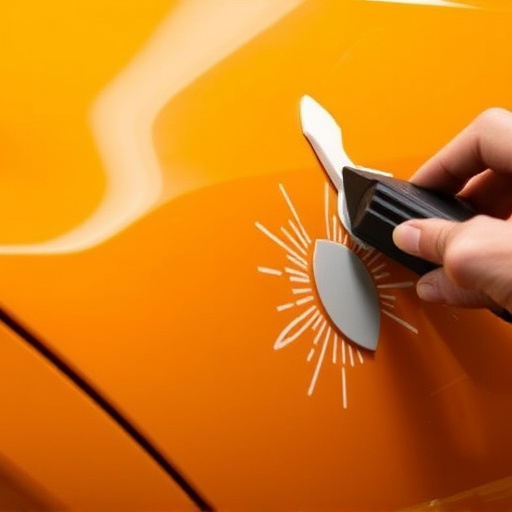
After successful dent removal, maintaining a dent-free finish requires careful post-removal care. The first step is to thoroughly clean and inspect the repaired area to ensure there are no remaining debris or dirt particles that could affect the final outcome. Using mild soap and warm water, gently wash the surface, paying close attention to the edges where the repair was made. Dry the area gently with a soft cloth to avoid any water spots or residue.
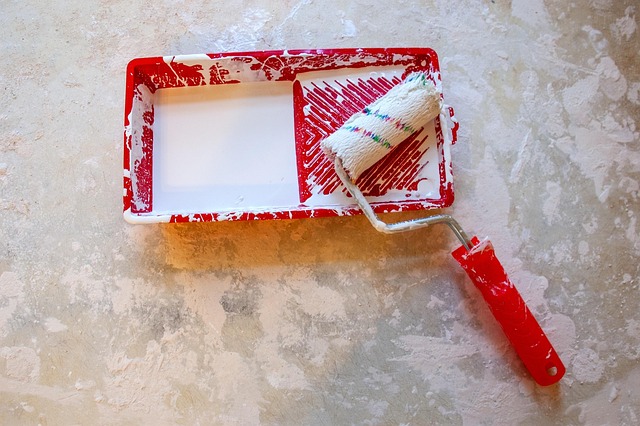
Once cleaned, apply a high-quality car wax or sealant to create a protective barrier over the repaired section. This step not only adds a glossy finish but also shields the paint from UV rays and environmental contaminants that could lead to future dents or damage. Regularly waxing your vehicle, especially after any collision repair like bumper repair or automotive collision repair, is an excellent practice for maintaining a dent-free car body restoration.
Preventing future car dents after removal is key to maintaining a pristine vehicle. By understanding common causes, preparing your vehicle before removal, and practicing proper post-removal care, you can ensure a lasting dent-free finish. Remember that regular maintenance and quick action upon discovering any new dents are essential for long-term protection. With these steps, you’ll be well on your way to keeping your car looking its best, one smooth surface at a time.