

Before using a bumper repair kit, assess dent size, depth and location. Clear work area, clean damaged surface, and dry thoroughly. Sand and prime for a smooth finish that matches your bumper.
Need to fix that dented or scratched bumper? A bumper repair kit is a cost-effective, DIY solution. This step-by-step guide walks you through the process from start to finish. First, assess the damage and gather your supplies. Then, prepare your work area for a clean, safe repair. Follow the instructions to apply the repair compound and finish with a touch-up coat. With a bit of patience, you’ll have a like-new bumper, saving time and money.
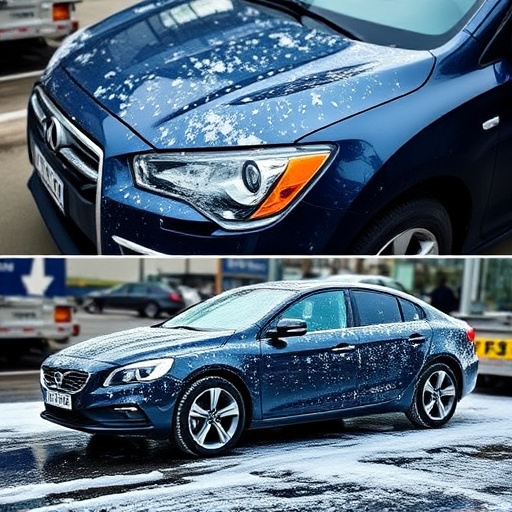
Assessing Your Bumper Damage
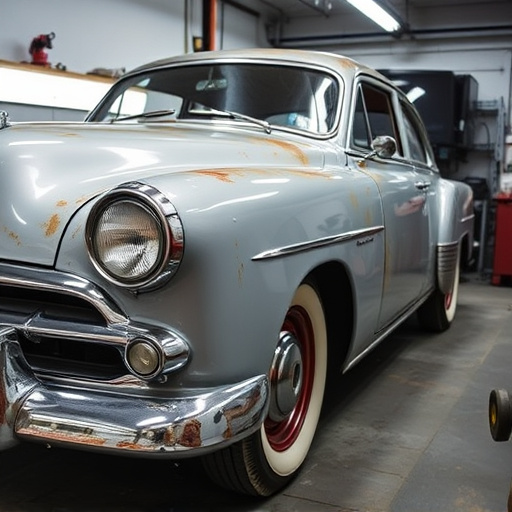
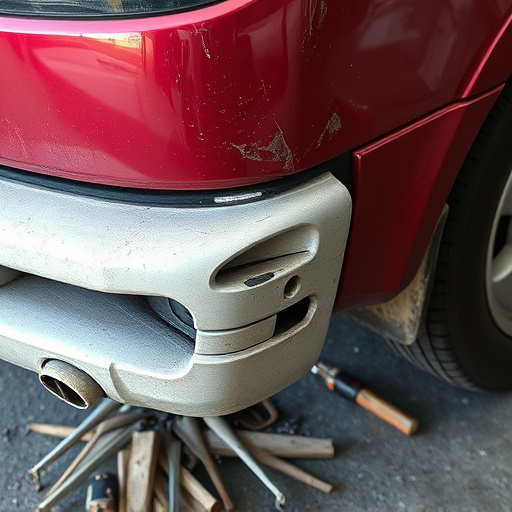
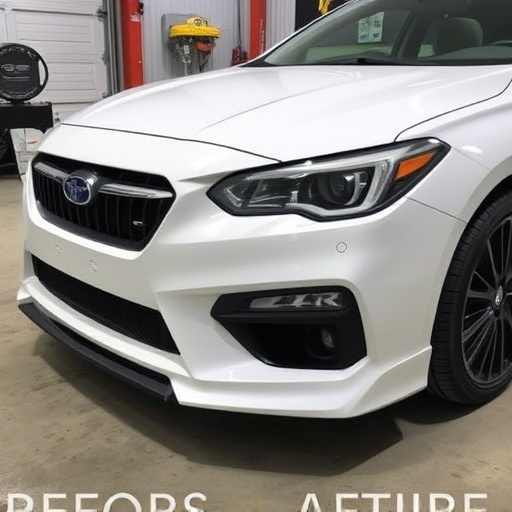
Before repairing your bumper with a kit, it’s crucial to assess the extent of the damage. Begin by examining the dent or scratch on your bumper closely. Note its size, depth, and location. Some dents might be shallow and minor, suitable for a DIY paintless dent repair using a bumper repair kit. Other car damages, like deep cracks or severe impact, may require professional automotive repair services.
Consider factors such as the age of the damage, previous repairs, and your comfort level with the process. If you’re unsure, consult an expert to help you decide whether a DIY approach using a bumper repair kit is suitable for your car damage repair needs.
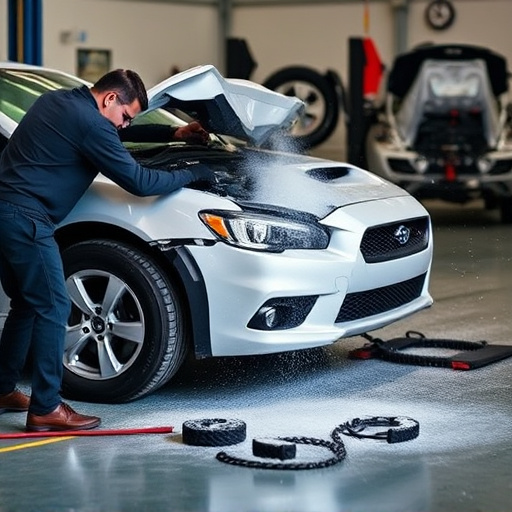
Preparing Your Work Area
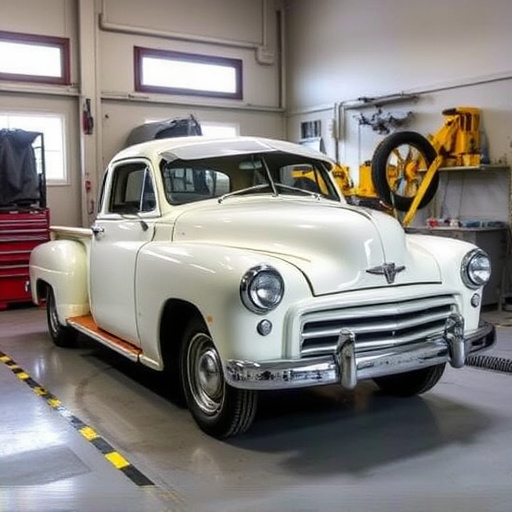
Before you begin the bumper repair process with your kit, ensuring your work area is prepared and set up correctly is paramount. Clear a space large enough to accommodate your vehicle and any tools or materials needed. Remove all loose items from the floor and ensure adequate lighting to clearly see every step of the repair. Setting up a clean, organized workspace will not only make the job easier but also enhance the chances of achieving a seamless finish.
Prepare the area around the damaged bumper by cleaning it thoroughly. Use a soft cloth or sponge with mild detergent to remove any dirt, grease, or debris. Drying the surface is essential before proceeding, as moisture can interfere with the adhesive properties of your bumper repair kit. Properly prepared car bodywork services can make all the difference in the final outcome, ensuring a clean and professional appearance after repairs are made, reflecting the quality of auto body services provided.
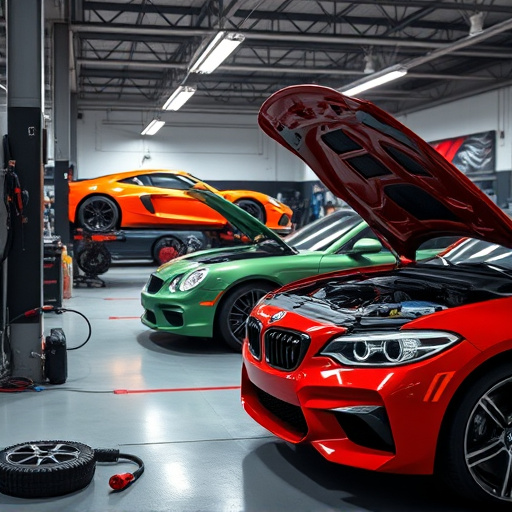
Repairing and Finishing the Bumper
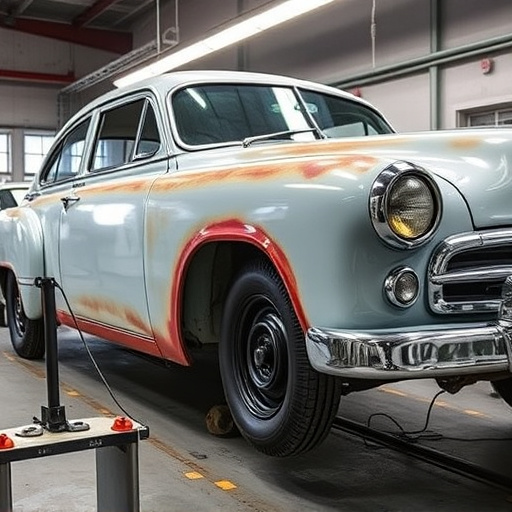
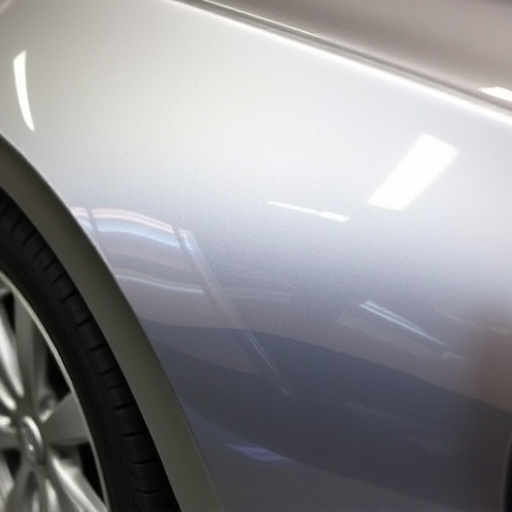
After applying the filler and allowing it to set, it’s time to sand and smoothen the area for a flawless finish. Start with coarse sandpaper to remove any high spots or imperfections, ensuring an even surface. Then, switch to finer grits to achieve a smooth texture that blends seamlessly with the rest of the bumper. This meticulous process is crucial in automotive body work as it ensures your repair matches the original auto body repairs’ quality.
Once satisfied with the smoothness, apply a coat of primer designed for plastic or automotive applications. Primer acts as a base, preparing the surface for paint and enhancing adhesion. Let the primer dry completely before moving on to the final step. This careful finishing touches are what transform your bumper repair kit project from a temporary fix to a professional-looking, like-new component, eliminating any visible signs of damage or auto body repairs.
Repairing your own bumper using a bumper repair kit is a straightforward process that can save you time and money. By following these simple steps, from assessing the damage to finishing the repair, you’ll have your bumper looking like new in no time. A bumper repair kit equips you with everything needed to tackle minor bumps and scratches, ensuring your vehicle maintains its aesthetic appeal. So, why wait? Get started on your DIY bumper repair today!