


Before installing tempered glass, thoroughly prepare surfaces by cleaning and sanding for safety and adhesion. Choose appropriate thickness (3-5mm for everyday, 4-6mm for automotive) based on application. Select high-quality adhesives and sealants tailored to project needs for water tightness and durability in both auto and architectural installations.
Looking to achieve flawless results with your next tempered glass replacement project? Discover 10 essential tips from preparation to final cure. From ensuring a meticulously cleaned surface and selecting the right glass thickness, to proper adhesive use, precise cutting, and thorough testing for strength and security, this guide covers everything for successful tempered glass installation.
Prepare Surface Thoroughly

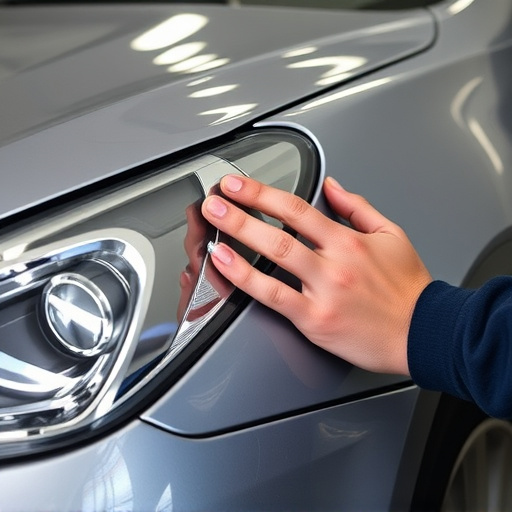
Before replacing tempered glass, preparing the surface thoroughly is a crucial step that cannot be overlooked. This involves removing any debris, dust, or dirt from the area where the new glass will be installed. A clean and smooth surface ensures proper adhesion of the tempered glass, which is essential for safety and structural integrity. Start by wiping down the region with a soft cloth and a mild cleaning solution to eliminate visible contaminants. Then, use fine-grit sandpaper to smooth out any rough edges or existing debris. This meticulous preparation guarantees that your new tempered glass installation will be secure and free from bubbles or imperfections.
For automotive restoration or bodywork repairs, this step becomes even more critical as it directly impacts the vehicle’s safety and performance. A well-prepared surface enhances the longevity of the replacement glass, preventing future issues related to adhesion or water penetration. This process may require additional steps, such as sealing or patching, depending on the condition of the existing vehicle bodywork. Ensuring that your workspace is clean and free from contaminants will greatly contribute to the success of your tempered glass installation project.
Choose Correct Glass Thickness

When it comes to tempered glass replacement, selecting the right thickness is paramount for both functionality and aesthetics. The choice of glass thickness heavily depends on the application, whether it’s for a window replacement, table top protection, or automotive repair. For everyday applications like windows or tabletops, opt for standard tempered glass that offers a balance between strength and cost-effectiveness. This type of glass is commonly 3mm to 5mm thick and provides excellent durability against impact and heat.
In the realm of automotive repair, car bodywork often demands higher-strength glass. Specialized automotive tempered glass, typically ranging from 4mm to 6mm in thickness, is designed to withstand the rigors of vehicle crashes and protect occupants. Ensuring you choose the correct glass thickness not only guarantees optimal structural integrity but also aligns with safety regulations for your specific application, be it car damage repair or a simple home upgrade.
Use Proper Adhesives and Sealants
When undertaking a tempered glass installation, selecting the right adhesives and sealants is paramount to achieving perfect results. These materials play a crucial role in ensuring structural integrity, water tightness, and long-term durability of the replacement glass. Opt for high-quality, manufacturer-recommended products designed specifically for automotive or architectural applications, depending on your project.
Using proper adhesives and sealants also helps prevent leaks, condensation, and other issues that can compromise the safety and aesthetics of the new glass. Moreover, choosing the appropriate material for your specific application – whether it’s a car repair shop needing auto body repairs or replacing a window in a commercial building – will contribute to a seamless fit, superior bonding, and a final product that looks as good as new.
When replacing tempered glass, a meticulous approach ensures optimal results. By preparing the surface thoroughly, selecting the right glass thickness, and employing suitable adhesives and sealants, you can achieve a secure and durable installation. These steps are vital for both functional and aesthetic integrity, guaranteeing your new glass panels enhance, not disrupt, the overall design and safety of your space.