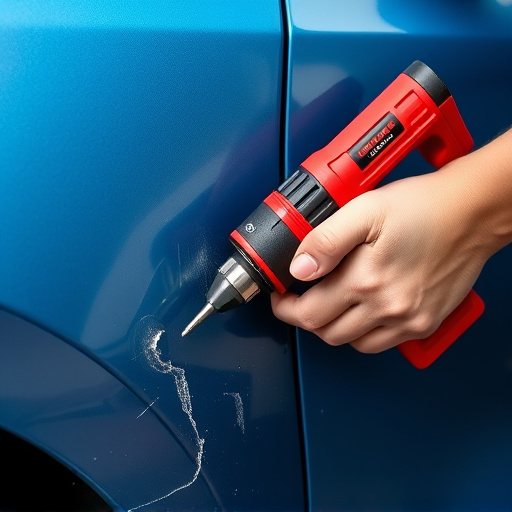


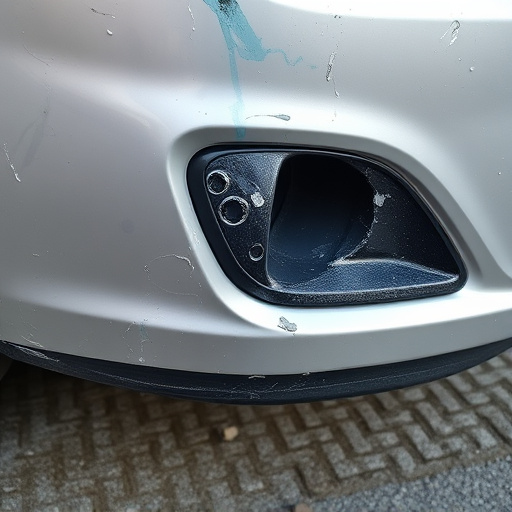

Safety glass, integral to modern vehicles like Mercedes Benz, requires meticulous inspection before installation due to potential flaws like cracks, chips, air bubbles, and thickness variations. Common defects are caused by errors or environmental factors. Correcting these flaws is critical for structural integrity and occupant safety during collisions. Professional technicians use visual inspection, magnifying glasses, infrared thermometers, and digital calipers for flawless safety glass replacement, ensuring precision and aesthetics in auto restoration projects. Meticulous attention to detail and early discrepancy addressing through professional services are crucial for optimal safety and performance in applications like cars.
Looking to ensure a secure and safe environment with new safety glass installations? This comprehensive guide delves into the crucial process of identifying potential flaws before they become hazards. From understanding the unique properties of safety glass to mastering inspection techniques, we equip you with knowledge to spot common installation errors. Learn how to achieve flawless results for your safety glass replacement projects.
- Understanding Safety Glass Properties and Flaws
- Inspection Tools and Techniques for Perfection
- Common Installation Errors: How to Spot Them
Understanding Safety Glass Properties and Flaws
Safety glass, a crucial component in modern automotive design, is renowned for its strength and durability. When installed properly, it offers enhanced protection against impact and shattering, providing critical safety measures during vehicle collisions. However, even high-quality safety glass can exhibit flaws during manufacturing or transportation, leading to issues that require meticulous inspection before installation. Understanding these potential flaws is essential for ensuring the integrity of your vehicle’s structural integrity, especially in the event of a vehicle collision repair like those often seen in Mercedes Benz collision repair.
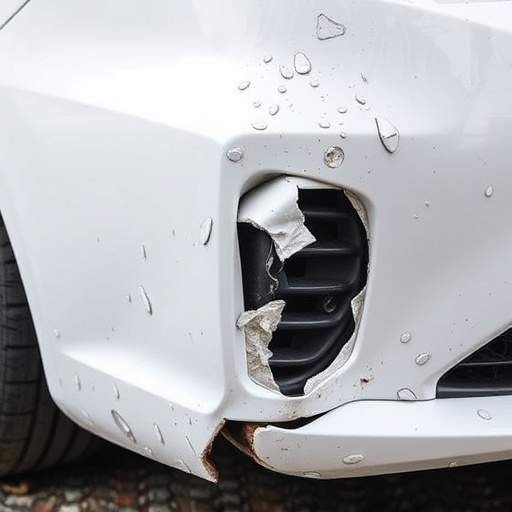
Common defects can include cracks, chips, air bubbles, or variations in thickness. These flaws can be caused by manufacturing errors, transportation damage, or even environmental factors. A thorough inspection should involve a close look for any visible imperfections, using proper lighting and magnification if necessary. Identifying and rectifying these flaws is vital to prevent weak spots in the glass that could fail during stress, putting occupants at risk. When replacing safety glass, whether for a safety glass replacement or dent removal, it’s paramount to be discerning to ensure the new glass meets the same stringent safety standards as the original.
Inspection Tools and Techniques for Perfection
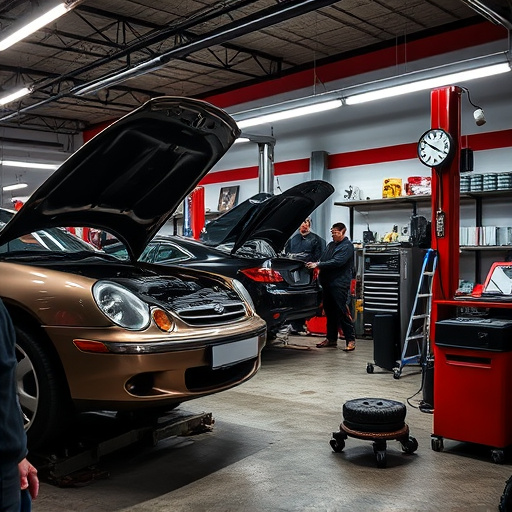
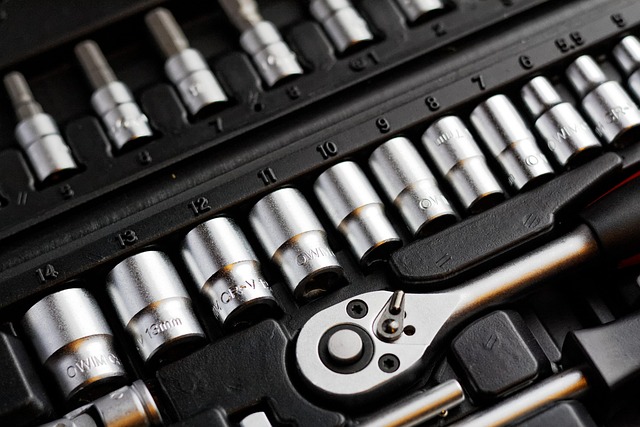
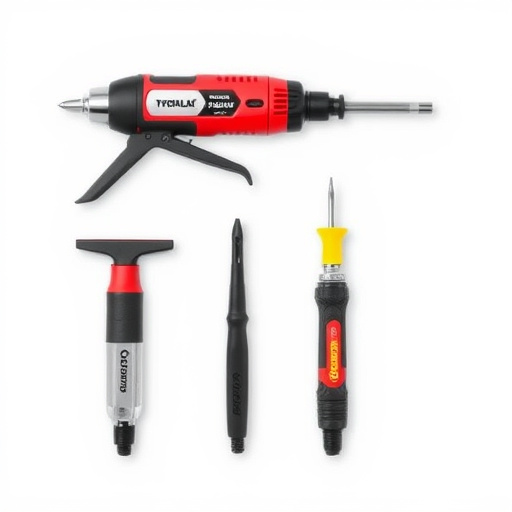
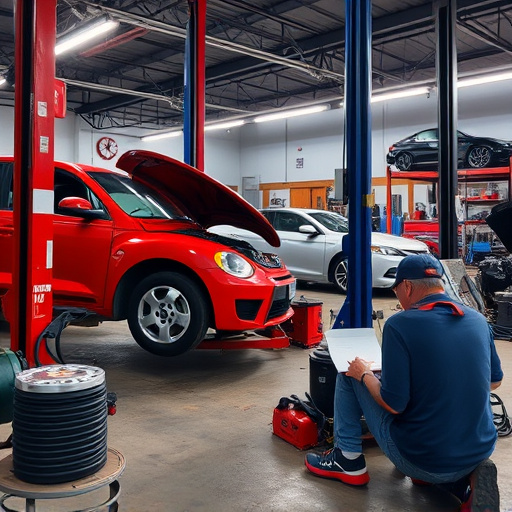
When it comes to inspecting new safety glass for installation flaws, the right tools and techniques are paramount. Professionals in auto restoration and collision repair services often rely on a combination of visual inspection, specialized lighting, and digital measurement devices. Using a magnifying glass or loupe allows for a close-up examination of the glass surface, revealing even the smallest chips or imperfections that could compromise structural integrity.
For more detailed analysis, infrared thermometers can detect temperature variations, helping to identify potential air pockets or misalignments during installation. Moreover, digital calipers provide accurate measurements to ensure the glass is perfectly fitted, crucial for both aesthetic appeal and safety in automotive restoration projects. These tools, along with meticulous techniques, guarantee that every piece of safety glass installed is flawless, enhancing both the functionality and longevity of auto repair services.
Common Installation Errors: How to Spot Them

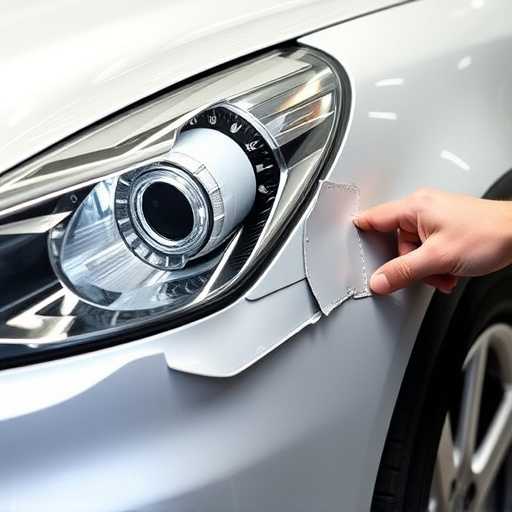
When it comes to safety glass replacement, whether for a car, window, or any other application, common installation errors can significantly compromise structural integrity and safety. One of the most visible issues is misalignment, where the glass isn’t properly centered or squared, leading to an uneven finish. This often occurs due to haste or inadequate measuring tools. Another frequent error involves improper sealing. Gaps in seals not only affect the glass’s ability to withstand pressure but also allow for the ingress of moisture and contaminants, which can cause further damage over time.
To spot these errors, inspect the glass for any signs of misalignment, using a level to ensure it’s perfectly straight and centered. Check for gaps or leaks in the seal by running your finger along its edge; a proper seal should be tight and continuous. If you notice any discrepancies, it might be best to seek professional vehicle repair services or auto repair near you to avoid potential car damage repair issues down the line.
When inspecting new safety glass for installation flaws, understanding the properties of safety glass, utilizing proper inspection tools, and being aware of common errors are key. By following these steps and staying vigilant, you can ensure that your safety glass replacement is flawless, providing both enhanced safety and aesthetic appeal. This meticulous approach will help prevent issues down the line, ensuring a secure and beautiful environment.