


Tesla HV battery inspection is a critical process ensuring the safety and performance of electric vehicles. It involves understanding structural design, identifying potential issues like cell imbalance or corrosion, using advanced tools for diagnosis, following EV-specific protocols, and creating checklists. Proper preparation, including safety measures and organized workspaces, streamlines the process. The inspection includes visual checks, electrical testing, temperature/pressure monitoring, terminal inspection, and reviewing BMS logs to maintain optimal battery health and prevent major repairs or replacements.
Uncover the secrets behind Tesla’s high-voltage (HV) battery system with this comprehensive guide. As electric vehicles continue to revolutionize transportation, understanding the intricate process of HV battery inspection is paramount for owners and technicians alike. This step-by-step manual delves into the essentials, from grasping the basic components to preparing for a thorough inspection. We’ll walk you through each crucial check, ensuring your Tesla’s battery remains in peak condition. Master the art of Tesla HV battery inspection today.
- Understanding Tesla HV Battery Basics
- Preparation for Comprehensive Inspection
- Step-by-Step Inspection Process & Key Checks
Understanding Tesla HV Battery Basics

Tesla’s High Voltage (HV) battery system is a pivotal component of their electric vehicles, storing vast amounts of energy to power the car’s motors. Understanding this intricate system is crucial when conducting a Tesla HV battery inspection. This involves familiarizing oneself with its structural design, including the battery cells, modules, and the overall packaging, which are all vital for ensuring safety and optimal performance.
A thorough inspection requires knowledge of potential issues like cell imbalance, corrosion, or damage to the protective casing, as these can impact both vehicle functionality and safety. Many car repair shops offering automotive repair services for Tesla vehicles have specialized in HV battery inspections, employing advanced diagnostic tools and techniques to identify and rectify problems efficiently, ensuring the continued reliability and range of these cutting-edge electric powertrains.
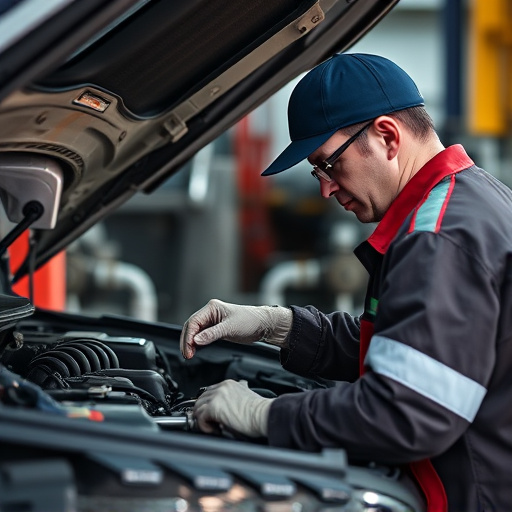
Preparation for Comprehensive Inspection

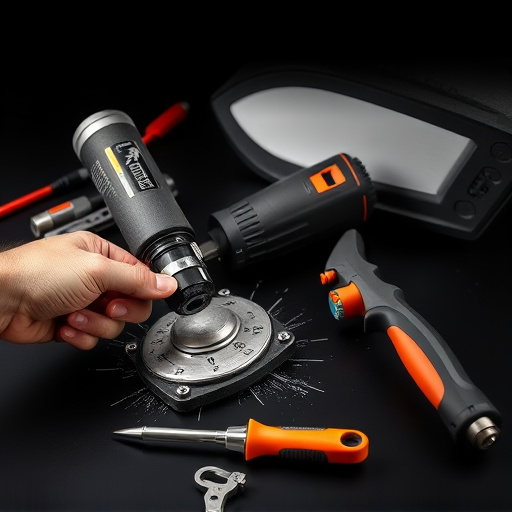
Before embarking on a Tesla HV battery inspection, thorough preparation is key to ensuring an accurate and comprehensive evaluation. This involves gathering all necessary tools and equipment, including specialized diagnostic devices designed for electric vehicle (EV) systems. It’s crucial to have a clear understanding of the inspection protocols specific to Tesla batteries, as they differ from traditional internal combustion engine vehicles. Familiarizing yourself with the vehicle repair processes unique to EVs will enable you to navigate the intricate components and systems of the battery pack efficiently.
Additionally, creating a structured checklist tailored for Tesla HV battery inspections is essential. This checklist should encompass every aspect, from visual examinations to performance tests. Ensuring your workspace is well-organized and equipped with proper safety measures is another vital step. This includes accessing adequate ventilation due to the potential presence of trace gases during testing. A clean, clutter-free environment enhances accuracy and makes the inspection process smoother for both the technician and the auto repair shop.
Step-by-Step Inspection Process & Key Checks
The Tesla HV (High-Voltage) battery inspection process is a crucial step in ensuring the safety and performance of your electric vehicle. It involves a meticulous evaluation to uncover any potential issues or wear and tear, especially considering the critical nature of the battery system. Here’s a breakdown of the key steps and checks:
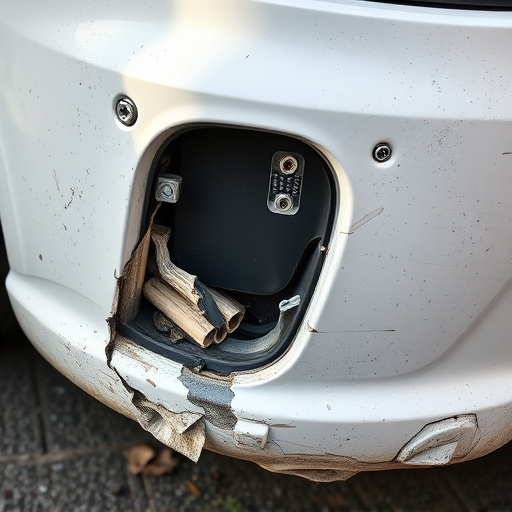
1. Visual Inspection: Begin by examining the battery pack for any visible signs of damage, corrosion, or leaks. Check for proper sealing and connection at each cell and module. Ensure there are no signs of overheating or fire damage, which could indicate compromised safety systems.
2. Electrical Testing: Connect specialized equipment to perform electrical tests on individual cells and overall battery performance. Measure voltage, current, resistance, and capacity to identify any anomalies. This step is vital for detecting weak cells, internal short circuits, or faulty connections that might require Tesla HV battery replacement or auto body repair.
3. Temperature and Pressure Check: High-voltage batteries operate within specific temperature ranges. Monitor the pack’s temperature during operation and after charging to ensure it remains within safe limits. Additionally, check pressure levels in the cooling system, as overpressure or underpressure could indicate issues with ventilation or fluid levels.
4. Check Terminals and Connectors: Inspect battery terminals and connectors for corrosion, loose connections, or physical damage. Corrosion can hinder current flow, leading to poor performance or even auto glass replacement due to related electrical failures. Ensure all connections are secure for optimal battery efficiency.
5. Monitor Battery Management System (BMS): The BMS is the brain of the Tesla HV battery, managing cell balance and monitoring health. Check the BMS logs for any error codes or warnings. A faulty BMS might require professional car body restoration services to replace or reprogram it, ensuring optimal battery management.
The comprehensive guide on Tesla HV battery inspection equips owners and technicians with essential knowledge to ensure these high-voltage powerhouses operate safely and efficiently. By following the step-by-step process, from understanding basic components to meticulous checks, you can navigate the intricate landscape of HV battery maintenance. This approach not only enhances safety but also prolongs the life of these cutting-edge energy storage systems, pivotal to the future of sustainable mobility. Master the art of Tesla HV battery inspection and contribute to a greener tomorrow.