
Cowl panel damage from accidents, weather, or defects can impact vehicle safety and performance. Timely replacement is crucial to prevent water intrusion and electrical issues. The process involves jacking up the car, removing and inspecting the old panel, installing a new one, and testing. Regular washing, waxing, and inspections post-repair ensure long-term durability and optimal cowl panel replacement results.
Looking to repair your high-performance vehicle? One crucial component often overlooked is the cowl panel. This article guides you through the process of replacing a damaged cowl panel, detailing the impact of its deterioration and offering a comprehensive step-by-step guide. From identifying signs of wear to ensuring long-lasting results, learn how a proper cowl panel replacement enhances both performance and aesthetics. Discover expert tips for optimal post-repair maintenance.
- Understanding Cowl Panel Damage and Its Impact
- The Step-by-Step Guide to Replacement
- Ensuring Longevity: Post-Repair Maintenance Tips
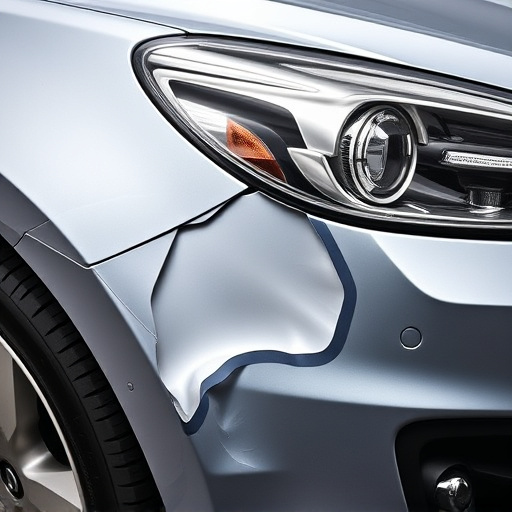
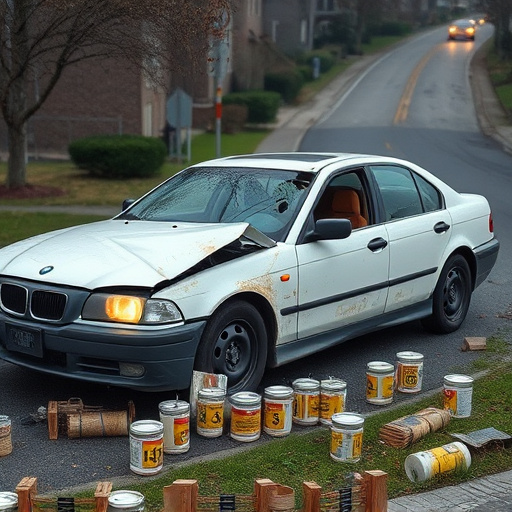
Understanding Cowl Panel Damage and Its Impact
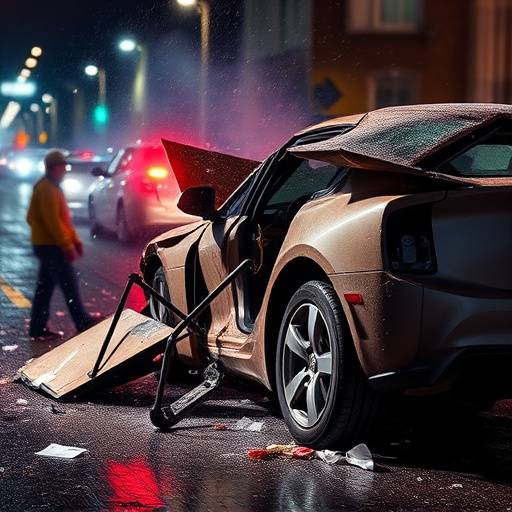
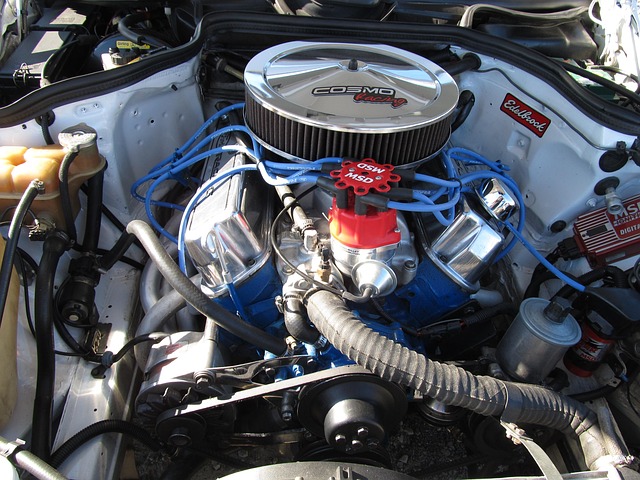
Cowl panel damage can occur due to various reasons, from minor accidents and debris impact to extreme weather conditions or manufacturing defects. This structural component, which covers the engine bay and provides both aesthetic value and functional protection, plays a crucial role in a vehicle’s overall performance and safety. When the cowl panel is compromised, it not only affects the vehicle’s appearance but also its integrity.
The impact of damaged cowl panels can be significant. In extreme cases, inadequate or delayed cowl panel replacement may lead to further complications such as water intrusion, compromising the electrical system, and affecting the vehicle’s overall performance. Prompt recognition of cowl panel damage and a timely cowl panel replacement process are essential steps in maintaining optimal vehicle condition, ensuring driver safety, and preserving the value of the vehicle through effective vehicle paint repair or even a complete vehicle restoration.
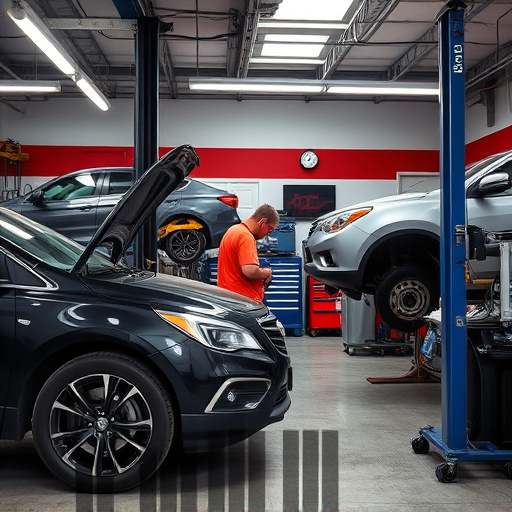
The Step-by-Step Guide to Replacement
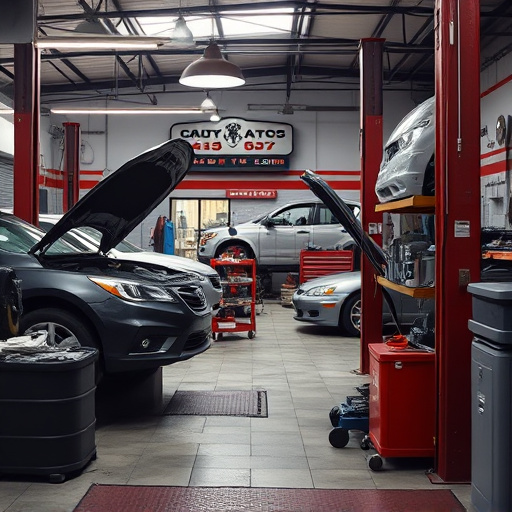
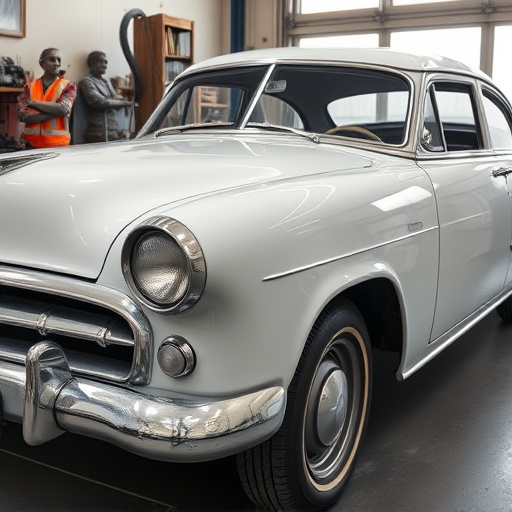
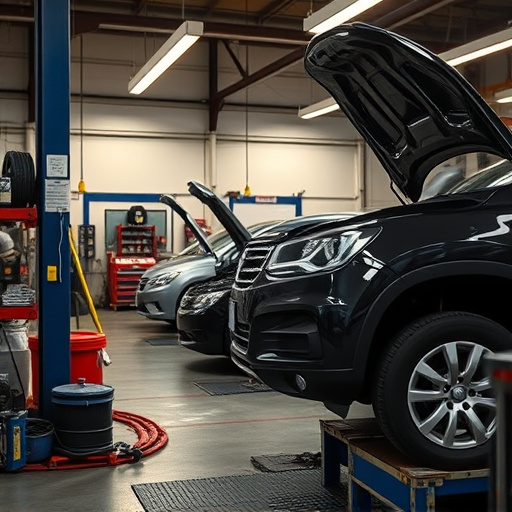
Replacing a cowl panel is a crucial step in automotive body work, particularly for high-performance vehicles that often face more demanding conditions. This process isn’t as daunting as it seems and can be accomplished by seasoned DIYers or brought to a trusted collision repair shop like Mercedes Benz specialists. Here’s a straightforward guide:
1. Safety First: Begin by ensuring the vehicle is securely jacked up and supported on sturdy stands. Engage the parking brake and block the wheels for added safety during the removal process. This prevents any accidents while working beneath the car.
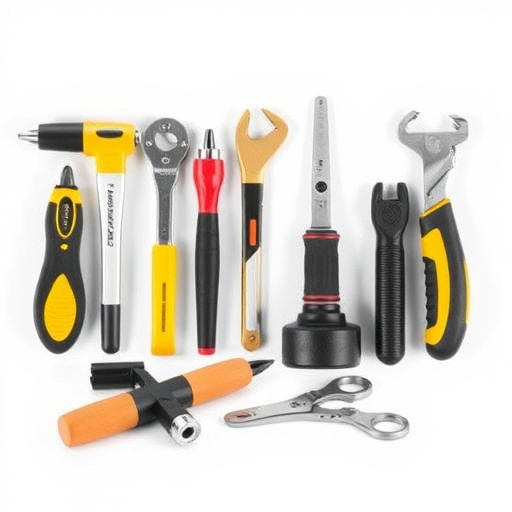
2. Disassemble: Identify the cowl panel’s attachment points using your vehicle’s repair manual. Loosen and remove any bolts, brackets, or clips securing the panel in place. Be mindful of where each component goes for easy reassembly later.
3. Remove the Old Panel: Carefully lift out the damaged cowl panel. Take note of any sensors, wires, or components attached to the panel. These may need separate attention and reattachment.
4. Inspect and Prepare: Examine the surrounding area and underlying structure for any damage. Clean the surface thoroughly to ensure a reliable bond with the new panel.
5. Install the New Panel: Position the new cowl panel, aligning it precisely with the vehicle’s frame. Secure it in place using the appropriate bolts, brackets, or clips, following the manufacturer’s guidelines.
6. Test and Reattach: After reinstallation, test all components that were removed, such as sensors or wiring, to ensure they function correctly. This step is crucial for proper mercedes benz collision repair.
7. Final Touches: Once everything is functioning as it should, lower the vehicle from the stands and tighten any loose bolts for a secure fit.
Ensuring Longevity: Post-Repair Maintenance Tips
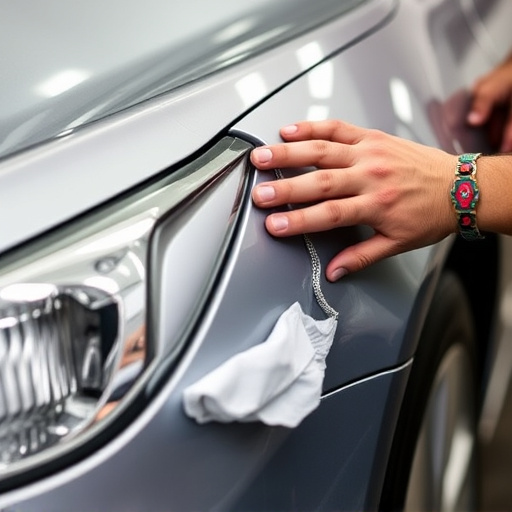
After successfully completing a cowl panel replacement, proper post-repair maintenance is crucial to ensure longevity and optimal performance. It’s essential to keep the vehicle clean and regularly inspect the repaired area for any signs of damage or water intrusion. Regular washing and waxing not only protect the finish but also help to prevent future rust or corrosion, which is common in areas like the cowl panel that are often exposed to the elements.
In addition to these measures, scheduling routine checks with an automotive body shop can be beneficial. They can perform detailed inspections, address any emerging issues promptly, and offer expert advice tailored to your vehicle’s specific needs. Regular maintenance, including checking for loose components, proper fluid levels, and tire pressure, will contribute to a smoother ride and help extend the life of both the repair and the entire vehicle.
Cowl panel replacement is a crucial aspect of high-performance vehicle repairs, addressing not just cosmetic issues but also ensuring structural integrity and optimal performance. By following the step-by-step guide outlined in this article, along with post-repair maintenance tips, you can extend the lifespan of your vehicle’s cowl panel and enhance its overall performance. Remember, regular upkeep is key to maintaining the health of your ride, so be sure to prioritize cowl panel replacement and subsequent maintenance for a seamless driving experience.