


Parking lot accidents frequently damage the vulnerable front fascia of Tesla Model 3s, requiring specialized repair. The repair process is accessible for both DIY enthusiasts and mechanics, involving meticulous steps like inspection, debris removal, disassembly, and body filler application to harmonize with the vehicle's design. Preventative measures such as regular washing, strategic parking, parking sensors, car covers, and inspections help maintain the front fascia's pristine condition.
“Experience a fender bender in your Tesla Model 3? Navigating parking lot accidents can damage its sleek design, especially the vulnerable front fascia. This comprehensive guide delves into the intricacies of Tesla Model 3 front fascia repair, offering both DIYers and professionals a step-by-step approach. From understanding common parking lot damage to preventative measures, we equip you with the knowledge to restore your vehicle’s pride. Learn how to identify, prepare, and execute effective repairs for your Model 3.”
- Understanding Tesla Model 3 Front Fascia Damage in Parking Lots
- The Repair Process: Step-by-Step Guide for DIYers and Professionals
- Preventative Measures: Tips to Avoid and Mitigate Front Fascia Damage
Understanding Tesla Model 3 Front Fascia Damage in Parking Lots

Parking lot accidents can be a common occurrence, and for Tesla Model 3 owners, one of the most vulnerable areas is the front fascia. This component not only enhances the vehicle’s aesthetic appeal but also plays a crucial role in protecting the car’s windshield and frame from impact. Damage to the front fascia can result from various incidents, such as parking obstacles, shopping carts, or even small debris like stones or branches.
Identifying the extent of the damage is an essential first step. Dents, cracks, or scratches on the fascia may require different repair methods, including simple body shop work or more complex auto painting and collision repair services. Many Tesla Model 3 owners opt to visit a specialized collision repair center for expert advice and high-quality repairs. Auto repair services that cater to electric vehicles ensure the process is carried out with the necessary skill and understanding of unique considerations in Tesla models.
The Repair Process: Step-by-Step Guide for DIYers and Professionals

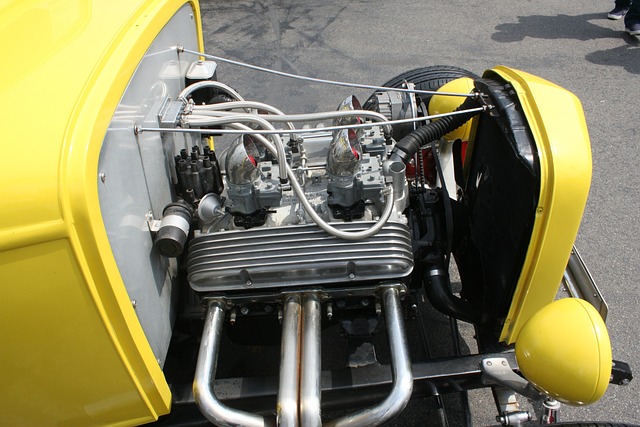
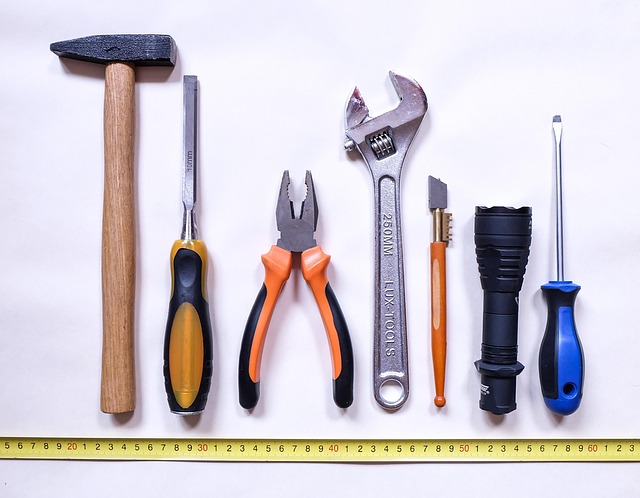
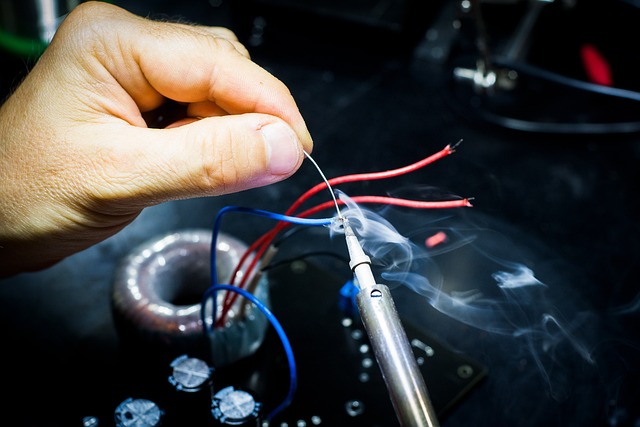
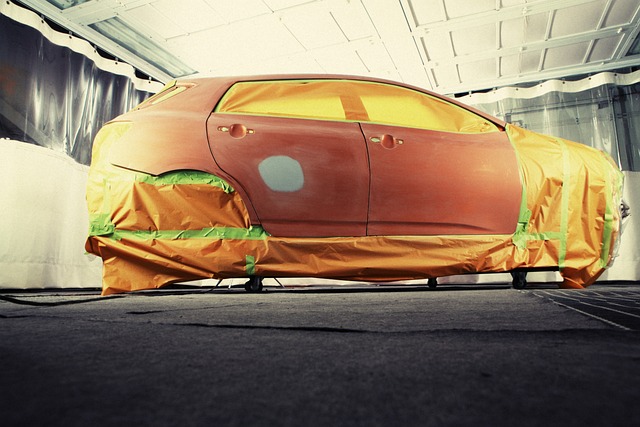
The Tesla Model 3 front fascia repair process involves a series of precise steps that can be tackled by both DIY enthusiasts and professional mechanics. For those opting for a do-it-yourself approach, the first step is to thoroughly inspect the damage, identifying any cracks or dents in the front bumper and surrounding components. This is crucial as it determines the extent of the repair needed.
Next, gather all necessary tools and materials, including replacement parts such as a new front fascia panel (if required), body filler, sandpaper, primer, and paint. Once prepared, start by removing any loose debris from the damaged area using a vacuum cleaner or compressed air. Then, carefully disassemble the affected components, taking note of their placement for easier reassembly later. This step-by-step approach ensures a meticulous repair that blends seamlessly with the vehicle’s original design, revitalizing its appearance through what can be considered a vehicle body repair and restoration process.
Preventative Measures: Tips to Avoid and Mitigate Front Fascia Damage

Preventative measures play a crucial role in safeguarding your Tesla Model 3’s front fascia from parking lot accidents and other mishaps. Regular washing and waxing not only enhance the car’s aesthetic appeal but also create a protective layer that repels dirt, debris, and potential damage. Park strategically, choosing spots with minimal traffic flow to reduce the risk of collision. Additionally, utilizing parking sensors or cameras can help you navigate tight spaces more safely.
Invest in a high-quality car cover designed specifically for Teslas; this barrier protects against dust, birds’ droppings, and other environmental factors that contribute to fascia damage. Lastly, consider regular inspections during auto body restoration sessions. Identifying and addressing minor issues early on can prevent them from escalating into costly repairs down the line, ensuring your Tesla Model 3’s front fascia remains pristine for years to come, all while showcasing your commitment to meticulous auto detailing at a reputable auto body shop.
In conclusion, navigating parking lot accidents without significant damage to your Tesla Model 3 is achievable through proactive measures. Understanding common types of front fascia damage and implementing preventative strategies can significantly reduce the need for costly repairs. For those facing the challenge of fixing a damaged front fascia, our step-by-step guide offers a comprehensive roadmap, catering to both DIY enthusiasts and professional mechanics. By combining awareness, preventive care, and informed repair techniques, Tesla Model 3 owners can maintain their vehicles’ aesthetics and value over time.