


Heated windshield replacement offers a modern solution to winter driving issues, preventing ice and snow buildup for year-round clarity. This innovative technology, involving integrated heating wires in the glass, enhances safety and convenience compared to traditional defrosting methods. Before installation, equip yourself with specialized tools and materials, clean the existing windshield, and prepare a well-ventilated workspace. The process demands precision, including gathering tools, removing the old windshield, measuring and marking, applying adhesive, positioning the new heated windshield, smoothing air bubbles, and testing heating functionality for effective performance in colder climates.
Considering a heated windshield replacement? This comprehensive guide breaks down the process, from understanding cutting-edge heated windshield technology to ensuring you have the necessary preparation and tools. Learn how to navigate the step-by-step replacement process efficiently and safely. Discover the benefits of this innovative feature and transform your driving experience, especially in frosty conditions, with a few expert tips.
- Understanding Heated Windshield Technology
- Preparation and Tools Required
- Step-by-Step Replacement Process
Understanding Heated Windshield Technology

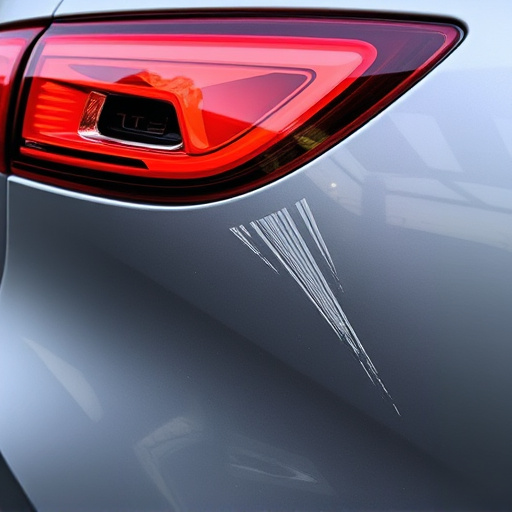
The concept of a heated windshield might seem like a modern marvel, but it’s an innovative solution to a common automotive issue. This technology is particularly beneficial for regions with harsh winters where ice and snow build-up on windshields can obstruct visibility. A heated windshield replacement involves integrating heating wires into the glass itself, ensuring optimal clarity year-round. Unlike traditional autobody repairs that focus on patching damages, this advanced approach prevents issues by keeping the glass free from frost and ice.
Heated windshield technology is a game-changer for luxury vehicle repair, offering both convenience and safety. The intricate process involves precise placement of heating elements beneath a protective layer of glass, ensuring no compromise in structural integrity. This innovative design not only enhances driving experience but also contributes to safer Autobody repairs by eliminating the need for frequent defrosting methods that can be cumbersome and potentially damaging to the vehicle’s exterior.
Preparation and Tools Required
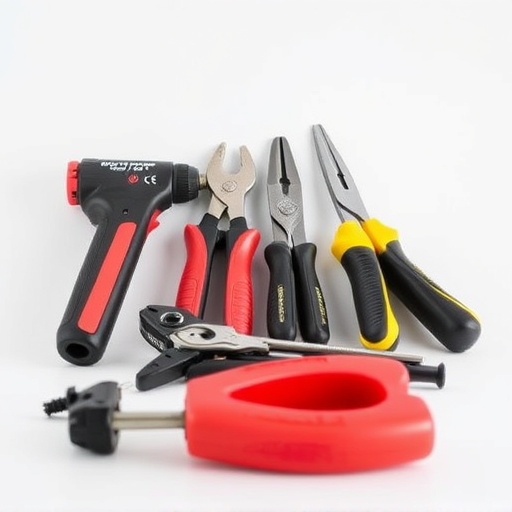
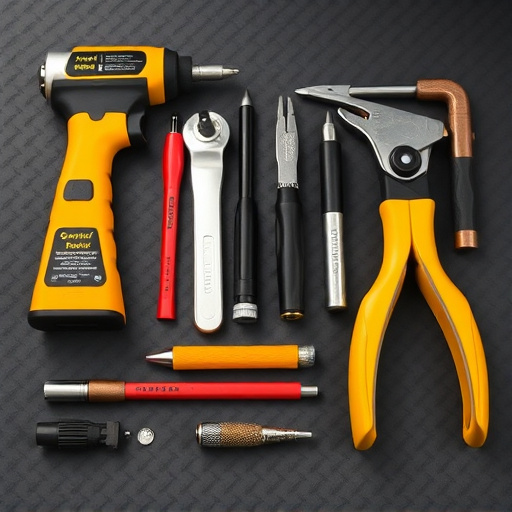
Before tackling a heated windshield replacement, it’s crucial to gather all necessary tools and materials. This process requires specialized equipment that goes beyond your typical auto body services toolkit. You’ll need a variety of items, including gloves, safety goggles, and a face mask for protection; these are essential components in any automotive repair services endeavor. Additionally, ensure you have the right heating elements—typically embedded wires designed for windshields—along with adhesive, insulation material, and a compatible power source to integrate the system effectively.
Proper preparation is key to ensuring a smooth installation process. Clean the existing windshield thoroughly to remove any debris or contaminants that could hinder adhesion. Prepare your work area by setting up a stable workspace, ideally in a well-ventilated area, as some materials may emit strong odors. Have all components within reach to avoid unnecessary interruptions during the replacement process, ensuring efficiency and precision in these auto body services tasks.
Step-by-Step Replacement Process

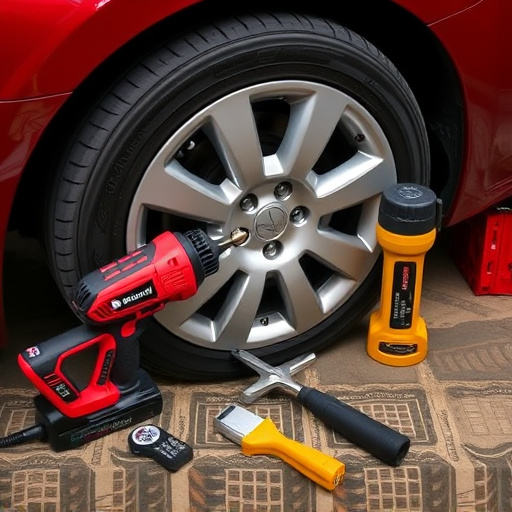
Replacing a windshield with embedded heating wires is a specialized process that requires precision and knowledge. It’s crucial to approach this task systematically for optimal results in heated windshield replacement. First, gather all necessary tools, including a new windshield with integrated heating elements, adhesive, and safety gear. Then, inspect the existing windshield for any damage or debris, ensuring a clean and smooth surface for installation.
Next, carefully remove the old windshield by detaching the wiper blades and any supporting hardware. With the frame exposed, measure and mark the location of the new windshield, ensuring accurate placement. Apply a bead of adhesive along the perimeter, following the manufacturer’s instructions. Position the new heated windshield, aligning it precisely with the marks. Smooth out any air bubbles and ensure a tight seal. Once set, test the heating function to verify proper wiring and integration. This step-by-step replacement process ensures a safe and effective installation, enhancing your vehicle’s overall performance, especially in colder climates, while also highlighting the importance of professional auto repair services for such specialized tasks.
Replacing a windshield with embedded heating wires, or heated windshield replacement, is a complex process that requires careful preparation and a deep understanding of automotive technology. By following these steps and ensuring you have the right tools, you can successfully install a new heated windshield, enhancing your vehicle’s safety and comfort, especially in colder climates. This DIY guide offers a practical approach to navigating the heated windshield replacement process, empowering car enthusiasts to take control of their vehicle maintenance.