

Matte finish repair demands careful attention due to their vulnerability. Diversity in matte finishes requires specific techniques. Gather appropriate tools like putty knife, sandpaper (400-600 grit), touch-up pen, and cleaning solution. Systematically inspect, clean, sand, fill, and polish damaged areas, using car polish for severe cases. Repeat polishing until desired aesthetic achieved.
“Discover the art of restoring your matte finish surfaces with our comprehensive guide tailored for beginners. From understanding the diverse types of matte finishes and identifying common issues, to equipping you with essential tools and materials—we’ve got you covered. Learn effective, step-by-step techniques to master matte finish repair, ensuring a flawless, professional-looking restoration. Get ready to transform your space with enhanced beauty and longevity.”
- Understanding Matte Finish: Types and Common Issues
- Gathering Essential Tools and Materials for Repair
- Step-by-Step Guide: Techniques for Effective Matte Finish Restoration
Understanding Matte Finish: Types and Common Issues
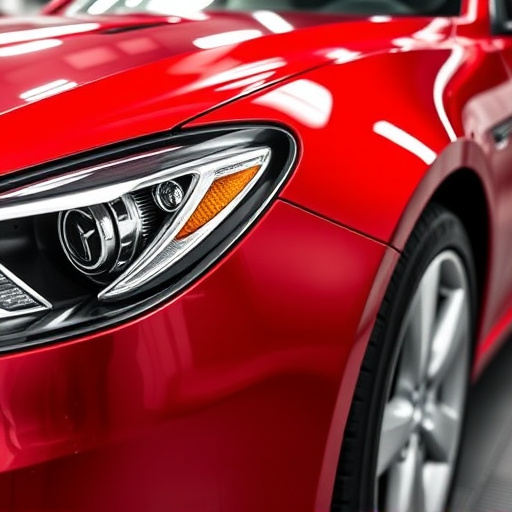
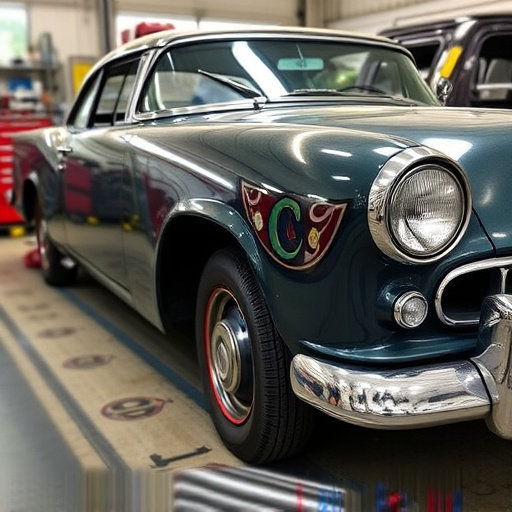
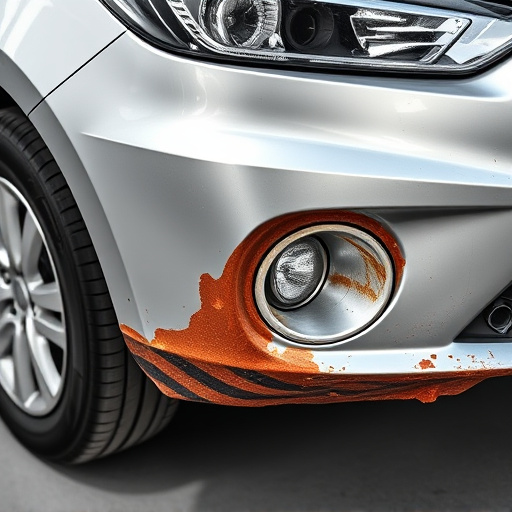
Matte finish is a popular choice for various surfaces, from automotive bodies to home décor items, due to its sleek and modern appearance. However, maintaining this aesthetic can be challenging as it is prone to specific issues that require addressing for an effective matte finish repair. Understanding the types of matte finishes and the common problems that arise is the first step in mastering the art of repair.
There are several variations of matte finishes, each with its unique characteristics. These include satin matte, which has a slightly smoother texture, and flat or non-reflective matte, known for its dull appearance. Common issues such as scratches, scuffs, and small dents can significantly impact the overall look, especially on car bodies where auto maintenance is crucial. These defects not only affect aesthetics but may also compromise the protective layer of the surface, making prompt repair essential to prevent further damage. Effective matte finish repair involves addressing these problems with specialized products and techniques tailored to each type of finish.
Gathering Essential Tools and Materials for Repair

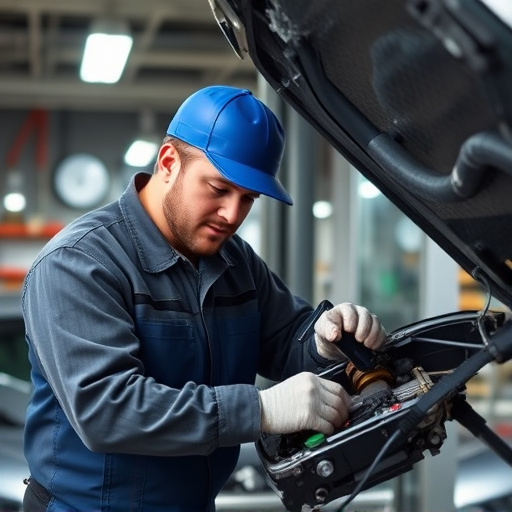
Before tackling any matte finish repair, ensuring you have the right tools and materials is paramount. For a successful auto glass repair or even automotive body shop projects, gather items like a high-quality putty knife, sandpaper (grit 400-600), a matte finish touch-up pen, and a cleaning solution suitable for auto paint. These essentials are crucial for achieving a seamless, professional-looking fix.
Remember that the right tools can make all the difference in the world of auto repair near me. Investing in quality products will not only facilitate an easier repair process but also ensure long-lasting results. For instance, using the wrong sandpaper grit could damage the surrounding paint, while a poorly matched touch-up pen may leave visible streaks or fail to blend properly with your vehicle’s existing finish.
Step-by-Step Guide: Techniques for Effective Matte Finish Restoration

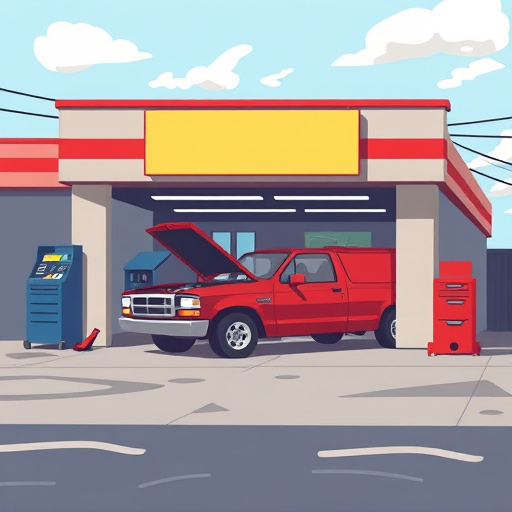
Restoring a matte finish to your car is an art that can transform its look and protect its surface from damage. Whether it’s a small chip or a more extensive scratch, following a systematic approach ensures optimal results. Here’s a step-by-step guide for beginners aiming to revive their car’s matte finish:
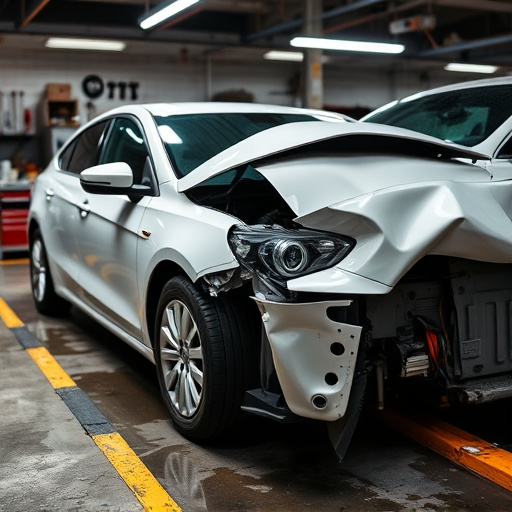
1. Inspect and Assess the Damage: Start by closely examining the affected area. Identify the type and extent of damage, be it minor scratches, swirls, or deeper dents. This step is crucial as it determines the repair process and materials needed. For shallow scratches, a simple polish might suffice, while more severe damages may require compounding and filling.
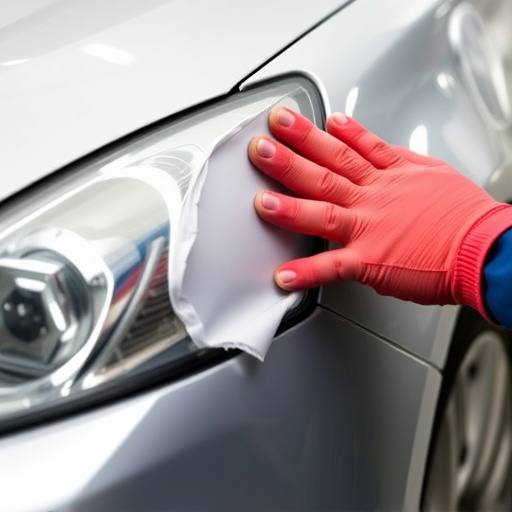
2. Prepare the Surface: Before repairing, ensure the surface is clean and free of contaminants. Wash your car thoroughly to remove any dirt or grime. Dry it completely to prevent water spots that could affect the finish. In a collision repair shop, this initial preparation is often done using specialized equipment for optimal results.
3. Sand and Clean Again: Lightly sand the damaged area with fine-grit sandpaper to create a smooth surface. This step helps remove any remaining imperfections or old polish. After sanding, thoroughly clean the region again to eliminate any dust particles. A clean environment ensures better adhesion for the repair materials.
4. Fill and Sand (if necessary): For deeper scratches or dents, apply an appropriate filler compound to match your car’s paint. Allow it to dry completely, then gently sand to achieve a smooth finish. Repeat this process until you’ve achieved a level surface ready for polishing.
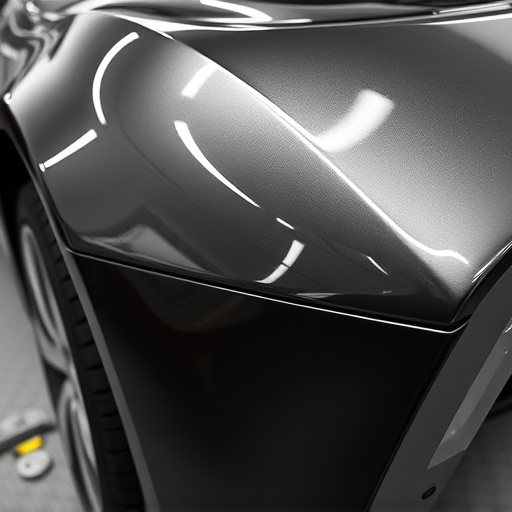
5. Apply Polish: Utilize a quality car polish designed for matte finishes. Apply it using a buffer or polisher, following the product’s instructions. The polish will fill in minor scratches and restore a smooth, even texture to the surface.
6. Final Touches: Once the polish is dry, inspect your work. If needed, repeat the polishing process for a deeper, more lasting matte finish. This final step ensures your car repair shop’s efforts are visible and the desired aesthetic is achieved.
Whether you’re a beginner or an expert, tackling matte finish repairs is a rewarding process that can revive damaged surfaces. By understanding different types of matte finishes and common issues, gathering the right tools, and following a systematic guide, you can achieve professional-looking results. With practice, you’ll become adept at repairing scrapes, scratches, and imperfections, ensuring your matte finishes remain flawless for years to come. Remember, with the right approach and attention to detail, even minor damage can be repaired, allowing you to enjoy the beauty of a pristine matte finish.