


Before attempting Tesla door handle repair, assess damage and gather quality tools. Secure vehicle, remove exterior trim, disconnect wiring, and carefully inspect mechanism. Install new handle and locking components with precision alignment and secure fastening. Test functionality repeatedly for smooth operation, adhering to professional automotive standards.
“If your Tesla’s door handle is damaged or malfunctioning, this step-by-step guide will walk you through the repair process. Begin by assessing the damage and gathering the necessary tools for the job. Remove the door panel and handle assembly carefully, taking note of each component. Replace old parts with new ones, ensuring a secure fit.
Follow these straightforward steps to efficiently repair your Tesla’s door handle, saving time and money.”
- Assess Damage and Gather Tools
- Remove Door Panel and Handle Assembly
- Replace and Secure New Door Handle Components
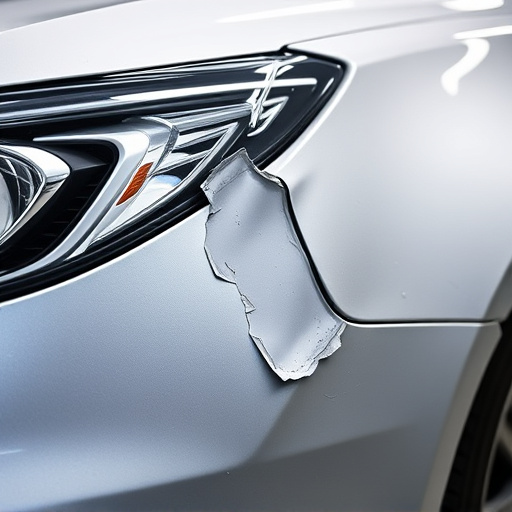
Assess Damage and Gather Tools

Before attempting any Tesla door handle repair, it’s crucial to carefully assess the damage. Inspect the door handle for cracks, dents, or any signs of deformation. Check if the mechanism is stuck or functioning improperly. Take note of all issues as this will guide your repair process and necessary replacement parts. Once you’ve evaluated the damage, gather the required tools for the Tesla door handle repair. Ensure you have a set of high-quality socket wrenches, a screwdriver compatible with your Tesla model, and any specific tools recommended by Tesla or available in collision repair services. Remember that proper tools are essential for a successful and safe car body restoration.
In case of severe damage, such as extensive dents or broken components, it might be best to consult a professional collision repair center. They have the expertise and specialized equipment to handle complex repairs effectively. With their assistance, your Tesla can undergo a comprehensive car body restoration, ensuring that all repairs meet the highest standards for safety and aesthetics.
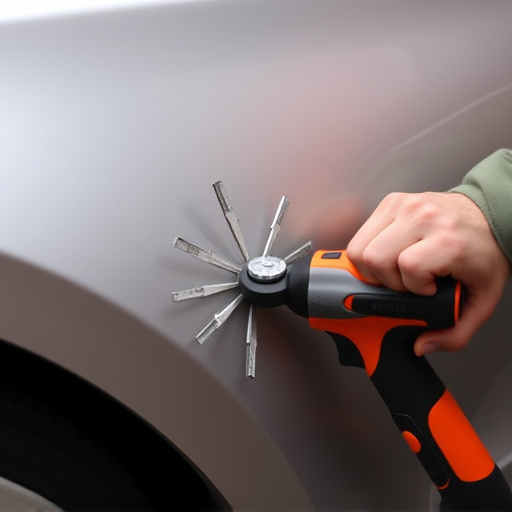
Remove Door Panel and Handle Assembly

To begin the Tesla door handle repair process, it’s necessary to remove the door panel and handle assembly. This involves carefully disassembling various components to gain access to the faulty handle. The first step is to secure your vehicle on a jack stand for stability and safety during the disassembly. With proper tools and protection gear in place, you can start by removing the exterior trim pieces surrounding the door handle area, revealing the underlying components.
Next, locate and disconnect the electrical wiring and sensors associated with the door handle assembly, ensuring no shorts or damage occur during this process. After securing these connections, carefully separate the door panel from the vehicle’s body, taking note of any clips, fasteners, or seals that require replacement later. Once the door panel is removed, you’ll have access to the handle mechanism itself, allowing for a thorough inspection and subsequent repair or replacement as needed, focusing on both precision and safety in automotive restoration and collision damage repair techniques.
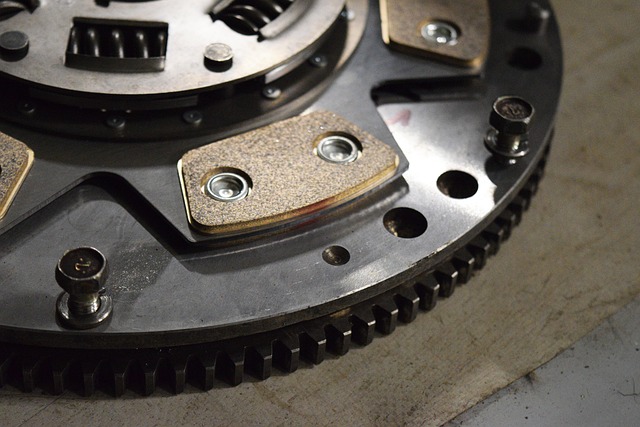
Replace and Secure New Door Handle Components

After removing the old door handle components, it’s time to install the new ones. Begin by carefully positioning the new handle and locking mechanism into their respective slots. Ensure that all parts are securely aligned and fitted properly. This step requires precision to guarantee a seamless and functional installation.
Next, secure the new door handle components using the appropriate hardware provided. Tighten the screws or bolts accordingly, ensuring they are fastened tightly but not over-tightened, as this could damage the surrounding car body. Verifying the handle’s functionality is crucial; test it several times to ensure it opens and closes smoothly and securely, just like a professional automotive body shop would. Remember, proper installation is key to a successful Tesla door handle repair.
Repairing your Tesla’s door handle doesn’t have to be a daunting task. By following this step-by-step guide, you can efficiently assess the damage, disassemble the old components, and install new ones with ease. With the right tools and a systematic approach, you’ll have your Tesla’s door handles functioning like new again, ensuring both safety and style for your vehicle. For any challenges, remember that numerous online resources and communities are available to provide further guidance tailored to Tesla owners.