

Tesla vehicles' advanced cooling systems can fail due to weather, maintenance, or collision damage. Early signs like unusual temperature readings require prompt repair to prevent costly damage and ensure safety. Diagnosing involves identifying symptoms, scanning for error codes, and visually inspecting components. Repairing the cooling system needs detailed knowledge, specific tools, and a systematic approach. Following eight clear steps ensures effective Tesla cooling system repair, enhancing performance and longevity.
Tesla vehicles are renowned for their cutting-edge technology, but even these advanced cars aren’t immune to thermal management failures. When your Tesla’s cooling system malfunctions, it can lead to serious performance issues and safety concerns. This comprehensive guide dives into understanding the root causes of such failures, diagnosing subtle thermal management problems, and provides a step-by-step repair process for your Tesla cooling system.
- Understanding Tesla Cooling System Failures
- Diagnosing Thermal Management Issues
- Step-by-Step Repair Guide for Tesla Cooling Systems
Understanding Tesla Cooling System Failures
Tesla vehicles are renowned for their cutting-edge technology and innovative design, but like any high-performance machine, their cooling systems can encounter issues that lead to thermal management failures. Understanding these failures is a crucial first step in addressing them effectively. Thermal management refers to the process of regulating an electric vehicle’s (EV) temperature, ensuring critical components stay within safe operating ranges. In the case of Tesla vehicles, a malfunction in this system can result in overheating, which may cause significant car damage repair and compromise the safety and performance of the vehicle.
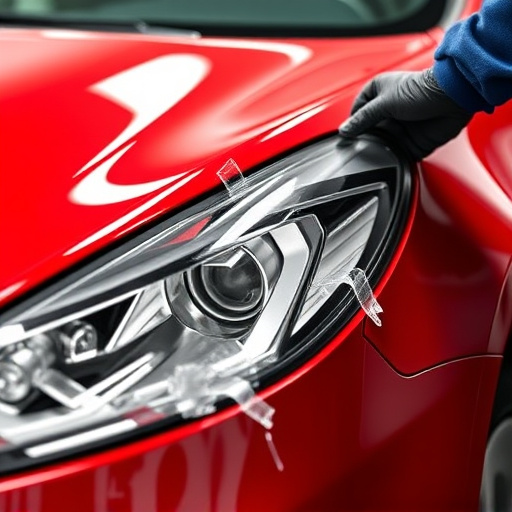
Several factors can contribute to Tesla cooling system failures. These include but are not limited to extreme weather conditions, poor maintenance, or previous vehicle collision repairs that affect the system’s integrity. Even hail damage repair can potentially disrupt the delicate balance of a Tesla’s thermal management system. As such, it’s vital to recognize the signs of an issue early on, such as unusual temperature readings, excessive cooling system fluid loss, or noticeable performance degradation, enabling prompt Tesla cooling system repair to prevent more severe and costly vehicle damage.
Diagnosing Thermal Management Issues

Diagnosing thermal management issues in a Tesla is a meticulous process that involves a thorough understanding of the vehicle’s complex cooling system. The first step is to identify symptoms like abnormal engine temperature readings, overheating during driving, or premature battery degradation—all potential red flags. Mechanics will then use advanced diagnostic tools to scan for error codes and monitor various sensors and components within the system.
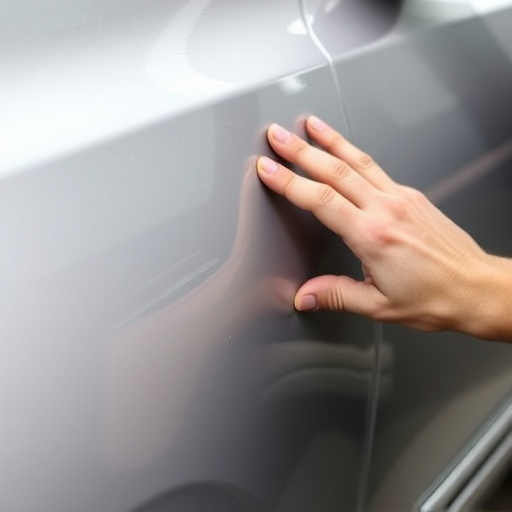
A systematic approach is crucial here. This includes checking for leaks in coolant lines or radiators, inspecting fans and pumps for functionality, and verifying the condition of heat exchangers. In some cases, visual inspection might reveal issues like damaged or corroded parts, especially if the car has undergone previous repairs or accidents. Techniques such as paintless dent repair, often employed in vehicle restoration, can also be utilized to fix cosmetic dents or cracks that may affect airflow and cooling efficiency, ultimately contributing to thermal management failures.
Step-by-Step Repair Guide for Tesla Cooling Systems

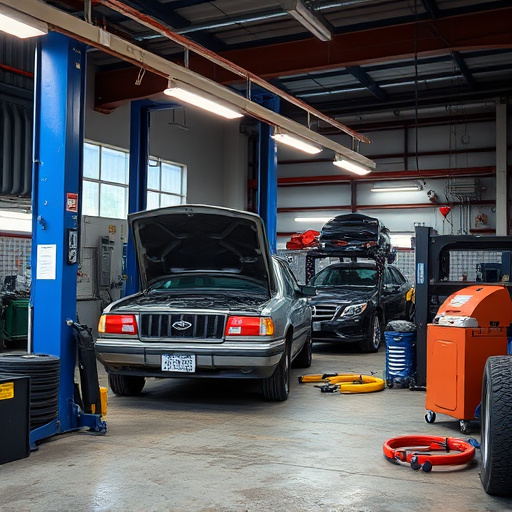
Repairing a Tesla’s cooling system requires precision and an understanding of its unique design. Here’s a straightforward guide for those tackling this task:
1. Identify the Issue: Start by locating the problem area, which might involve checking for leaks, examining fans for functionality, and verifying the condition of the radiator. Thermal management failures can stem from various causes, including damaged components or faulty sensors.
2. Gather Tools and Parts: Obtain the necessary tools, such as specialized automotive equipment for disassembly, and ensure you have replacement parts compatible with your Tesla model. Consider consulting a genuine Mercedes-Benz repair manual for specific guidance, especially when dealing with intricate systems.
3. Safety First: Before beginning any automotive body work, ensure proper ventilation and protective gear. The cooling system handles hot fluids, so safety is paramount.
4. Disassemble the System: Follow a systematic approach to dismantle the components. This may involve removing the radiator, changing hoses, or servicing the A/C compressor. Each step should be documented for future reference.
5. Clean and Inspect: Thoroughly clean the system to prevent debris buildup. Inspect all parts for wear and tear, making note of any damaged components that require replacement.
6. Replace or Repair: If components are beyond repair, replace them with new ones. For complex repairs, consider seeking assistance from a professional automotive body shop to ensure accuracy in Mercedes-Benz repair procedures.
7. Reassemble: Once the necessary repairs or replacements are made, carefully reassemble the system, ensuring all connections are secure and tight.
8. Test: After completing the Tesla cooling system repair, test the system’s functionality. Check for proper circulation, temperature regulation, and any unusual noises during operation.
In conclusion, addressing Tesla cooling system repairs is essential for maintaining optimal vehicle performance and safety. By understanding common failures, diagnosing thermal management issues accurately, and following a structured step-by-step guide, owners can effectively resolve these problems. This ensures the longevity of their Tesla’s components, preventing future thermal-related malfunctions. Remember that prompt action on thermal management failures is key to preserving your electric vehicle’s overall health and efficiency.