


Selecting appropriate adhesives for glass setting materials is vital for long-term durability and structural integrity. Understanding project requirements and adhering to manufacturer guidelines on thickness ensures strong bonds and optimal work quality. Proper surface preparation, including cleaning, sanding, and removing contaminants, enhances adhesion and facilitates seamless integration with existing surfaces. Following these steps leads to high-quality repairs and installations using glass setting materials.
When it comes to glass setting, avoiding common mistakes can significantly extend the lifespan and aesthetic appeal of your installations. This guide highlights crucial areas of oversight that often plague even seasoned professionals. We’ll delve into the art of choosing the right adhesive for longevity, understanding thickness guidelines, and mastering surface preparation techniques. By adhering to best practices, you’ll ensure the durability and beauty of glass setting materials in various applications.
- Choosing the Right Adhesive for Longevity
- Misunderstanding Thickness Guidelines
- Neglecting Surface Preparation Steps
Choosing the Right Adhesive for Longevity

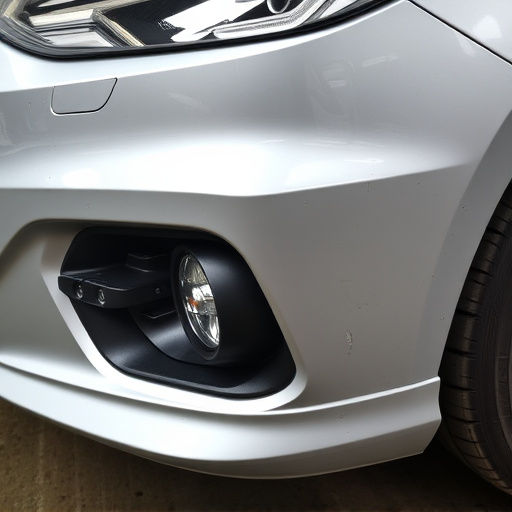
When working with glass setting materials, selecting the appropriate adhesive is paramount to ensure longevity and durability. Using the wrong adhesive can lead to weak bonds, eventual cracks, or even glass detachment, compromising both structural integrity and aesthetics. For long-lasting results, opt for high-quality adhesives specifically designed for glass applications. These specialized adhesives offer superior strength and resistance to environmental factors like temperature changes and moisture.
Consider the specific requirements of your project, whether it’s for automotive restoration, car bodywork repairs, or scratch repair. Different adhesives cater to various substrates and conditions. For instance, some adhesives are formulated for optimal bonding on metal surfaces, while others are suitable for glass-to-glass applications. Understanding the intended use case enables you to make an informed decision, guaranteeing a robust bond that withstands the test of time and improves the overall quality of your work using glass setting materials.
Misunderstanding Thickness Guidelines
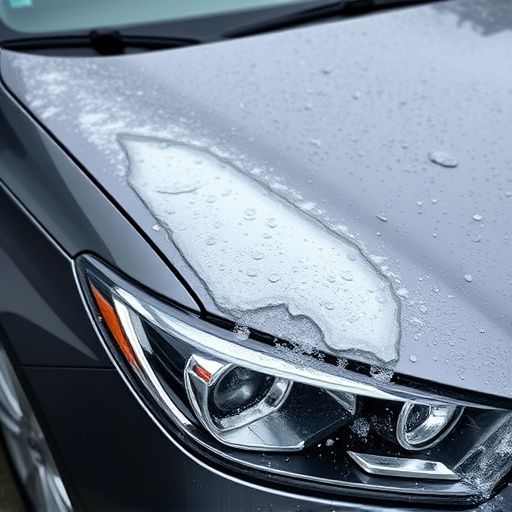
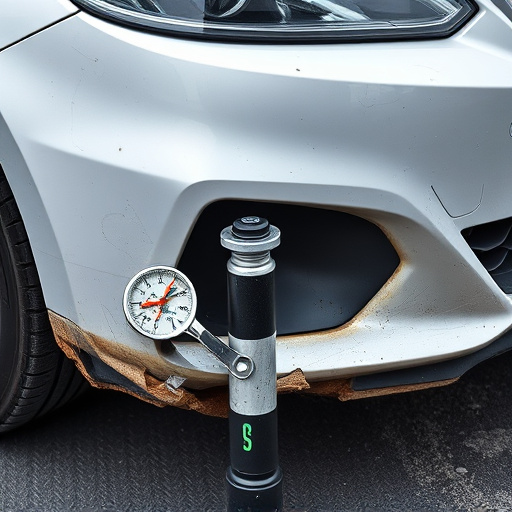
When working with glass setting materials, one common pitfall is misunderstanding the thickness guidelines provided by manufacturers. It’s crucial to adhere to these specifications, as they’re designed to ensure the structural integrity and safety of the final product—whether it’s for an auto body shop dealing with vehicle collision repair or a project focused on auto painting. Using the wrong thickness can compromise the bond strength and durability of the glass, leading to potential issues down the line.
Always double-check the recommended thickness for your chosen material against industry standards and the manufacturer’s instructions. This attention to detail prevents common mistakes that could affect the overall quality of the repair or installation process, ensuring a seamless and secure finish in both auto body applications and other projects involving glass setting materials.
Neglecting Surface Preparation Steps

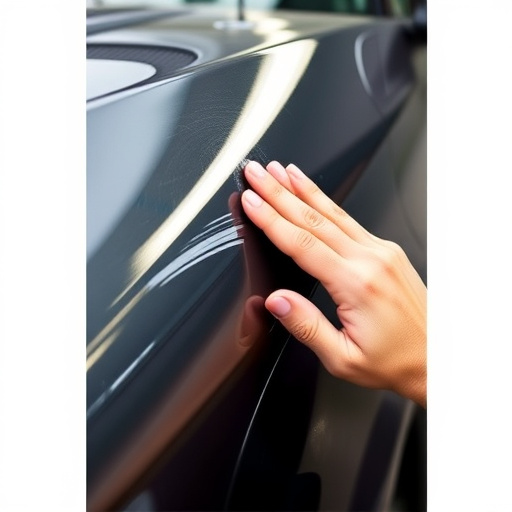
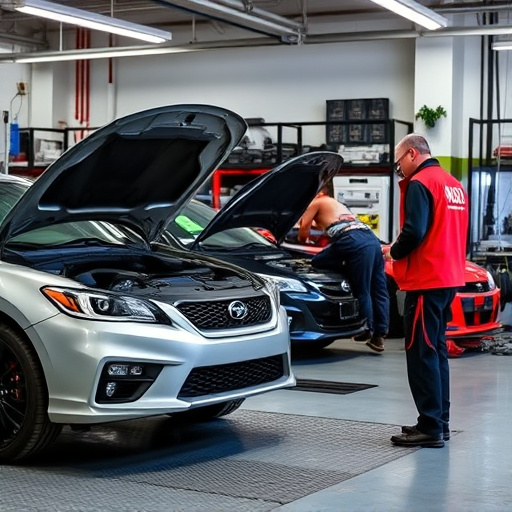
Proper surface preparation is often overlooked when working with glass setting materials, but it’s a critical step that can make or break the entire process. Before applying any glass repair or replacement, ensuring the surface is clean, dry, and free from contaminants is essential. Failure to do so can result in poor adhesion, leading to premature failures and leaks. In an automotive restoration or vehicle paint repair context, this might mean thoroughly cleaning the area with specialized solvents, sanding to create a rough texture for better bonding, and removing any loose debris or old sealants.
In collision repair shops, where speed and efficiency are paramount, surface preparation can be rushed. However, taking the time to properly prepare the surface not only ensures better repairs but also extends the life of the glass setting materials used. This includes using appropriate primers and undercoats designed for automotive applications to create a strong bond between the glass and the existing vehicle paintwork, providing a seamless and durable finish.
When it comes to glass setting, avoiding these common pitfalls is key to achieving a durable and aesthetically pleasing result. By carefully selecting an appropriate adhesive, understanding thickness specifications, and preparing surfaces adequately, you can significantly enhance the longevity of your glass installations. Remember, attention to detail during the initial stages will pay off in the long run, ensuring your glass setting materials perform optimally and look stunning for years to come.