


After a collision, secure your vehicle safely and perform a comprehensive CV joint inspection. Visually check for damage, leaks, or deformities in joints, tires, suspension, and related components. Listen for unusual noises and inspect boot linings and CV boots for issues. Promptly address findings to prevent further complications and ensure safe driving. Consult a professional mechanic for further testing if abnormalities are found.
After a collision, a thorough CV joint inspection is crucial to ensure safe and reliable vehicle operation. Assess visible damage, including deformations or leaks in the suspension system. Jack up the vehicle and secure it properly for a detailed examination. Inspect the CV joints visually, looking for signs of wear, cracks, or debris. Regularly performing these checks can prevent catastrophic failures, keeping you safe on the road.
- Assess Damage: Inspect Visible Components After Collision
- Jack Up and Secure: Prepare for Comprehensive Joint Examination
- Visualize and Analyze: Identify Signs of CV Joint Failure or Damage
Assess Damage: Inspect Visible Components After Collision
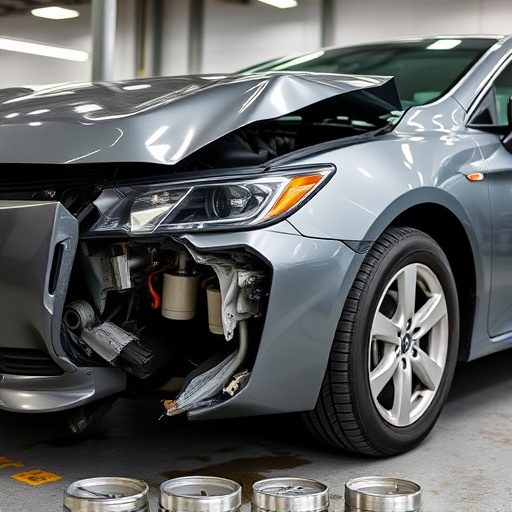
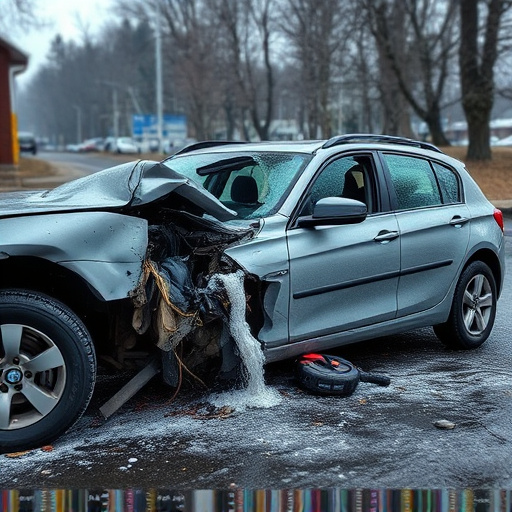
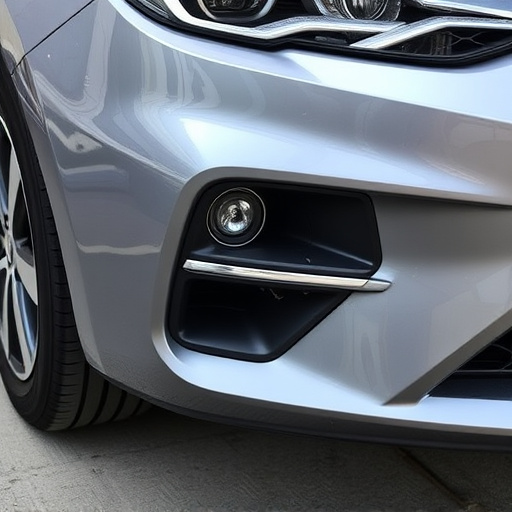
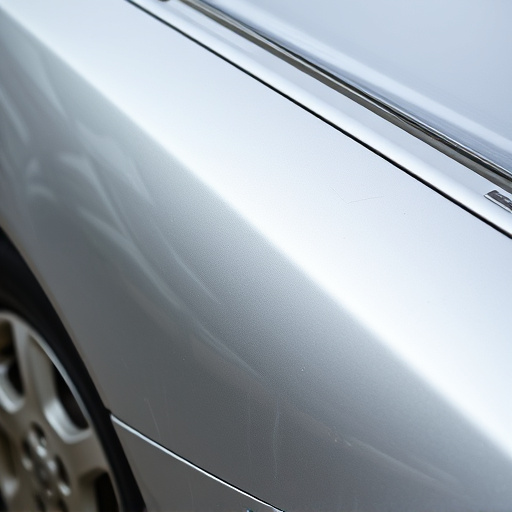
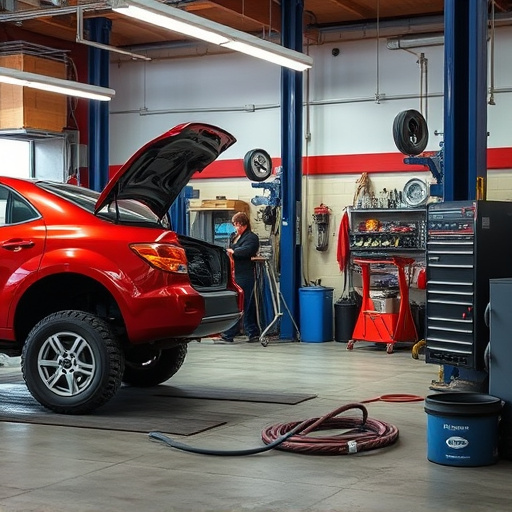
After a collision, the first step in performing a CV joint inspection is to assess the overall damage to your vehicle. Start by visually inspecting the exterior for any signs of impact, such as dents, scratches, or broken components. Check the car’s underbody and wheel wells for debris or fluid leaks that could indicate internal damage. Don’t forget to look at the tires and suspension system—any misalignments or unusual wear patterns should be noted.
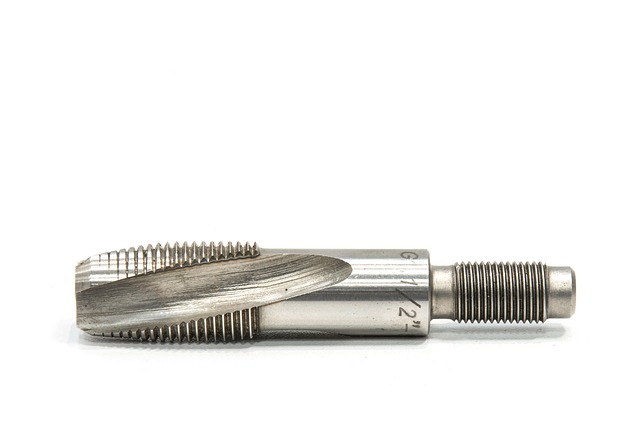
Once you’ve conducted a preliminary assessment, move on to inspecting the visible components of the CV joint. This includes examining the drive shafts, u-joints, and boots for any cracks, tears, or signs of lubrication failure. Look closely at the CV axle housing for deformation or damage. If you notice any abnormalities, it might be necessary to consult a professional mechanic or car repair service to perform more in-depth tests and ensure proper car body restoration. Remember, prompt action and thorough inspection are key to identifying potential issues with your CV joint following a collision, ensuring safe and reliable vehicle operation.
Jack Up and Secure: Prepare for Comprehensive Joint Examination
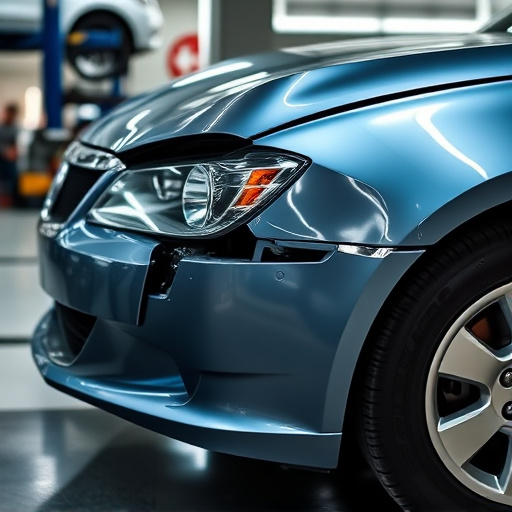
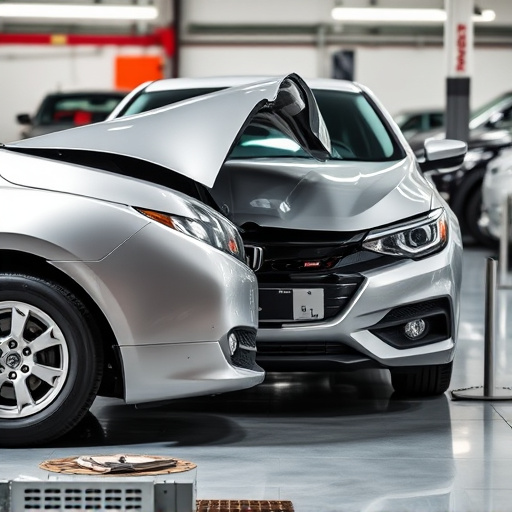
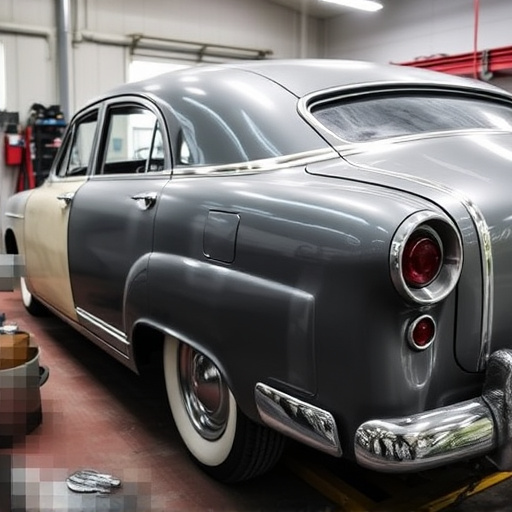
After a collision, one of the critical steps in diagnosing potential damage is performing a thorough CV joint inspection. Before beginning this process, it’s essential to jack up and secure your vehicle properly. This step ensures stability and accessibility during the examination. First, locate the appropriate lifting points recommended for your vehicle model. Using a reliable jack and sturdy jack stands, lift the car until the damaged area is visible and easily reachable. Ensure all safety measures are in place, including wheel chocks to prevent any accidental movement.
With the vehicle secured, you can now carefully inspect the CV joints for any signs of damage. Look for obvious deformities, such as bent or distorted components, which may indicate structural compromise. Additionally, check for leaks from the joint housing, as this could point towards internal damage. Remember, a collision center’s experienced technicians often recommend a comprehensive examination, including visual inspections and, in some cases, non-invasive diagnostic tools, to identify potential issues beyond what is immediately apparent during a cursory glance.
Visualize and Analyze: Identify Signs of CV Joint Failure or Damage
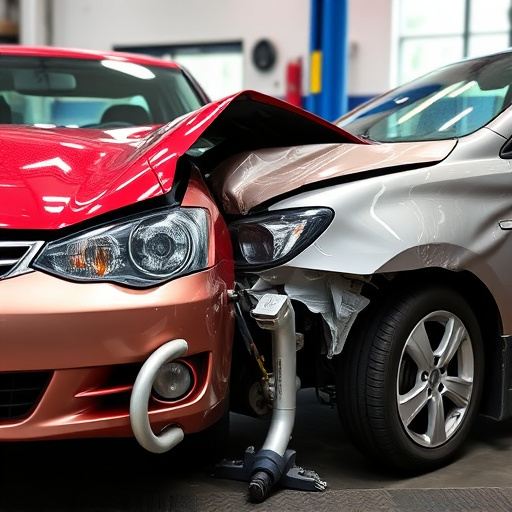
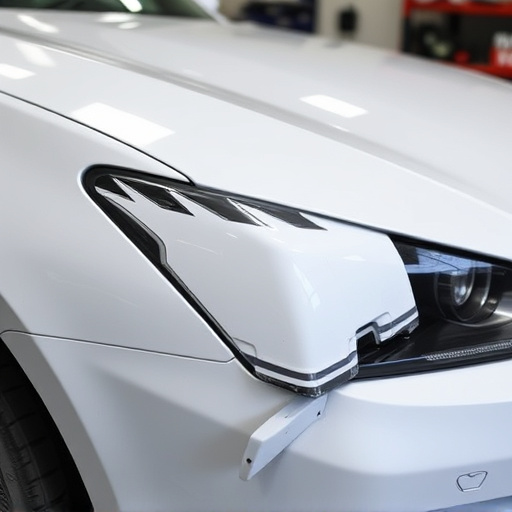
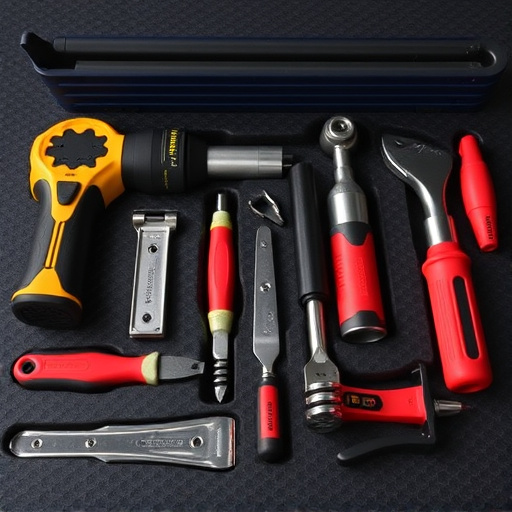
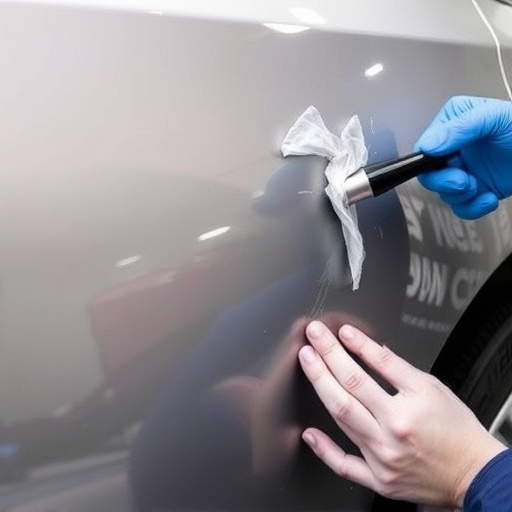
After a collision, it’s crucial to perform a thorough CV joint inspection as part of your vehicle’s overall assessment. Begin by visualizing and analyzing the area around the joints, looking for any signs of damage or failure. Check for unusual noises coming from the wheels, such as clicking or popping sounds, which might indicate a damaged CV joint. Additionally, inspect the boot linings for rips or tears that could expose the joint to debris and accelerate wear.
Examine the CV boots for any cracks, bulges, or hardening, which are common indicators of joint damage. Also, look out for fluid leaks around the joints; a sudden increase in lubricating fluid could signal internal damage. If you notice any of these signs at your car repair shop or collision center, it’s essential to address them promptly to prevent further complications and ensure safe driving. Remember that early detection can often make repairs less complex and more cost-effective.
Performing a thorough CV joint inspection after a collision is crucial for ensuring your vehicle’s safety and longevity. By assessing damage, jacking up the car, and visualizing the components, you can identify signs of failure or harm to the CV joints. Regular inspections, especially post-collision, are vital to prevent further complications and keep your ride running smoothly. Remember, a keen eye for detail during this process can be a game-changer in maintaining your vehicle’s performance and reliability.