

Regularly inspect and promptly address damage to your vehicle's cowl panel, a critical component for safety and aesthetics. Prepare tools, materials, and ensure a safe workspace before replacing the panel with careful disassembly, inspection of hardware, and secure reinstallation, testing alignment for a robust fit. Prioritize a meticulous approach for successful cowl panel replacement.
“Seeking a reliable solution to prevent common repair mistakes? This comprehensive guide dives into the essential practice of cowl panel replacement. The cowl panel, a critical component in automotive front-end design, serves as a shield against debris and environmental hazards. Understanding its role and anticipated failures is key. Armed with the right tools and safety precautions, this step-by-step installation tutorial ensures a secure fit, enhancing your vehicle’s performance and aesthetics.”
- Understanding Your Cowl Panel's Role and Common Failures
- Preparing for Replacement: Tools and Safety Measures
- Step-by-Step Guide: Ensuring Accurate Cowl Panel Installation
Understanding Your Cowl Panel's Role and Common Failures

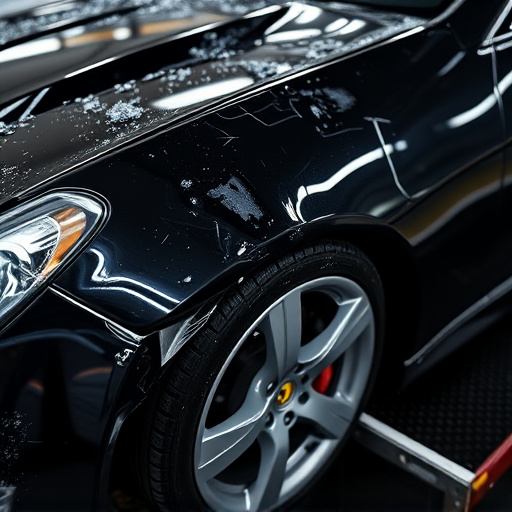
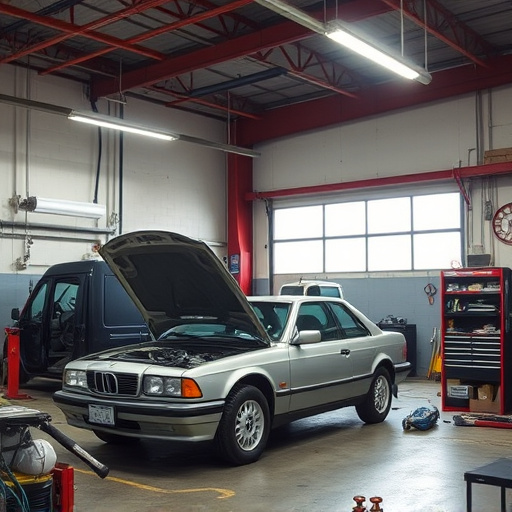
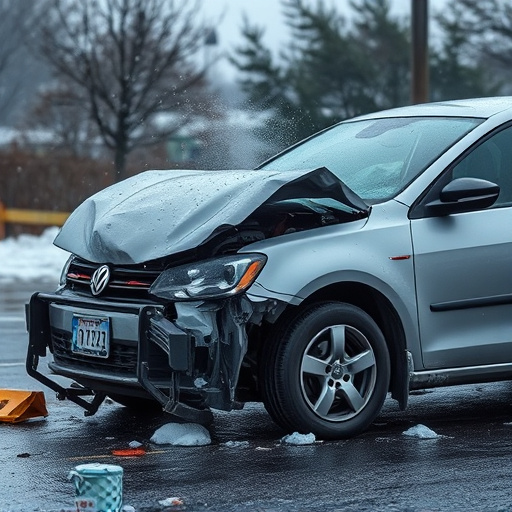
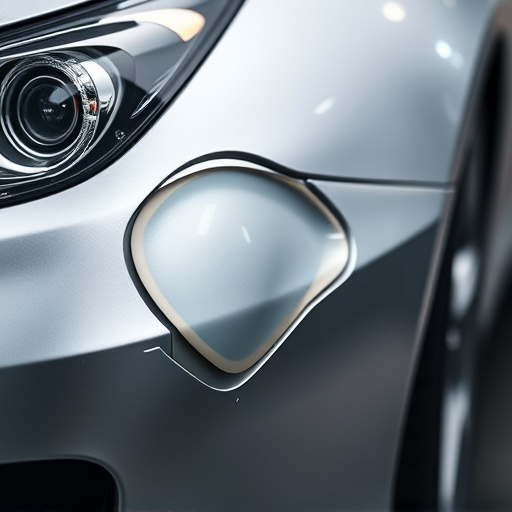
The cowl panel, located at the front of a vehicle, serves as both a functional and aesthetic component. Not only does it house essential components like the air intake and radiator, but it also contributes to the overall look of your car’s front end. However, over time, this panel is prone to damage due to various factors, including road debris, small accidents, and exposure to harsh weather conditions. Common failures include dents, dings, cracks, and even rust, which can compromise both the panel’s integrity and the vehicle’s overall safety.
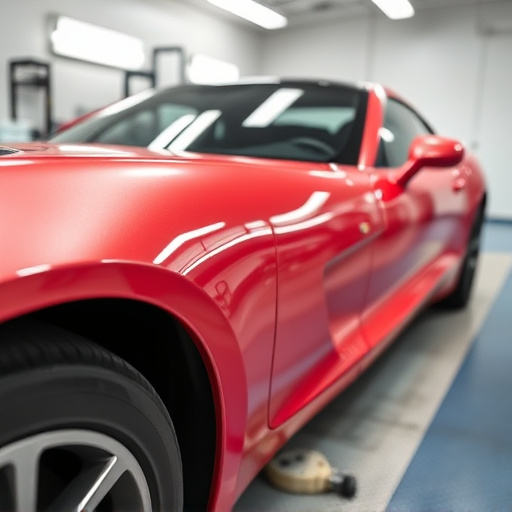
A cowl panel replacement becomes necessary when these issues cannot be remedied through minor repairs like painting or filling. Ignoring damaged panels can lead to more severe auto body repair needs down the line. Moreover, in the event of a car scratch repair, a properly replaced cowl panel ensures that your vehicle regains its original aesthetic appeal, enhancing its overall market value and maintaining its sleek profile. This proactive approach to automotive repair is key to avoiding costly mistakes and keeping your vehicle in top condition.
Preparing for Replacement: Tools and Safety Measures
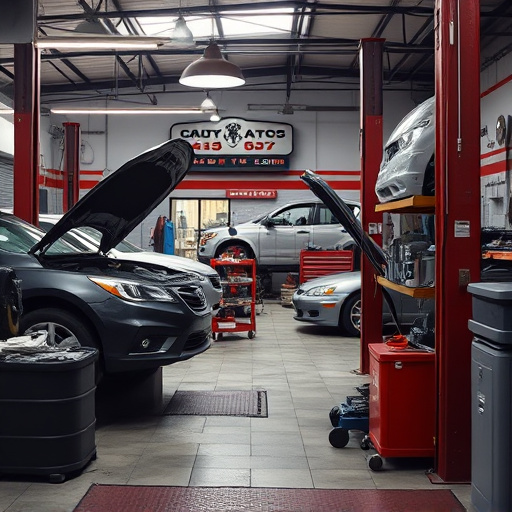
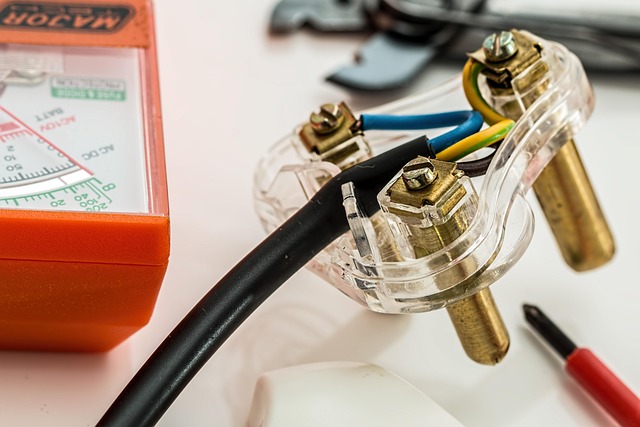
Before starting any cowl panel replacement, it’s crucial to prepare your workspace and gather the right tools for the job. This process often involves intricate work, so safety should be your top priority. Put on protective gear, including gloves and safety glasses, to shield yourself from debris and potential hazards. Ensure adequate lighting in the work area to avoid mistakes and facilitate precise cuts.
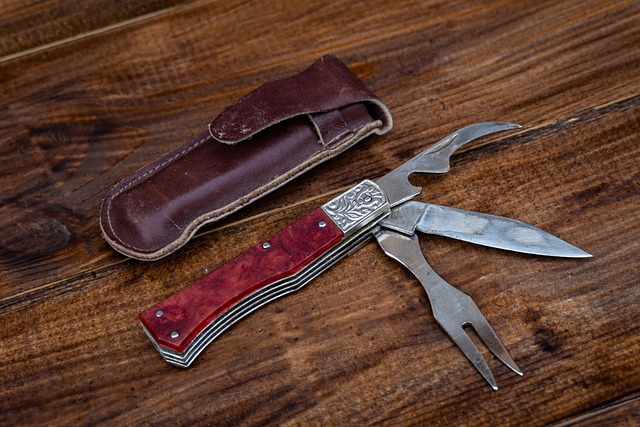
The necessary tools for a successful cowl panel replacement include a variety of hand tools like screwdrivers, wrenches, and pliers, along with power tools such as an angle grinder or rotary cutter. Don’t forget about essential materials like body filler, primer, and paint to complete the repair seamlessly, ensuring your vehicle’s aesthetic and structural integrity in the long run, especially when considering the broader scope of automotive collision repair and automotive body work.
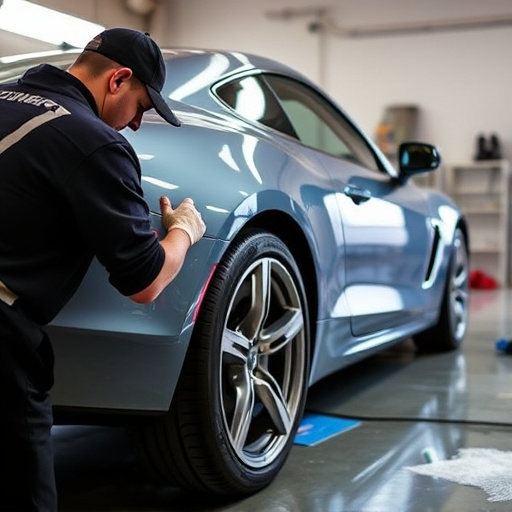
Step-by-Step Guide: Ensuring Accurate Cowl Panel Installation
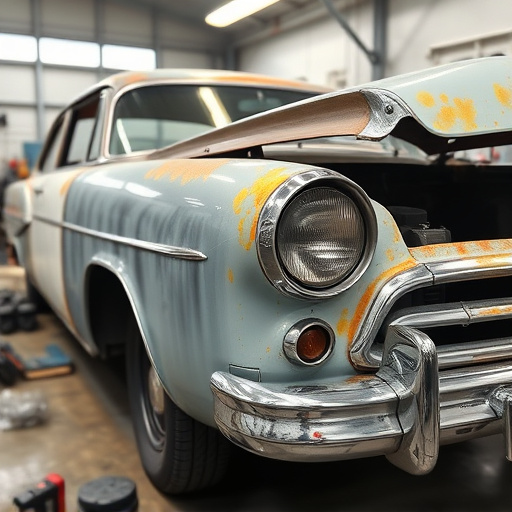
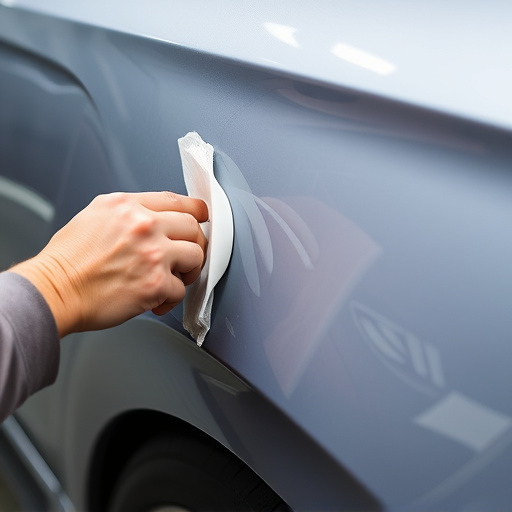
When undertaking a cowl panel replacement, following a meticulous step-by-step process ensures accurate installation and minimizes common repair mistakes. First, gather all necessary tools and components for the job, double-checking their compatibility with your vehicle model. Remove any debris or dirt from the area to be repaired, using compressed air or a soft brush. Next, carefully disassemble any parts obstructing access to the cowl panel, such as mirrors or trim pieces, securing them safely for later reuse.
With the panel accessible, inspect the surrounding area and existing hardware. Mark the mounting points accurately, ensuring they align with your vehicle’s factory specifications. Remove the old cowl panel gently, taking note of any retaining clips or fasteners used, and replace it with the new one. Reinstall all removed parts in reverse order, tightening bolts securely without over-tightening to avoid damage. Lastly, test fit the panel to ensure proper alignment and secure any additional fastenings for a robust hold.
Cowl panel replacement is a crucial task that can prevent common repair mistakes, enhancing your vehicle’s performance and aesthetics. By understanding the role of the cowl panel and following a meticulous installation process, you can ensure a durable fix. Remember to prepare adequately, gather the right tools, and prioritize safety throughout. With these steps, you’ll successfully navigate the process, keeping your vehicle in top shape and avoiding potential pitfalls.