


Repair photo documentation is crucial for auto repair shops and customers, offering benefits like damage assessment, reference for restoration progress, insurance claims transparency, and quality control. Specialized equipment like high-res cameras, tripods, lighting, and lenses are used to capture detailed images. The process involves visual assessment, multi-angled photographing, and organized digital record-keeping for comprehensive vehicle repair documentation.
“Unsure what to expect during a repair photo documentation process? This comprehensive guide breaks down everything you need to know. From understanding the purpose of detailed imaging to equipping yourself with essential tools, we’ll walk you through each step for effective documentation. By the end, you’ll be prepared to capture insightful visuals that facilitate accurate repairs and ensure quality control.”
- Understanding the Purpose of Repair Photo Documentation
- What Equipment and Tools Are Required?
- Step-by-Step Process for Effective Documentation
Understanding the Purpose of Repair Photo Documentation
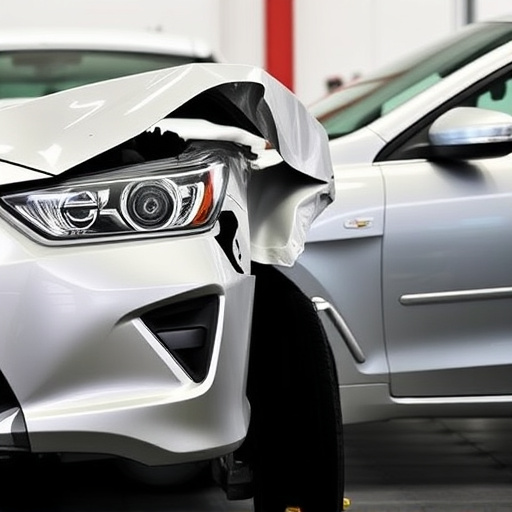
Repair photo documentation is a crucial process that serves multiple purposes for both repairs shops and customers alike. In the event of a car collision or other damage, detailed visual records are essential. These photos not only help in assessing the extent of the damage but also act as a permanent record of the vehicle’s original state before repair. For car body shops, they provide a clear reference point for tracking progress, ensuring accuracy during the restoration process, and facilitating effective communication with clients.
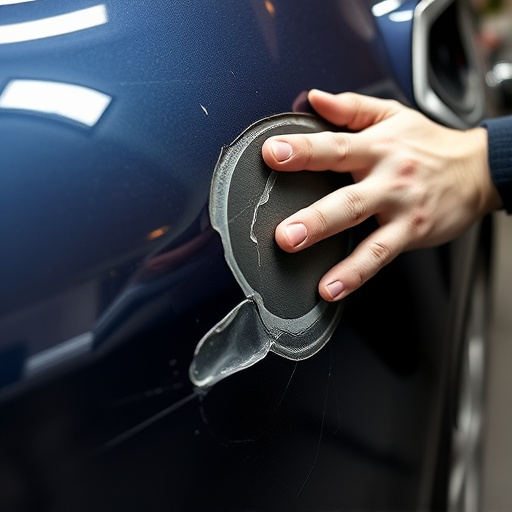
In the context of car collision repair or even paintless dent repair techniques, these photos are invaluable. They allow professionals to pinpoint areas needing attention, guide their work, and ultimately deliver top-quality results. Moreover, well-documented images can aid in insurance claims, providing transparency and serving as a reliable record for future reference.
What Equipment and Tools Are Required?
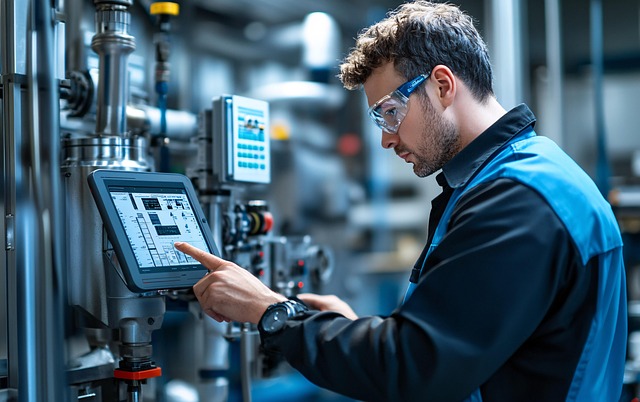
For an efficient repair photo documentation process, a variety of specialized equipment and tools are essential. Professional photographers rely on high-resolution digital cameras with adjustable settings to capture clear images from various angles. Tripods ensure stability for consistent shots, while lighting equipment like reflectors and flash units enhance visibility in different environments. For detailed work, macro lenses and magnifying glasses help document tiny parts and intricate details accurately.
In a collision repair center, such as those specializing in Mercedes-Benz collision repair, these tools become even more critical. Car bodywork services often require meticulous documentation to track progress and ensure quality. The right equipment allows technicians to take precise photos of damaged areas, measuring marks, and repair procedures for comprehensive record-keeping and customer satisfaction.
Step-by-Step Process for Effective Documentation
The repair photo documentation process is a crucial step in any auto repair shop to ensure comprehensive and accurate record-keeping. Here’s a step-by-step guide for effective documentation:
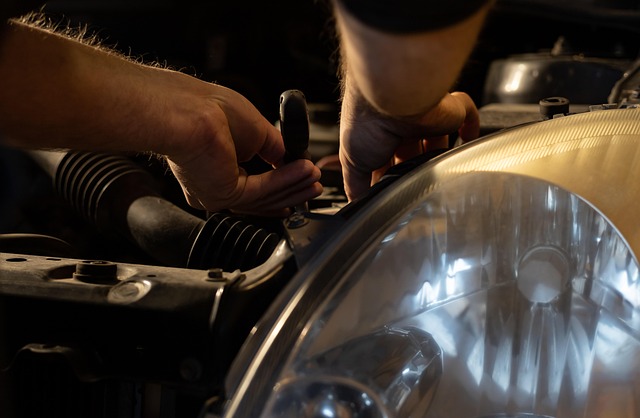
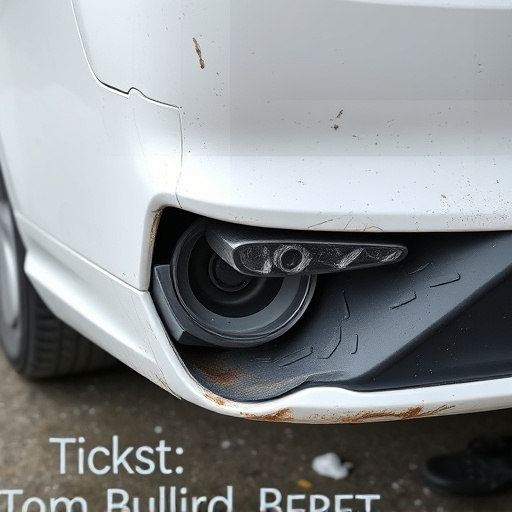
1. Initial Assessment: Before beginning, inspect the vehicle thoroughly. Note all visible damage, including dents, scratches, or any pre-existing issues. This visual assessment will serve as a baseline for comparison later. Capture high-quality images of these areas from various angles to document the extent of the repair needed.
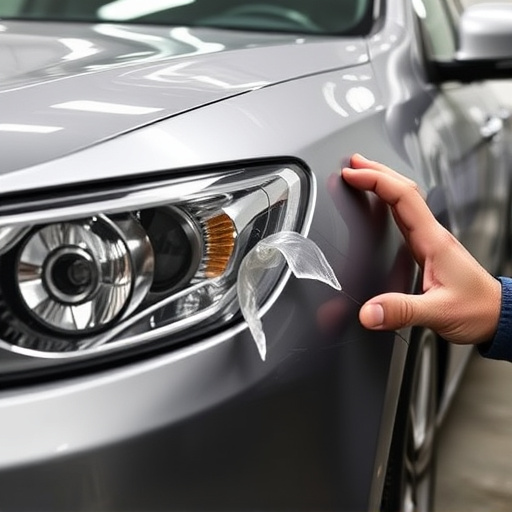
2. Detailed Photographing: Once the initial assessment is complete, proceed with taking detailed photographs of every aspect of the vehicle that requires repair or attention. For instance, in the case of dent repair, use your camera to capture close-ups and full-body shots of the dents, highlighting their size, shape, and location. These images should be clear and well-lit to ensure all details are visible. Include shots of the interior and exterior, focusing on panel gaps and paint quality. For automotive repair, documenting engine components, fluid levels, and overall condition is equally important.
3. Organize and Label: Create a structured system for organizing your digital photos. Use folders with descriptive names, such as “Before Repair” or “Dent Repairs – 2023,” to easily identify and retrieve specific sets of images. Label each photo with relevant information, including the vehicle’s make and model, repair date, and a brief description of the issue (e.g., “Front Driver-Side Fender Dent”). This systematic approach will streamline the documentation process and facilitate efficient record retrieval when needed.
Repair photo documentation is a meticulous yet vital process that ensures accurate tracking, facilitates communication, and serves as a valuable record for future reference. By understanding its purpose, gathering the right equipment, and following a structured step-by-step approach, you can efficiently capture and organize repair data, streamlining the entire restoration process. This comprehensive guide provides a solid foundation for anyone looking to master the art of repair photo documentation.