


Tesla touchscreen replacement is needed for various issues like software glitches, hardware damage, or wear and tear. Before replacing it, prepare tools, authentic parts, and a clean workspace. The process involves powering off the vehicle, removing the old screen, installing a new one, aligning it with the frame, securing it with hardware, reconnecting the battery, and testing functionality. For severe cases, professional collision repair services are recommended.
Planning a Tesla touchscreen replacement? This complete owner’s guide is your go-to resource. Learn how to navigate common touchscreen malfunctions and prepare for the repair process. We’ll walk you through gathering the necessary tools, understanding the issues, and step-by-step replacement instructions. By following this guide, you’ll be equipped to tackle the job confidently, ensuring a seamless experience with your Tesla.
- Understanding Tesla Touchscreen Malfunctions
- Gathering Necessary Tools and Materials
- Step-by-Step Replacement Process
Understanding Tesla Touchscreen Malfunctions
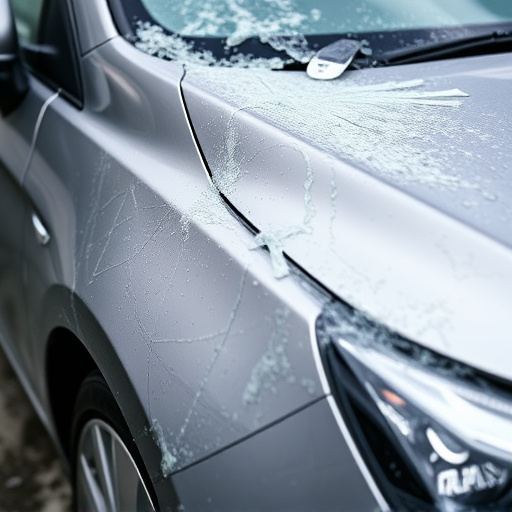
Tesla Touchscreen malfunctions can range from minor issues like intermittent responsiveness to complete failures that leave the display non-functional. These problems may arise due to various reasons, including software glitches, hardware damage, or even normal wear and tear over time. Often, these issues manifest as unexpected behavior, such as the touchscreen becoming unresponsive to touch, displaying static or frozen images, or showing error messages.
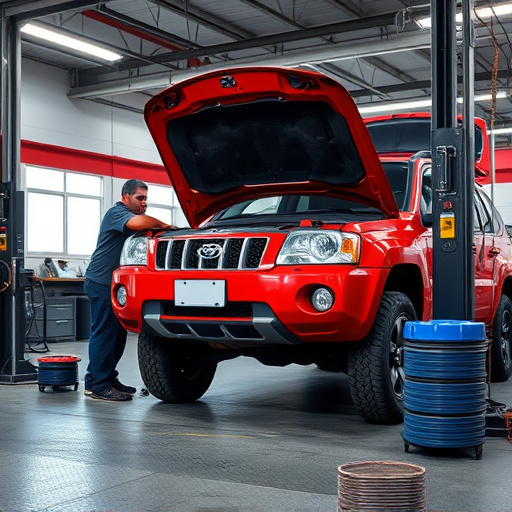
If you’re experiencing any of these Tesla touchscreen replacement issues, it’s crucial to identify the root cause accurately. While some minor glitches might be resolved through software updates or simple troubleshooting steps, more severe damage or malfunctions may require professional car collision repair and auto painting services. Prompt attention to such issues is recommended to prevent further car damage repair and ensure optimal functionality of your Tesla’s touchscreen.
Gathering Necessary Tools and Materials

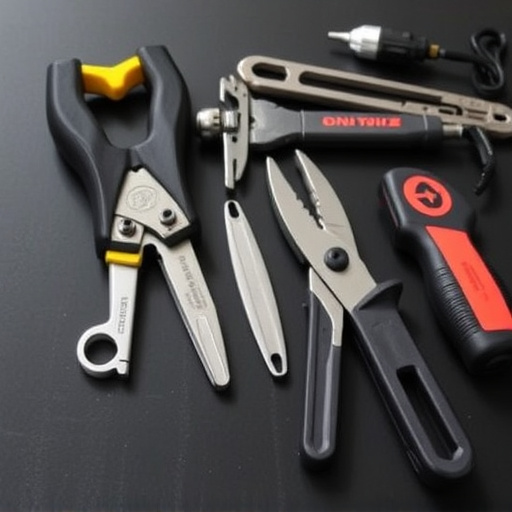
Before tackling a Tesla touchscreen replacement, owners should gather all the necessary tools and materials to ensure a smooth process. This includes specialized tools designed for precise disassembly and reassembly, such as Phillips head screwdrivers, spudgers (for safe removal of components), and new touchscreens compatible with your Tesla model. It’s crucial to source authentic parts from trusted manufacturers or authorized dealers to maintain the car’s performance and value, just like you would when considering collision repair services or vehicle restoration for more significant damages.
Additionally, have a clean workspace prepared, preferably in a well-lit area, to avoid any mishaps during disassembly. Protecting your work surface with a soft cloth is also recommended, especially if you’re dealing with delicate electronic components. Remember that the process involves handling sensitive parts, akin to fixing a car dent removal, so patience and careful manipulation are key to achieving a successful Tesla touchscreen replacement.
Step-by-Step Replacement Process
Performing a Tesla touchscreen replacement is a straightforward process that can be completed by owners or trusted collision repair services. The first step involves gathering all necessary tools and parts, ensuring compatibility with your specific Tesla model. Once ready, power off the vehicle and disconnect the battery to avoid any accidents. Next, carefully remove the existing touchscreen, taking note of its placement and connections. This may require some delicate manipulation to free it from its housing.
After the old screen is removed, install the new one, aligning it precisely with the vehicle’s frame. Secure it in place using the appropriate hardware provided. Reconnect the battery and power on the car to test the functionality of the replacement touchscreen. This step-by-step process ensures a seamless upgrade, enhancing your luxury vehicle repair experience and providing an improved user interface for navigation, entertainment, and vehicle settings.
Replacing your Tesla’s touchscreen is a feasible task for owners, offering a cost-effective solution to common malfunctions. With the right tools and a detailed guide like this, you can navigate through each step with ease. By following these instructions, you’ll have a fresh, functional touchscreen in no time, ensuring a seamless user experience once again. For any Tesla owner considering a DIY approach, this complete owner’s guide is an invaluable resource for tackling screen replacements successfully.