After successful hood dent removal, inspect for residual damage and compare with original condition. Regular maintenance checks crucial to preserve results. Clean and prepare hood with mild soap, remove debris, gently dry. Inspect and sand repair site for smooth texture. Test drive to verify repair quality; conduct final inspections in body shop for paint consistency.
After successfully removing a dent from your car’s hood, the process isn’t over. This article guides you through essential steps to ensure optimal results. First, assess the hood’s appearance to confirm the repair is satisfactory. Next, meticulously clean and prepare the repaired area for seamless integration. Before finalizing, test drive your vehicle to check for any issues and conduct thorough safety checks. Following these steps will help maintain the aesthetic appeal and functionality of your car following a hood dent removal procedure.
- Assess the Hood's Appearance After Removal
- Clean and Prepare the Repaired Area
- Test Drive and Final Checks
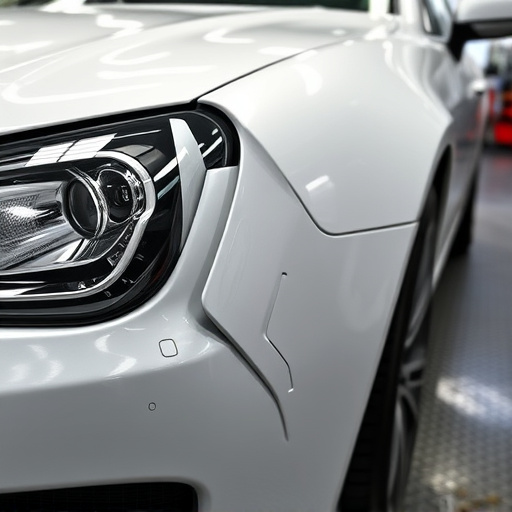
Assess the Hood's Appearance After Removal
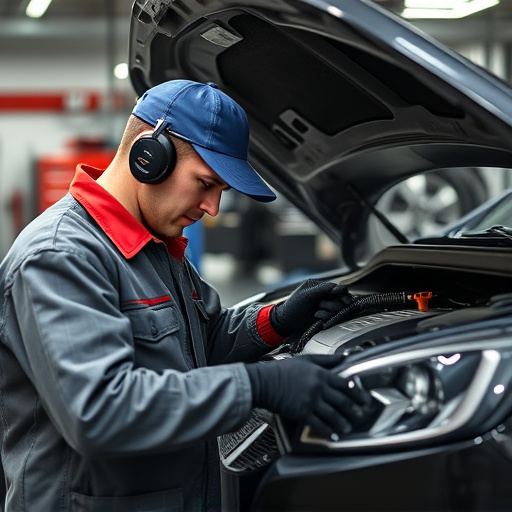
After successfully removing the hood dent using professional automotive repair services, the next step is to thoroughly assess the appearance of your vehicle’s hood. This involves closely examining every angle and contour to ensure that the dent has been completely eliminated and that there are no visible signs of residual damage. It’s important to note that even if the dent is visually gone, slight adjustments to the hood’s alignment or paint may be required for a seamless finish.
For optimal results in hood dent removal, consider comparing the post-repair state with the original condition of your vehicle. This can help you gauge the effectiveness of the auto glass repair process and identify any remaining issues that need addressing. Remember, while professional vehicle dent repair services are designed to restore your car’s aesthetic appeal, regular maintenance and checks can help preserve the results over time.
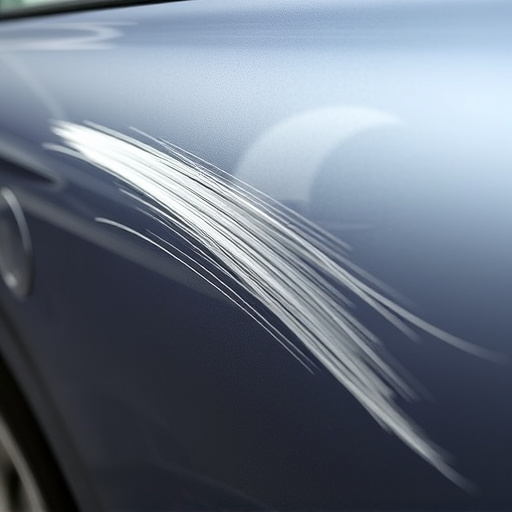
Clean and Prepare the Repaired Area
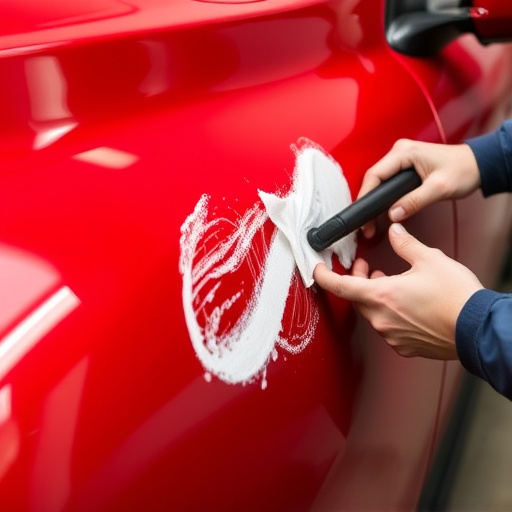
After your hood dent removal procedure, the first step in ensuring a successful and lasting result is to thoroughly clean and prepare the repaired area. Begin by washing the hood with mild soap and warm water, removing any dirt or debris that might have accumulated during the dent repair process. Dry the surface gently using a microfiber cloth to prevent water spots and allow for better adhesion of any subsequent coatings.
Next, inspect the repair site for any loose paint or primer. Lightly sand the area if necessary to create a smooth texture, ensuring no sharp edges remain from the dent removal process. This preparation step is crucial in achieving a seamless finish that blends perfectly with the rest of your car’s exterior, whether you opt for a touch-up paint job or a complete auto collision center restoration.
Test Drive and Final Checks

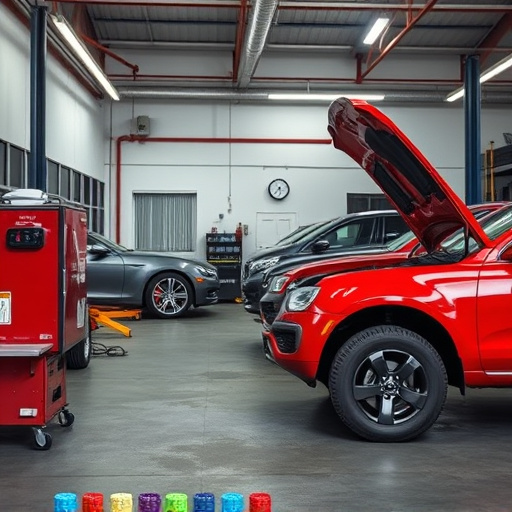
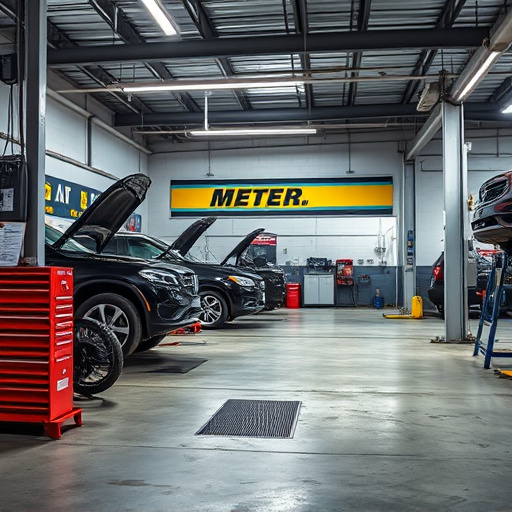
After the hood dent removal process is complete, it’s crucial to take your vehicle for a test drive to ensure the repairs are up to par. This step is vital as it allows you to assess the quality of the fender repair and check for any potential issues that might have been overlooked during the fix. As you drive, pay close attention to how the hood operates, its alignment, and any unusual noises or vibrations.
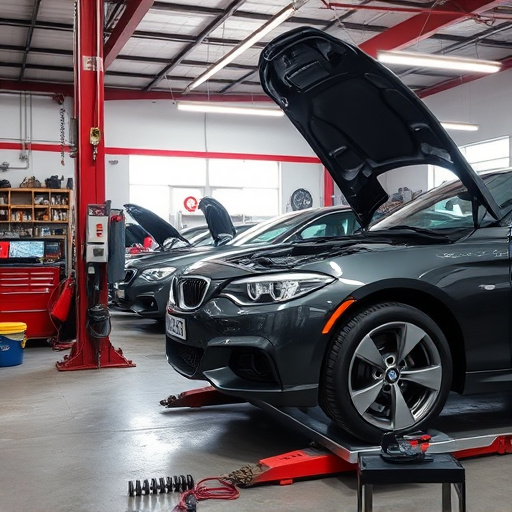
Once you’ve taken a test spin, perform final checks in a vehicle body shop setting. Inspect the paint job closely, ensuring it matches the surrounding areas and is smooth without any visible imperfections. Check for proper clearance around the hood, especially when opening and closing it. These final verifications will ensure your car’s restoration to its pre-dent condition and provide peace of mind that all repairs were executed professionally.
After successfully removing a hood dent, proper aftercare is essential for a seamless restoration. Begin by assessing the area’s appearance to ensure the fix meets your expectations. Next, thoroughly clean and prepare the repaired section to remove any debris or residue. Finally, take it for a test drive, performing final checks to guarantee the dent is fully eliminated and the hood looks as good as new. Implementing these steps ensures optimal results in your hood dent removal process.