


Before clear coat repair, clean and inspect damage. Sand and clean surface thoroughly. Apply thin, even coats of clear coat for professional finish.
“Uncover the art of restoring your vehicle’s finish with this comprehensive guide to clear coat repair. This step-by-step process breaks down the intricate journey from damaged area to seamless, glossy surface. From preparing the site to applying the clear coat, we’ll walk you through each crucial stage. With the right tools and techniques, achieving professional results is within reach. Revitalize your vehicle’s exterior and say goodbye to unsightly dents with this expert-level clear coat repair tutorial.”
- Prepare the Damaged Area: Gather Tools and Materials
- Sanding and Cleaning: Ensure a Smooth Surface
- Applying Clear Coat: Techniques for Even Coverage
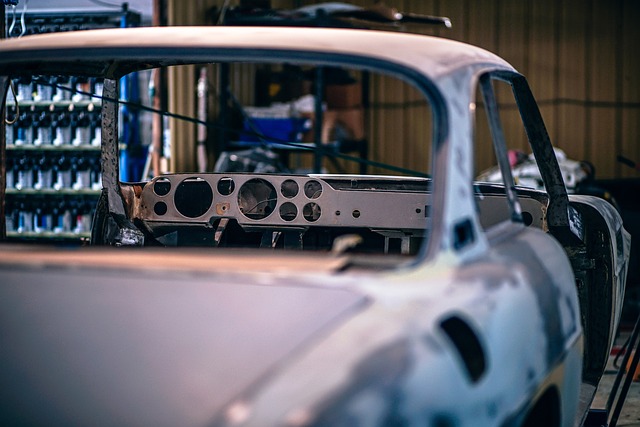
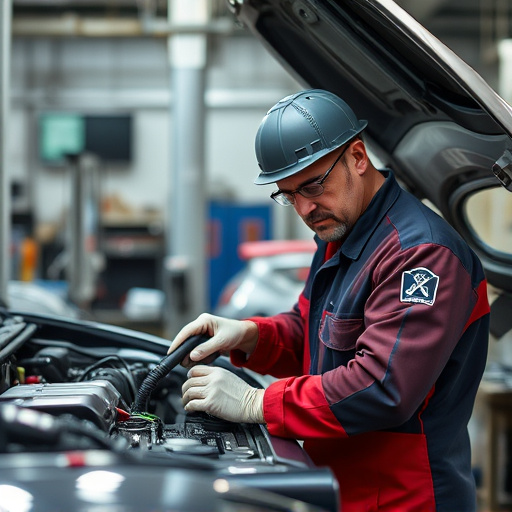
Prepare the Damaged Area: Gather Tools and Materials

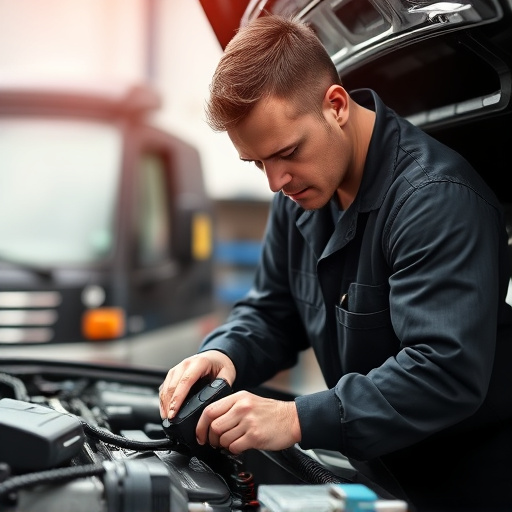
Before beginning any clear coat repair, it’s crucial to prepare the damaged area thoroughly. Start by cleaning the surface to remove any dirt, debris, or grease using a mild soap and water solution. This ensures that the new clear coat adheres properly. Next, inspect the damage closely—small scratches or chips may only require touch-up paint, while larger dents might need auto body services to dent pull or patch before painting.
Gather all necessary tools and materials for clear coat repair, including a palette knife, sandpaper (grit 400-600), a clean cloth, automotive primer, clear coat paint, and a spray gun or airbrush (if available). In some cases, tire services might be required to replace the damaged tire before proceeding with the auto painting process. Make sure your workspace is well-ventilated and prepared for a mess, as clear coat repair involves working with chemicals and solvents.
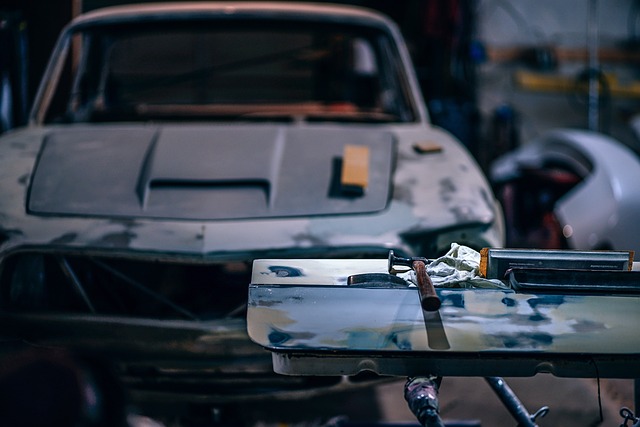
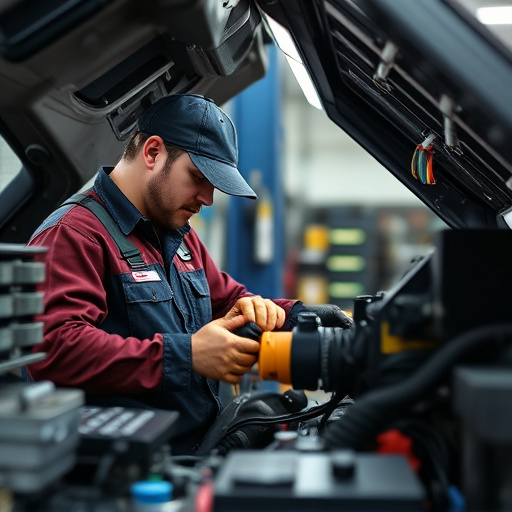
Sanding and Cleaning: Ensure a Smooth Surface
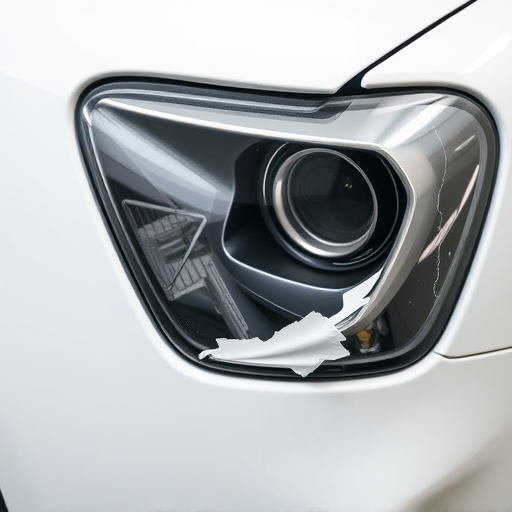
Sanding and cleaning are crucial steps in any clear coat repair process, as they lay the foundation for a smooth and lasting finish. To begin, thoroughly inspect the damaged area to determine the extent of the repairs needed. Next, gently sand the surface using fine-grit sandpaper to remove any imperfections, rust, or old paint. This step ensures an even base for application. After sanding, use a high-pressure washer or a mild detergent and water solution to clean the area, eliminating dust and debris, which can impede the adhesion of new clear coat.
A meticulous cleaning process is vital to achieving optimal results in both vehicle paint repair and classic car restoration projects. By combining careful sanding with thorough cleaning, you create a seamless surface ready for the subsequent stages of clear coat application, ensuring long-lasting protection and a stunning finish in collision repair services.
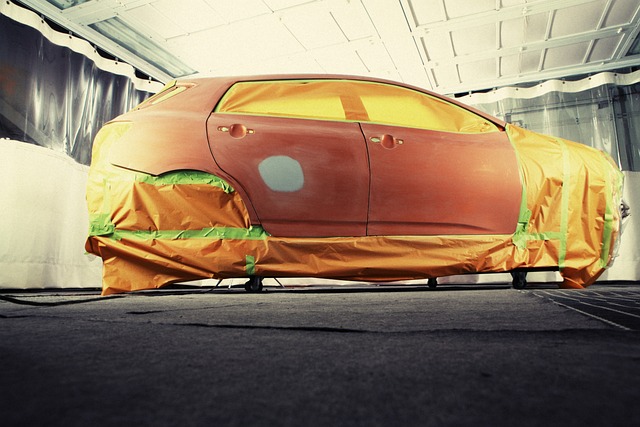
Applying Clear Coat: Techniques for Even Coverage
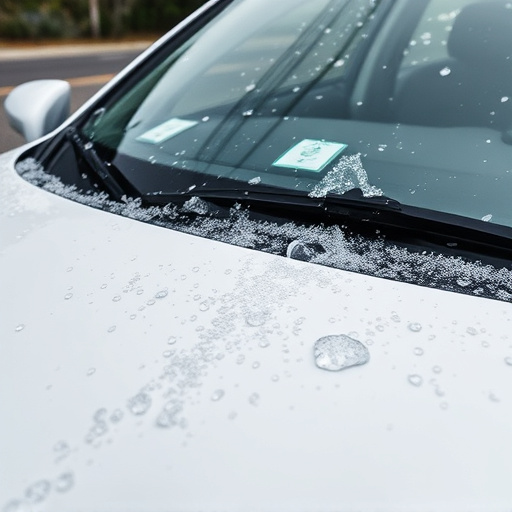
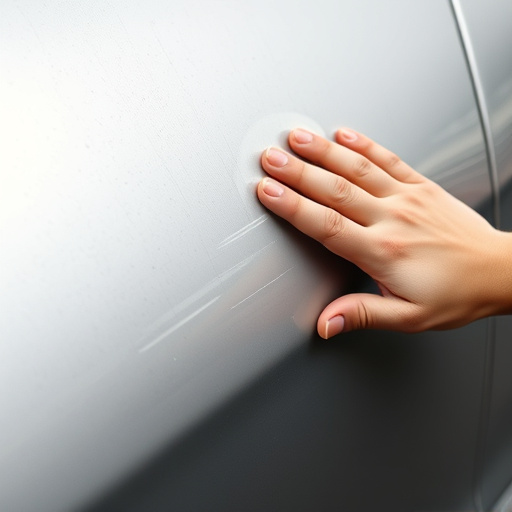
Applying clear coat is a crucial step in any clear coat repair process, aiming for an even finish that enhances the vehicle’s appearance. Techniques vary slightly depending on the method chosen – spray gun, airbrush, or brush application – but the goal remains consistent: create a seamless, glossy layer that blends perfectly with the surrounding paintwork.
For optimal results in a collision repair center or vehicle repair shop, start by ensuring proper surface preparation. This includes sanding and cleaning the damaged area to remove any debris or contaminants. Then, using a suitable clear coat applicator, apply thin, even coats, allowing each layer to dry slightly before adding the next. For scratch repair, this meticulous approach is key to achieving a professional finish that matches the vehicle’s original specifications.
The process of clear coat repair involves meticulous preparation, careful sanding, thorough cleaning, and precise application. By following these steps—from preparing the damaged area to applying a new clear coat—you can restore your vehicle’s finish to its former gloss and protect it from future damage. Remember, proper technique is key to achieving a professional-looking repair that enhances, rather than masks, the car’s overall aesthetics. For effective clear coat repair, always use high-quality materials and take your time.