


Tesla front trunk damage, caused by various factors, requires prompt repair for aesthetic and value preservation. For minor dents, paintless dent repair maintains factory finish; severe cases may need frame straightening. Using high-quality replacement panels, fine-grit sandpaper, and automotive-grade materials ensures a seamless, durable restoration, protecting the vehicle's vibrant appearance.
Tesla owners often face a dilemma when their front trunk (frunk) sustains damage. This article guides you through a meticulous approach to repairing your Tesla’s frunk without compromising its pristine paintwork. We’ll explore common causes of frunk damage, outline the essential tools and materials needed, and provide a detailed, step-by-step process for a successful restoration. Master these techniques and restore your Tesla’s iconic storage compartment like new.
- Understanding Tesla Front Trunk Damage Common Causes
- Tools and Materials for Repair Without Paint Damage
- Step-by-Step Guide to Successful Front Trunk Restoration
Understanding Tesla Front Trunk Damage Common Causes

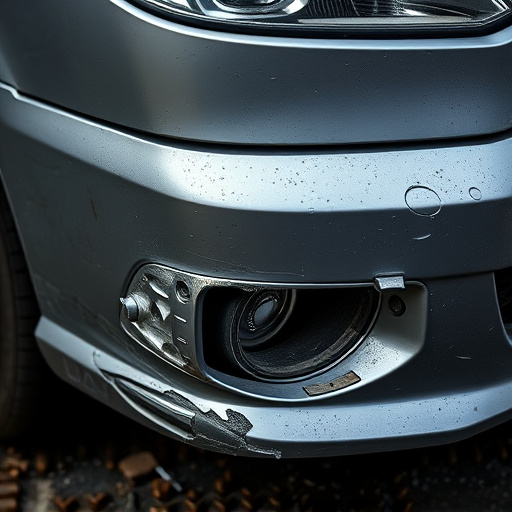
Tesla front trunk damage is a common issue among owners, often arising from various everyday occurrences. One of the primary reasons is minor collisions or parking bumps, which can leave dents and dings on the trunk lid. These incidents may go unnoticed at first, but over time, they can accumulate, compromising the vehicle’s aesthetic appeal. Another significant factor is weather-related damage; extreme temperatures and UV rays can cause the paint to chip or fade, especially in regions with varying climates. Furthermore, poor parking practices, such as backing into tight spaces or hitting low-hanging branches, contribute to dents and scratches.
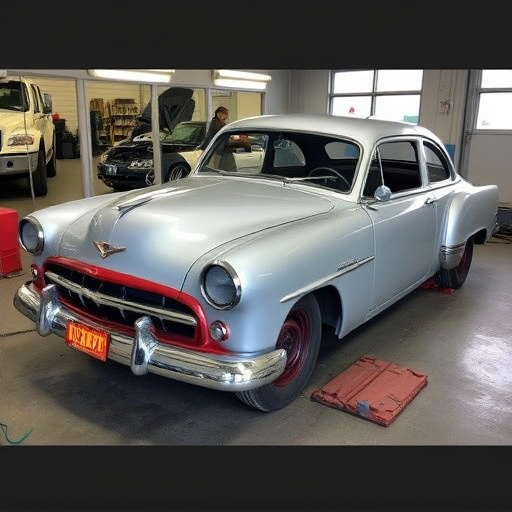
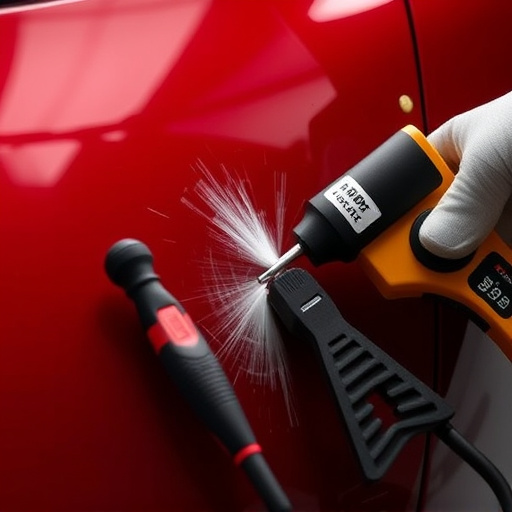
Regular auto body repairs are essential to maintaining the vehicle’s value. When addressing Tesla front trunk damage, consider methods like paintless dent repair for minor issues, which preserves the factory finish. More severe cases might require frame straightening to realign any warped panels, ensuring the trunk lid opens and closes smoothly. Unlike traditional repair methods, these modern techniques allow for efficient repairs without compromising the overall look of the vehicle, ensuring your Tesla retains its sleek and vibrant appearance.
Tools and Materials for Repair Without Paint Damage

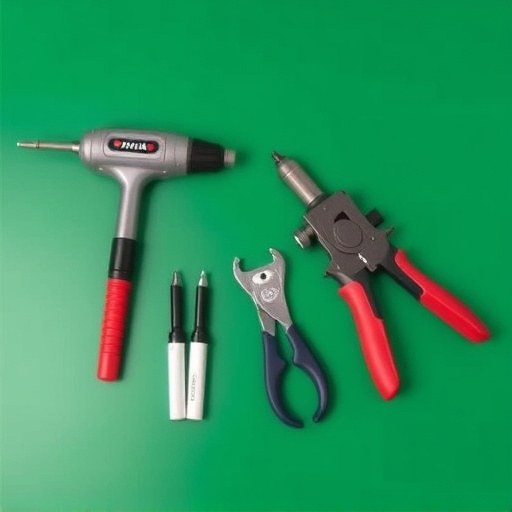
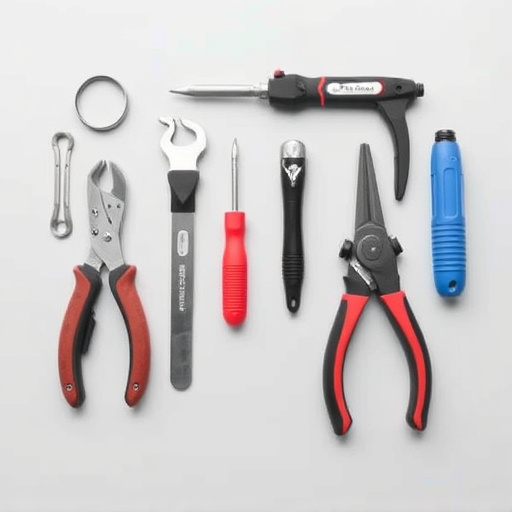
When tackling a Tesla front trunk repair with a focus on minimizing paint damage, the right tools and materials are essential. For this delicate task, gather high-quality replacement panels specifically designed for the Tesla model in question. These should precisely match the original factory specifications, ensuring a seamless fit upon installation. Additionally, prepare a set of fine-grit sandpaper, starting with a coarse grade to remove any imperfections or dents and gradually working towards finer sands for a smooth finish.
A variety of adhesives and sealants will also be required, including automotive-grade bonding agents suitable for metal-to-metal repair. Consider using a heat gun for warming the trunk panel before installation, making it easier to align and ensuring a strong bond. Protecting surrounding areas with drop cloths and tape is crucial to prevent any accidental damage during the repair process, especially when dealing with car collision repair or fender repair scenarios.
Step-by-Step Guide to Successful Front Trunk Restoration

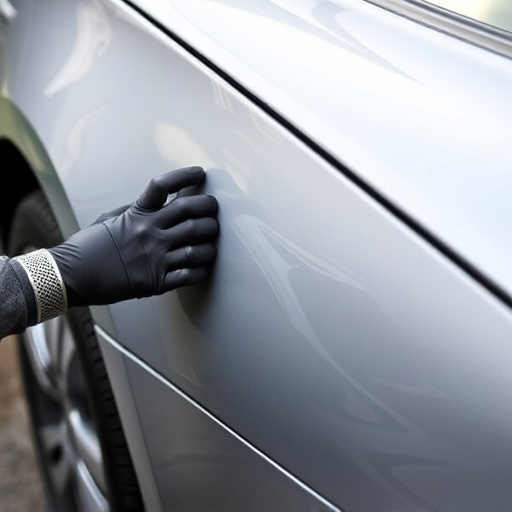
To successfully restore your Tesla’s front trunk without damaging the paintwork, follow this meticulous step-by-step guide. Begin by ensuring a clean and dry workspace; gather all necessary tools, including fine-grit sandpaper, a degreaser, automotive paint, and a spray gun. Next, carefully remove any loose debris or contaminants from the trunk area using compressed air.
Proceed with gentle hand sanding to prepare the surface, taking extra care around edges and curves. This is where precision meets auto maintenance; you want to smoothen without altering the original shape. After cleaning and drying again, apply a thin layer of primer, allowing it to dry evenly. Then, using your chosen automotive paint, carefully match the color and apply even coats, ensuring complete coverage while avoiding overspray on adjacent surfaces (a key aspect of Tesla front trunk repair). Finally, allow ample time for the paint to cure completely before reinstating all components, achieving a flawless restoration that rivals factory standards.
Repairing a damaged Tesla front trunk without compromising the paintwork is feasible with the right approach. By understanding common damage causes and utilizing specific tools and materials, you can effectively restore your Tesla’s front trunk. Following a detailed step-by-step guide ensures a successful restoration process, allowing you to maintain your vehicle’s aesthetic appeal while addressing structural integrity issues. For those seeking a DIY solution or professional touch, mastering Tesla front trunk repair techniques is a valuable skill that promotes both safety and style for your electric vehicle.